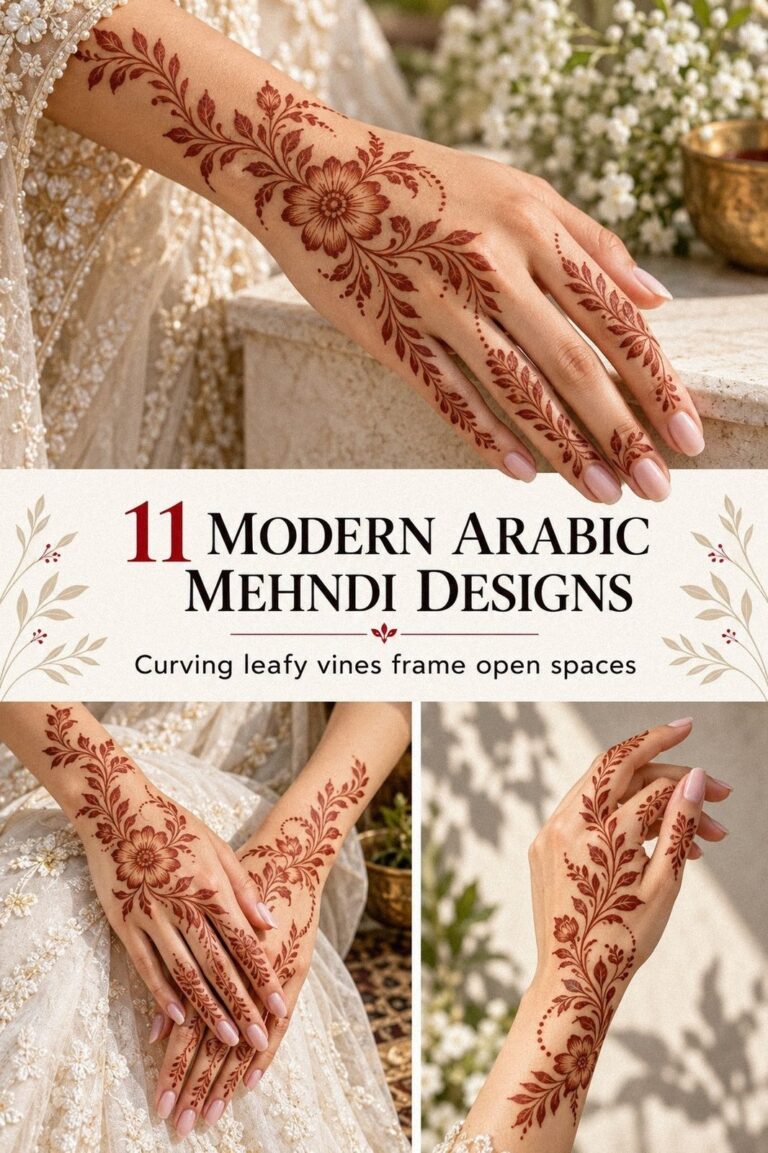
Latest Pakistani mehndi designs deepen beautifully by the second day when the paste stays on for 1 to 2 hours, then darkens as it rests. The difference comes from sequence, not luck. I’ve learned that a brown-red stain can look striking, intricate, and personal when the pattern has room to breathe.
Editor’s note: Pakistani mehndi looks strongest when the pattern has a clear rhythm. Choose one meaningful motif, leave deliberate skin showing, and protect the stain through its first 24 hours!
- Start With Latest Pakistani Mehndi Design References
- Which Intricate Pakistani Hand Mehndi Patterns Suit You?
- Place Bold Mehndi Motifs Across Palms
- Keep Delicate Linework Around Finger Mehndi
- Plan Symmetrical Latest Pakistani Hand Designs
- Pakistani Bridal Symbols: What Feels Meaningful?
- Add Flowing Vines Between Geometric Motifs
- Negative Space or More Detail? Balance Crisp Henna Lines
- Match Dainty Patterns To Your Hand Shape
- Refine Striking Details Before Applying Mehndi
- Photograph Your Finished Pakistani Mehndi Design
1Start With Latest Pakistani Mehndi Design References

Begin with three references, not thirty. Look for brown-red henna paste patterns on the back of the hand, across the fingers, and around the wrist. The strongest examples often repeat one shape, such as a paisley, flower, or open lattice, instead of competing with every motif at once.
I’d save one elegant design for the palm, one expressive design for the fingers, and one border idea for the wrist. Compare them with simple Pakistani mehndi designs before choosing. The goal is a clear direction, not a crowded folder.
Check the actual placement in every reference. A design that looks bold on a palm may feel too heavy on a narrow wrist. Your hand shape matters, and the same striking motif can look delicate or oversized depending on where you place it.
For a first pass, trace the largest shapes with a pencil on plain white practice paper. Mark the palm, fingers, and wrist as separate zones. This lets you see whether the pattern flows before you touch the cone.
Keep one reference for structure and another for detail. Mixing five different styles usually creates a restless result. You’ll get a more polished finish when your one main motif stays recognizable at a glance.
2Which Intricate Pakistani Hand Mehndi Patterns Suit You?
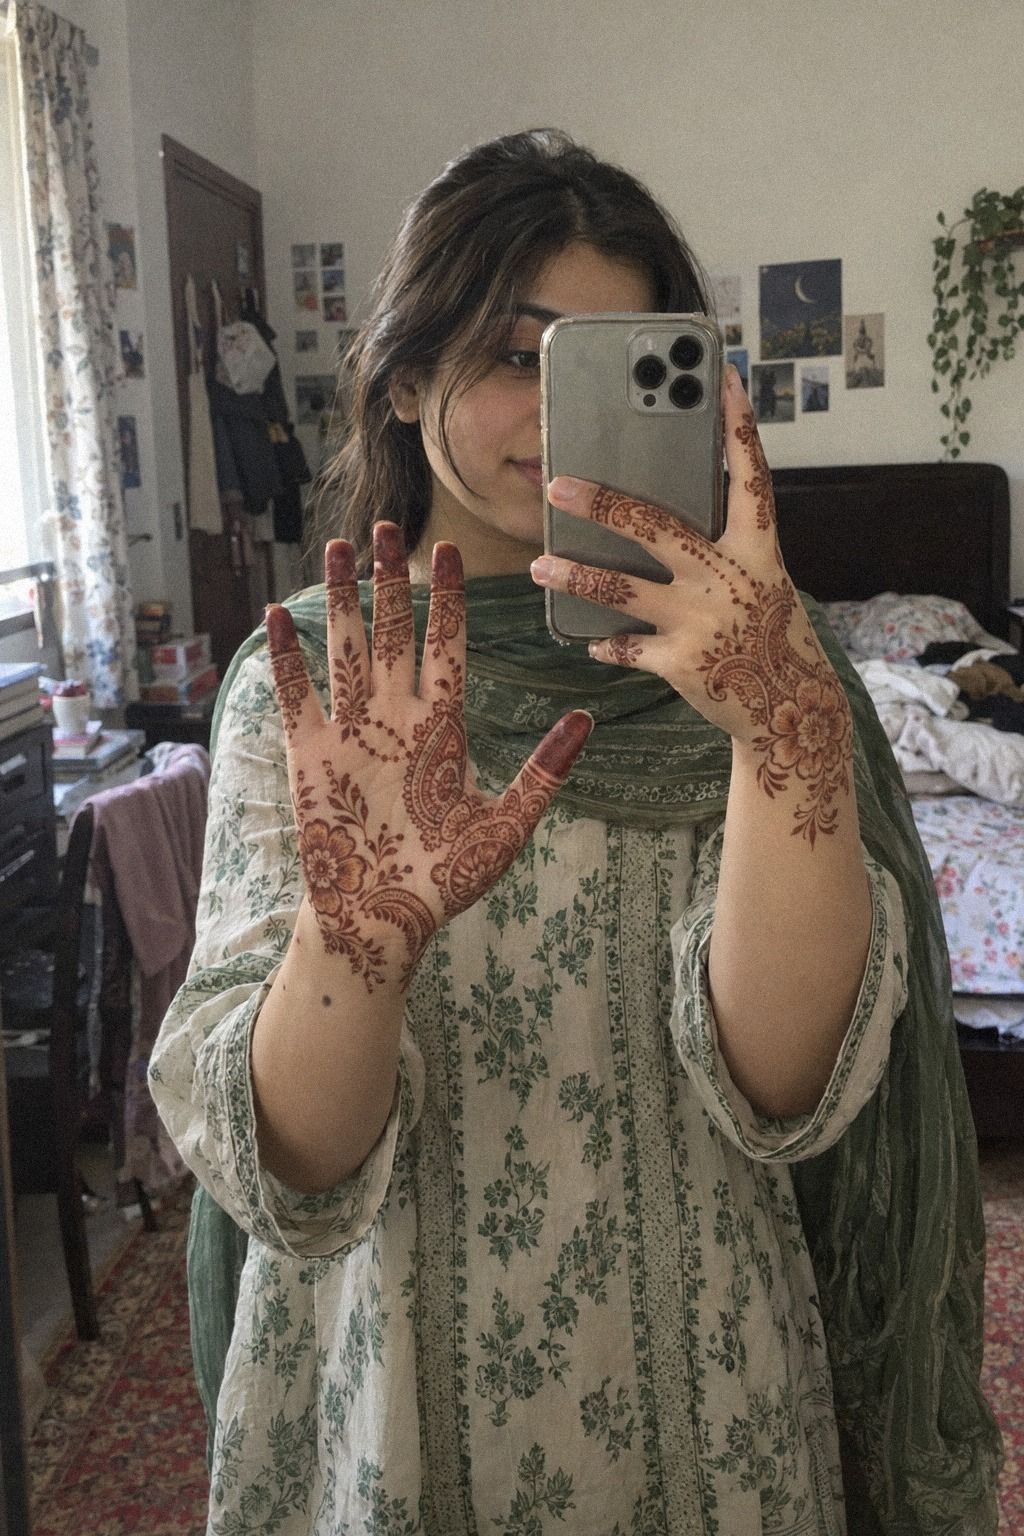
Choose the center motif before the borders. A mandala, paisley, flower, or peacock shape should anchor your hand, while smaller leaves and dots support it. I prefer an ornate center with quieter edges because your eye knows where to land.
For both hands, repeat the main rhythm without copying every mark. One palm might carry a bold paisley, while the other uses a floral circle with the same outer border. That pairing feels delicate and intentional.
You can compare proportions with easy Pakistani mehndi designs if you want a simpler starting point.
Use a fine-tip mehndi cone for narrow stems and small dots. Test the paste on paper first.
It should come out in a steady ribbon, not a watery puddle or broken thread. If you’re squeezing too hard, your fingers will tire before the pattern is finished.
Don’t chase detail just because the reference has it. Intricate work needs breathing room, especially around the knuckles. A crisp open gap can make the entire design look more elegant than another row of tiny petals.
My strong opinion is simple: skip a fully packed palm if this is your first attempt. It’s romantic and dramatic in a finished design, but a half-filled palm gives you more control and makes mistakes easier to correct before the paste dries.
3Place Bold Mehndi Motifs Across Palms

Place the largest motif slightly below the center of the palm rather than directly on the middle crease.
4Keep Delicate Linework Around Finger Mehndi

Keep the fingers lighter than the palm unless you’re creating a bridal design. Delicate finger bands, dots, and narrow vines can make your hands look graceful without turning every finger into a solid block of color.
Start with the finger that has the most space, usually the middle or ring finger. Use a small wooden skewer to plan the spacing between bands on paper, then copy that rhythm with the cone. You’ll see quickly whether the pattern feels balanced or cramped.
I’d avoid placing a dense motif directly over every knuckle. The knuckle folds move constantly, and paste can flake when you bend your fingers. A dainty chain that crosses the joint will look more understated and remain easier to protect.
Try a different rhythm on each finger, but repeat one detail across all of them. Three dots, a tiny leaf, or a short scallop can act as your visual signature. This is where a minimal choice often looks more stylish than endless decoration.
If you want more examples, browse latest very simple mehndi designs and study the open spacing. The best finger patterns aren’t empty by accident. They’re planned so your hand still looks crisp when you turn it, bend it, or hold a cup.
5Plan Symmetrical Latest Pakistani Hand Designs

Plan symmetry by balance, not by tracing the exact same design twice. If one hand has a large central flower, the other can use a paisley of similar balanced visual weight. Perfect duplication can look stiff, while balanced repetition feels more graceful.
For hands and wrists, sketch a cotton-thread outline on paper before applying paste. Mark the wrist border, palm direction, and finger spacing. Your skin surface is larger than a finger, so a motif that looked bold on paper may appear unexpectedly small once transferred.
Keep the wrist border slightly open at the back. That break gives the pattern a polished finish and stops it from looking like a continuous ring. You’ll also find it easier to protect the paste there while moving or sitting.
A symmetrical design should still respond to your body. One hand may turn outward while the other rests straight. I’d rather see two harmonious patterns that follow movement than two identical patterns that look awkward when you gesture.
Use brown-red dried flakes as your visual reference after the paste comes off. The color will usually deepen on the second day, so don’t judge the final tone immediately. If your design looks lighter at first, that’s normal!
For balanced hand references, compare simple latest simple mehndi designs before deciding how much coverage you actually want.
6Pakistani Bridal Symbols: What Feels Meaningful?

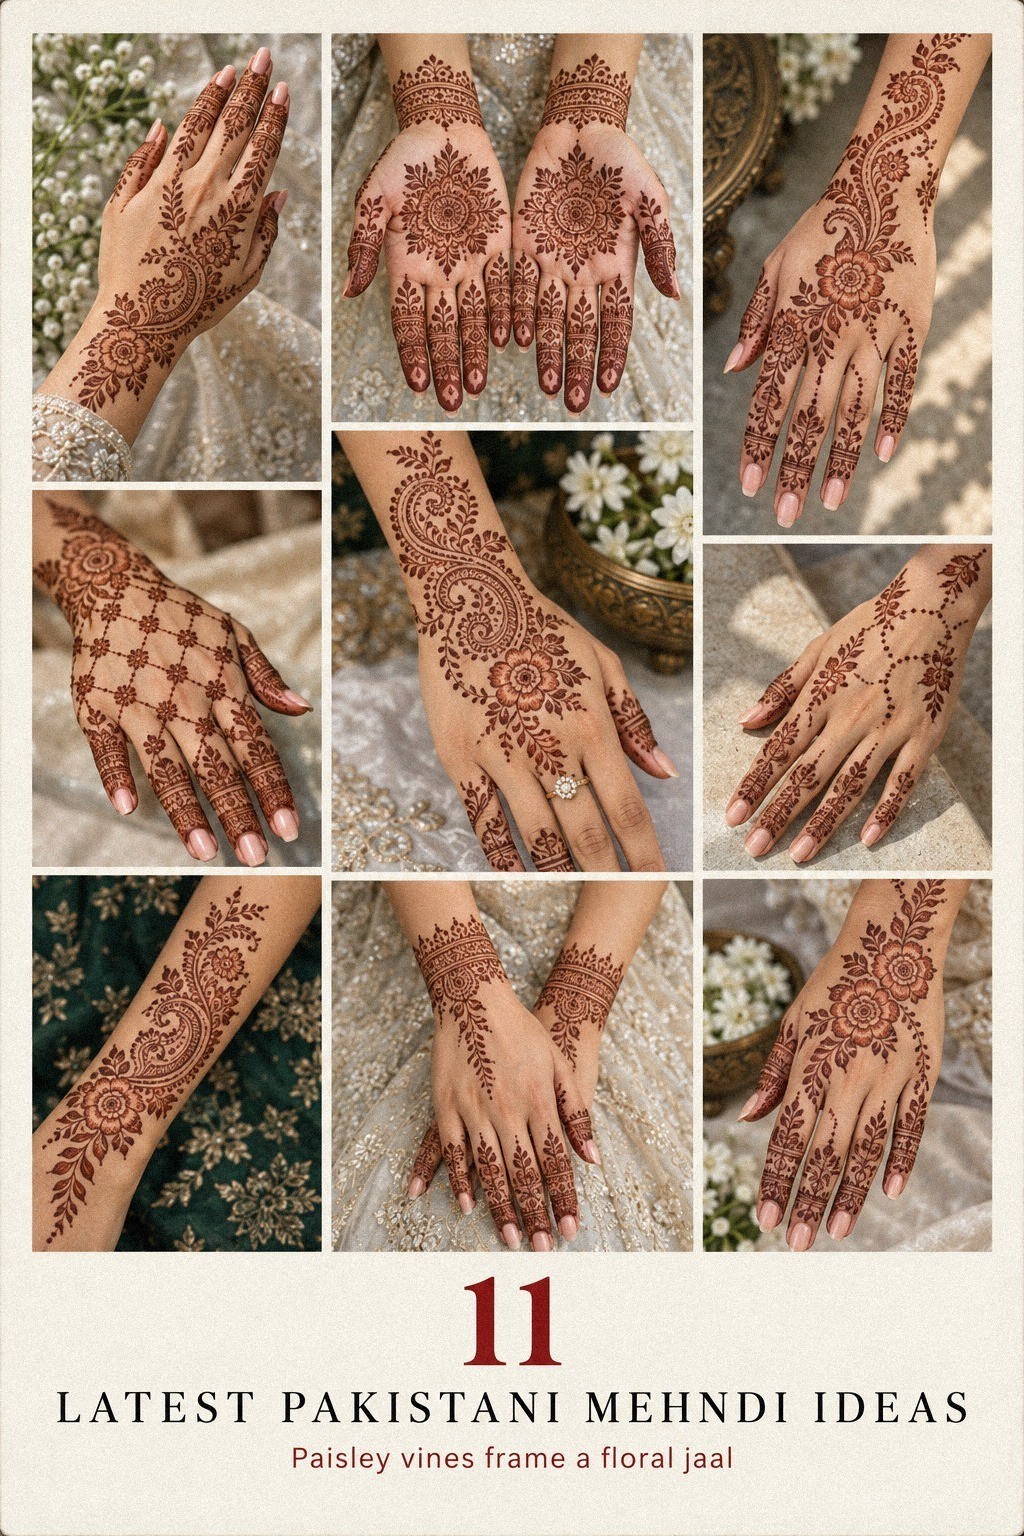
Choose a bridal symbol with meaning before choosing it for size.
7Add Flowing Vines Between Geometric Motifs

Connect geometric shapes with vines only after the main forms are dry enough to stay distinct. A flowing stem can soften a sharp diamond, lattice, or scallop without hiding its structure.
Use a plastic henna cone with a narrow opening for the stems. Hold it at a low angle and move your wrist slowly. Your line should be continuous where possible, because stopping halfway through a curve often creates a visible lump.
I like one vine to travel from the wrist toward the base of the finger, then split into two leaves. That direction pulls the eye upward and makes the whole design feel longer. You don’t need a vine between every motif.
Leave the geometric motif stronger than the connecting lines. The vine is supporting cast, even when it looks whimsical and playful. If every line has the same weight, your eye won’t know which shape matters.
For another reference, explore latest peacock mehndi designs and look at how feathers connect to leaves and curves. I’d skip random filler dots between every gap. A few deliberate dots look crisp, while scattered ones can make the design feel unfinished.
8Negative Space or More Detail? Balance Crisp Henna Lines
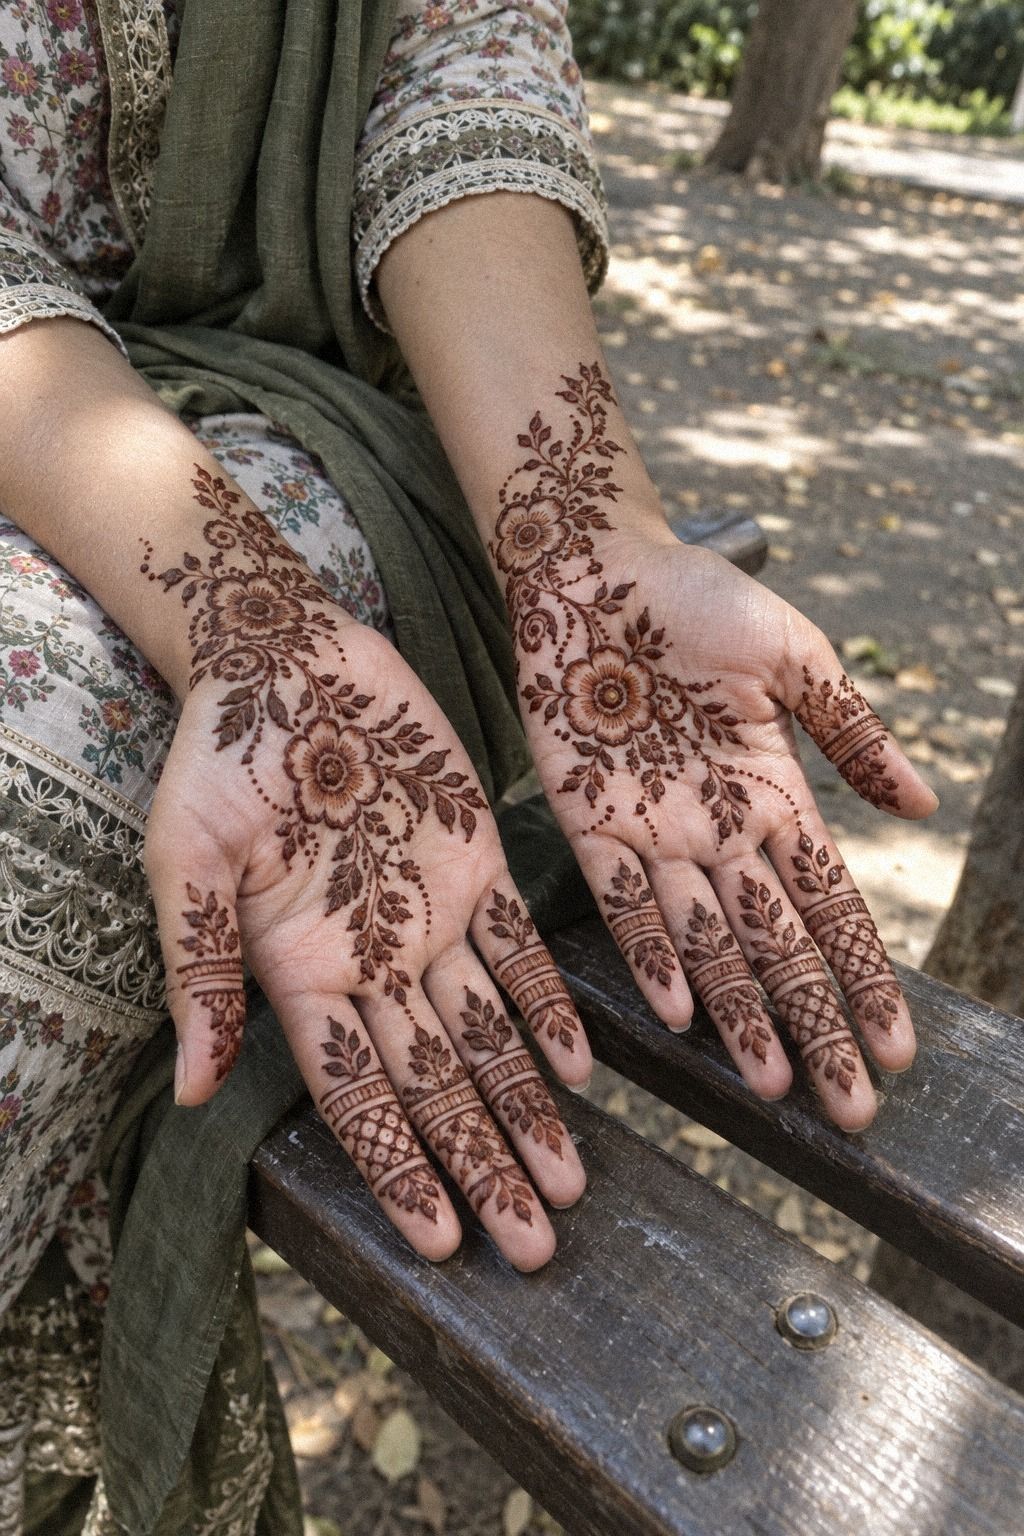
Treat negative space as part of the pattern.
9Match Dainty Patterns To Your Hand Shape

Match the scale of your motifs to your hand proportions. A dainty design can look feminine on a narrow hand, while a wider palm may need larger shapes to keep the composition from disappearing.
For a warm olive skin tone, test the dried color beside pure henna powder before applying the full design. Henna usually stains a reddish-brown shade, but the final depth varies with skin, paste quality, and aftercare.
Long fingers can carry vertical vines and narrow borders. Shorter fingers often look better with open bands and small central motifs rather than several horizontal rows. I’d avoid copying a reference without adapting its scale.
A stylish design should move with your gestures. Hold a phone, fold your fingers, and turn your wrist while checking the sketch. If the main flower disappears every time you bend your hand, shift it before applying the paste.
Check the sketch in daylight, not only under indoor lighting. You’ll notice whether the palm looks too dense, whether the fingers feel balanced, and whether the central motif still feels bold without becoming heavy.
You can compare hand proportions with simple latest simple mehndi designs for cleaner references. The strongest result won’t necessarily be the most ornate one. It’ll be the design that looks balanced when your hand is relaxed, open, and moving.
10Refine Striking Details Before Applying Mehndi

Refine your design on paper before the cone touches skin. Mark the main motif, the finger rhythm, and the wrist finish in separate passes. A striking pattern becomes easier to control when you know which lines matter most.
Prepare smooth tracing paper and a fine pencil for this stage. Draw the largest shapes first, then add only the details that support them. You’re looking for clean movement, not a page filled with tiny marks.
I’ve made the mistake of starting with the fingers because they felt easy. Then the palm had no room for the motif I wanted. Now I test the full arrangement first, and I’d recommend you do the same.
Check the cone opening before you begin. A sharp cut gives you more control over crisp lines, while a wide opening produces heavier marks. If the paste is too thick, warm it between your hands for a moment, but don’t add water casually.
Test for a steady ribbon on paper before working on skin. If the line breaks, clean the tip and try again. That small pause can protect the entire composition from a thick mark in the wrong place.
Use simple very simple mehndi designs when you need a reference with fewer moving parts. A daring detail only helps when the surrounding structure supports it. Refined work often comes from removing one extra border, one extra dot, or one unnecessary leaf.
11Photograph Your Finished Pakistani Mehndi Design

Photograph the design after the paste has dried and before the flakes come off. Let your hand rest naturally so the raised texture of the fresh henna paste remains easy to see.
Choose soft indirect daylight and place a neutral cotton cloth underneath the hand. Harsh light can erase fine lines and make reddish-brown paste look orange.
Record the design with your fingers relaxed, then make another record after the flakes release. The clearest version will show the wrist flow, finger spacing, and symmetry without forcing your hand into an awkward position.
After the flakes release, photograph the color again on day two. That’s when the second-day stain often looks deeper and more vibrant. Don’t wash aggressively to speed up the process.
Let the result develop naturally and avoid swimming or prolonged water exposure.
Save the final image beside your original reference. You’ll notice which details translated well and which ones became too dense. That record will help you choose a more polished, iconic pattern the next time you use a cone.
The Two-Day Color Rule
I’ve learned that the best mehndi result is decided before the first line appears. People often focus on the pattern, but the timing matters just as much. The paste needs enough time to dry, the flakes need to come away gently, and the stain needs a full day to deepen.
Here’s the practical rhythm I trust: apply the pattern when you won’t need to use your hands immediately, let it dry for roughly 1 to 2 hours, then protect the surface from rubbing. The paste drying period is complete when the raised lines lose their wet sheen.
The color may look orange at first. By the second day, it usually shifts toward a deeper reddish-brown tone. That change is normal, and it’s why I wouldn’t judge the design during the first few hours.
Protect the pattern through the first 24 hours whenever possible. Avoid unnecessary water, friction, and activities that press the palm against another surface.
The table below gives you the useful timing without pretending every hand behaves identically.
I’d choose a slightly simpler design that you can protect well over a dense pattern you’ll have to scrub away early. The result is more vibrant and far more satisfying when you see it deepen instead of disappear.
For another practical reference, compare simple Pakistani mehndi designs before choosing your coverage.
A Budget for Better Mehndi Color
Your budget doesn’t need to be large to create a polished result. The biggest value usually comes from fresh paste, a reliable cone, and enough time to protect the stain rather than from collecting dozens of decorative references.
A fresh mehndi cone is often the most useful purchase for a DIY design. Check that the paste has a smooth consistency and that the opening hasn’t dried shut. A cheap cone with poor flow can cost you more time than it saves.
If you’re booking an artist, ask what the artist application cost includes. A simple hand design may take less time than a dense bridal arrangement, while feet, ankles, and both sides of the hands require more paste and patience.
Here’s a realistic starting point for common options:
For a small personal design, a small DIY budget can offer excellent value. Spend on paste quality and application time first. Extra stencils and novelty tools are rarely worth the price if you haven’t chosen your main shape.
If you want a lower-cost reference, browse easy Pakistani mehndi designs before paying for a dense arrangement.
DIY or Mehndi Artist? Which Gives Better Value?
DIY application is worth it when you enjoy practicing and want a personal, understated result. You can work slowly, change the composition, and keep the design meaningful without paying for a full appointment.
An experienced mehndi artist brings speed, symmetry, and confident cone pressure. That value matters for a wedding, sangeet, Eid gathering, or any occasion where you can’t risk an uneven palm or rushed aftercare.
The cost depends on coverage, detail, location, and event timing. Ask for a clear estimate before the application begins, especially if you’re adding feet, dense bridal motifs, or multiple family members.
I’d choose DIY for a minimal or dainty pattern and an artist for a large, intricate composition. Both choices can look elegant when the design suits the occasion and the person wearing it.
For a bold but manageable starting point, compare latest peacock mehndi designs before deciding how much detail you want.
When Is a Dense Design Worth the Cost?
A dense bridal arrangement is worth the cost when the event calls for a dramatic design and you’ll have time to protect it. The extra detail can look powerful, symbolic, and timeless once the stain deepens.
For a casual gathering, a lighter design often offers better value. An open palm design, narrow finger bands, and one flowing wrist motif can look stylish without requiring hours of drying and careful movement.
Ask yourself how much of the pattern will remain visible in real life. A packed palm may look dramatic in a finished record, but a crisp, expressive design can be easier to see when you’re greeting guests or moving through a celebration.
The right choice isn’t always the most ornate one. It’s the design that fits your schedule, hand shape, budget, and comfort.
For a lighter option, browse latest very simple mehndi designs and look for patterns with deliberate gaps.
Protect the Stain Without Fuss
Protect the dry paste surface from rubbing while it still sits on your skin. Keep your fingers relaxed, avoid pressing your palm against fabric, and wait until the lines have firmed before moving around normally.
Once the paste is fully dry, remove the flakes gently. Don’t scrub them off with water. A soft scrape or careful brushing lets the stain continue developing underneath.
Avoid long water exposure during the first 24 hours. Washing, swimming, and repeated friction can reduce the final depth, even when the original pattern was bold and well applied.
A small amount of lemon-sugar mixture may help hold dry flakes in place, but use it lightly. Too much moisture can soften the paste and blur delicate lines.
If you’re still choosing a pattern, simple mehndi designs can help you find a crisp option with fewer fragile details.
A Clean-Cone Checklist
Before you begin, check the cone tip opening, the paste flow, and the direction of your sketch. A clean, narrow opening gives you sharper control over dots, vines, and narrow borders.
Keep practice paper nearby. Test one line before every major section, especially if the cone has been resting. You’ll catch a thick ribbon or broken flow before it reaches your palm.
Choose clothing and activities that won’t force you to bend, wash, or rub your hands immediately. That small preparation can protect the color more effectively than adding another layer of paste.
If your hands need support while the paste dries, rest them on a clean cotton towel without pressing the design into the fabric.
For a final simple reference, revisit simple latest simple mehndi designs or simple Pakistani mehndi designs. Keep the design focused. More detail isn’t automatically more beautiful!
The Questions Worth Answering First
How long do latest Pakistani mehndi designs last?
A typical mehndi stain lasts about 1 to 3 weeks, depending on your skin, washing routine, friction, and the paste. Gradual fading is normal, especially on fingertips and palms.
Your design may look deepest on the second day, then soften over time. Avoid aggressive scrubbing, chlorine, and long water exposure if you want the pattern to remain crisp.
How long should mehndi paste stay on the skin?
Let the paste dry for about 1 to 2 hours before removing it gently. A longer dry period usually gives the stain more time to develop.
Don’t peel it while it’s still wet. If you’re uncomfortable, rest your hand on a clean cotton towel and keep the fingers relaxed until the surface firms up.
Why does mehndi get darker on day two?
Henna color often deepens after the dry paste comes away because the stain continues to develop beneath the surface. Second-day color is usually richer than the first orange tone.
Your result can vary with paste freshness, skin warmth, and aftercare. I’d wait until the next day before deciding whether the design needs more contrast.
Can I create Pakistani mehndi designs myself?
Yes, you can create them yourself with practice paper, a cone, and a small set of motifs. Paisleys and leaves are an easy place to begin because you can repeat them without filling the whole palm.
Start with dots, curved borders, and short vines instead of a full bridal composition. If you’re new to the cone, practice pressure on paper until your lines come out evenly.
What is the most common mehndi mistake?
The most common mistake is applying too much detail before checking the overall balance. Clear spacing keeps the design readable.
People also remove the paste too soon or expose it to water immediately. Plan your application when you can protect the design for several hours without rubbing your hands together.
Which placement works best for a Pakistani mehndi design?
The back of the hand, palm, fingers, feet, and ankles all work well, but each area needs a different scale. Open palm motifs read clearly, while fingers suit narrow borders and repeated dots.
Feet and ankles can hold larger symmetrical designs, though walking makes protection harder. Your best placement is the one you can keep still while the paste dries.
Where I’d Start First
If I had to pick one step, I’d start with the reference sketch. It prevents a crowded palm, protects your finger spacing, and gives the reddish-brown stain a clear structure to follow.
Save that sketch for later, then apply the paste when you can leave your hands undisturbed. A meaningful design doesn’t need every possible motif. It needs one personal idea, clean spacing, and enough time to deepen beautifully.