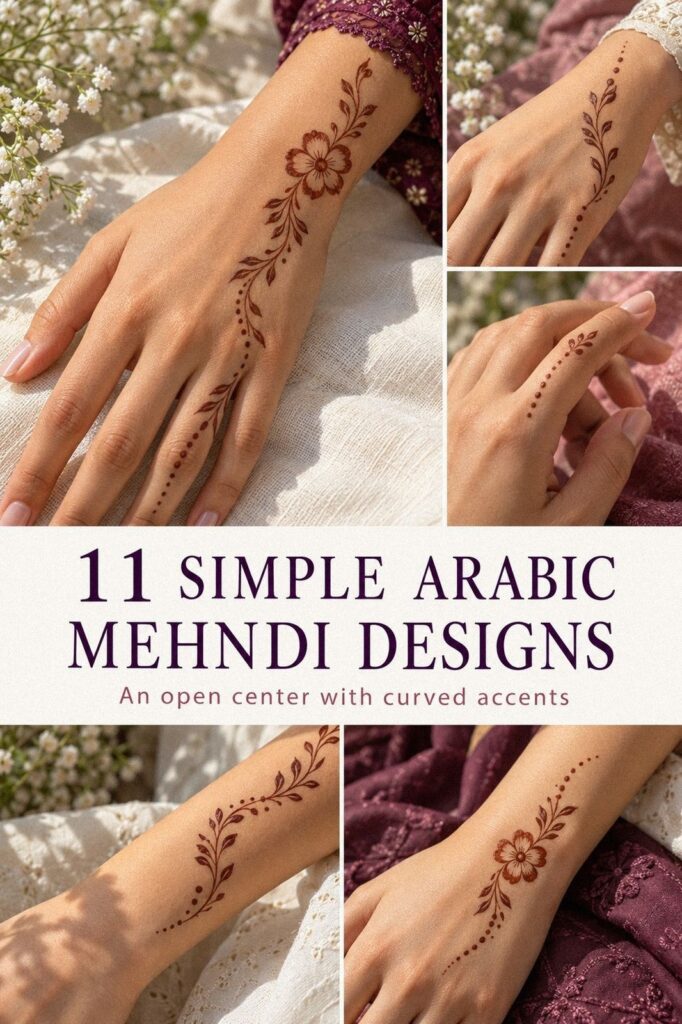
Arabic very simple mehndi designs look most graceful when the pattern has breathing room, a clear trail, and fresh natural henna paste. I’ve learned that crowded fingers can blur the whole idea, especially before the stain deepens on day two. These designs feel striking, delicate, and personal without demanding complicated preparation.
The best choice usually isn’t the busiest one. It’s the design that suits your occasion, budget, patience, and placement. Short.
Sweet. You’ll find the right option faster when you decide what you want your hands or feet to say first.
- Start With Arabic Very Simple Mehndi Fine Vines
- What Makes Finger Mehndi Look Latest and Simple?
- Arabic Hands: A Bold Diagonal Trail
- One Narrow Cuff or a Heavier Wrist Band?
- Follow the Ankle Trail From Hand to Foot
- Can a Palm-Corner Motif Stay Minimal?
- Let One Finger Carry the Whole Design
- The Flowing Ankle Vine
- Which Tiny Floral Details Keep the Pattern Clear?
- Negative Space or Full Coverage?
- Add a Crisp Mandala Accent
1Start With Arabic Very Simple Mehndi Fine Vines
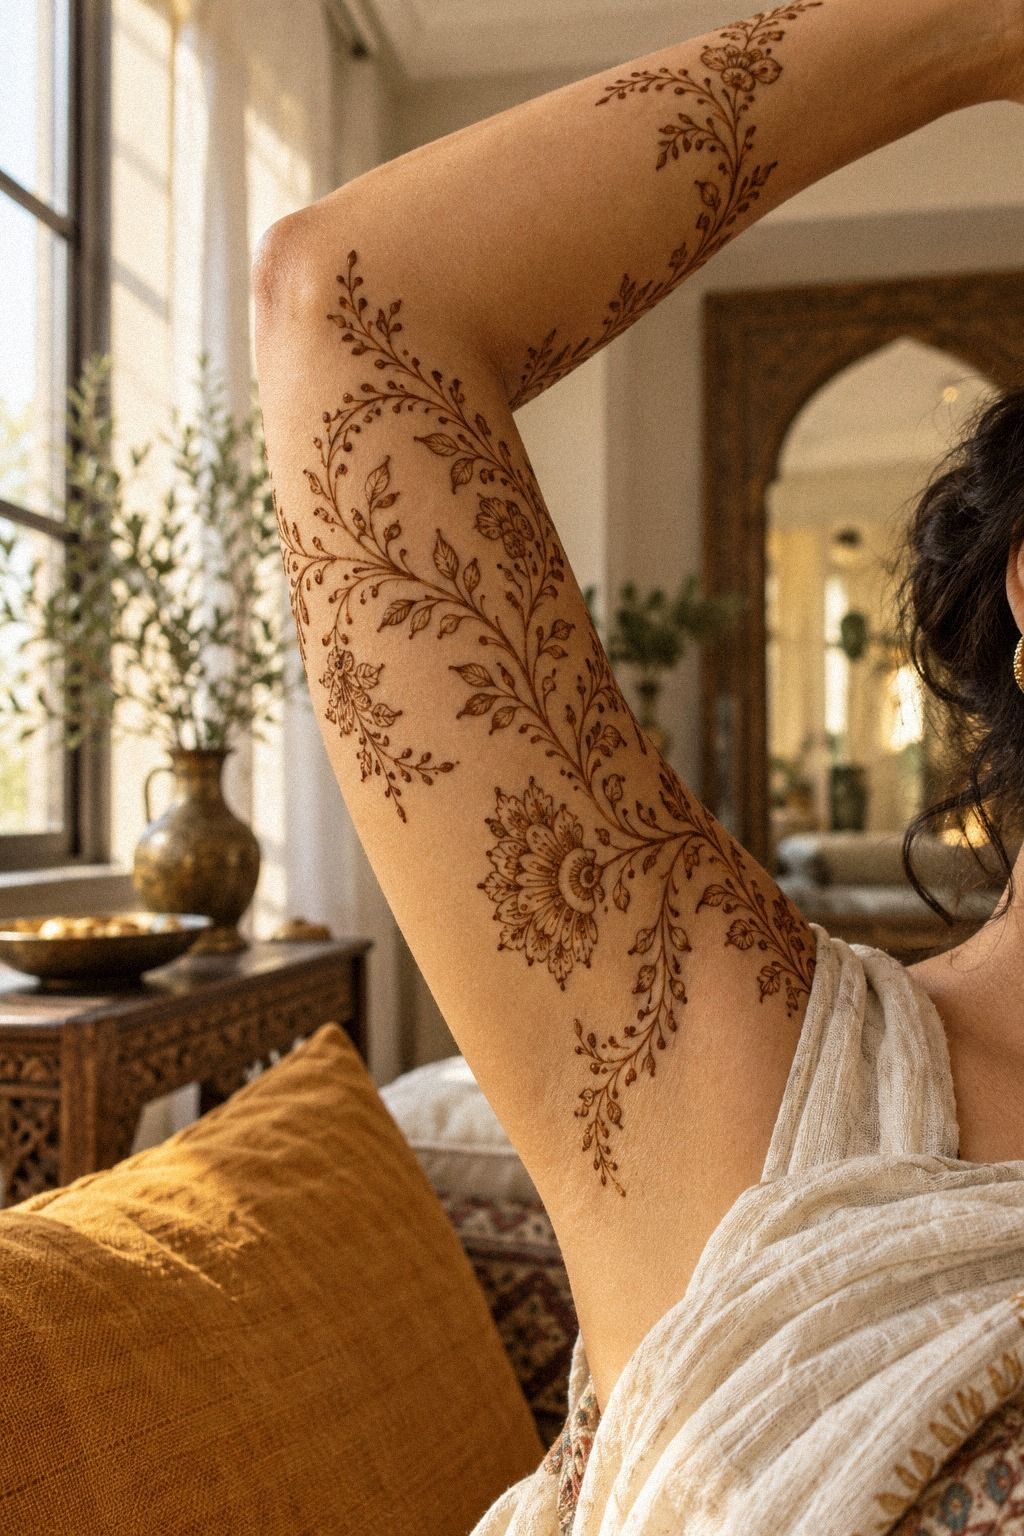
A fine vine across the back of your hand gives you movement without covering every inch of skin. Start near the wrist, let the trail curve toward your index finger, and leave small gaps between leaves.
The result feels flowing and graceful. That restraint matters.
For the paste, choose a fresh natural henna cone with a narrow tip. Your mehndi artist can make tiny leaves, open petals, and two or three slim curls instead of one heavy block. I’d skip dense filling here because the open spacing keeps the pattern crisp.
Try this three-leaf layout: one curling stem, three almond-shaped leaves, and a tiny flower near the knuckle. Add one pointed finish at the wrist. You’ll see the reddish-brown stain deepen after the paste dries and flakes away.
Keep the paste on for roughly 1 to 2 hours, then brush it off rather than washing immediately. Gentle paste removal helps protect the early stain, which may look orange before becoming richer.
If you’re attending a wedding or Eid gathering, lemon-sugar sealing can help the dry paste stay in place longer. Compare the placement with these simple Arabic mehndi designs before choosing your favorite trail. The cost can stay low when the design uses one confident motif instead of full coverage.
For a lighter variation, ask your artist to replace the flower with a paisley outline. You’ll keep the same flowing direction while making the result more dainty and understated. I like this version when you want something stylish but still easy to wear.
2What Makes Finger Mehndi Look Latest and Simple?
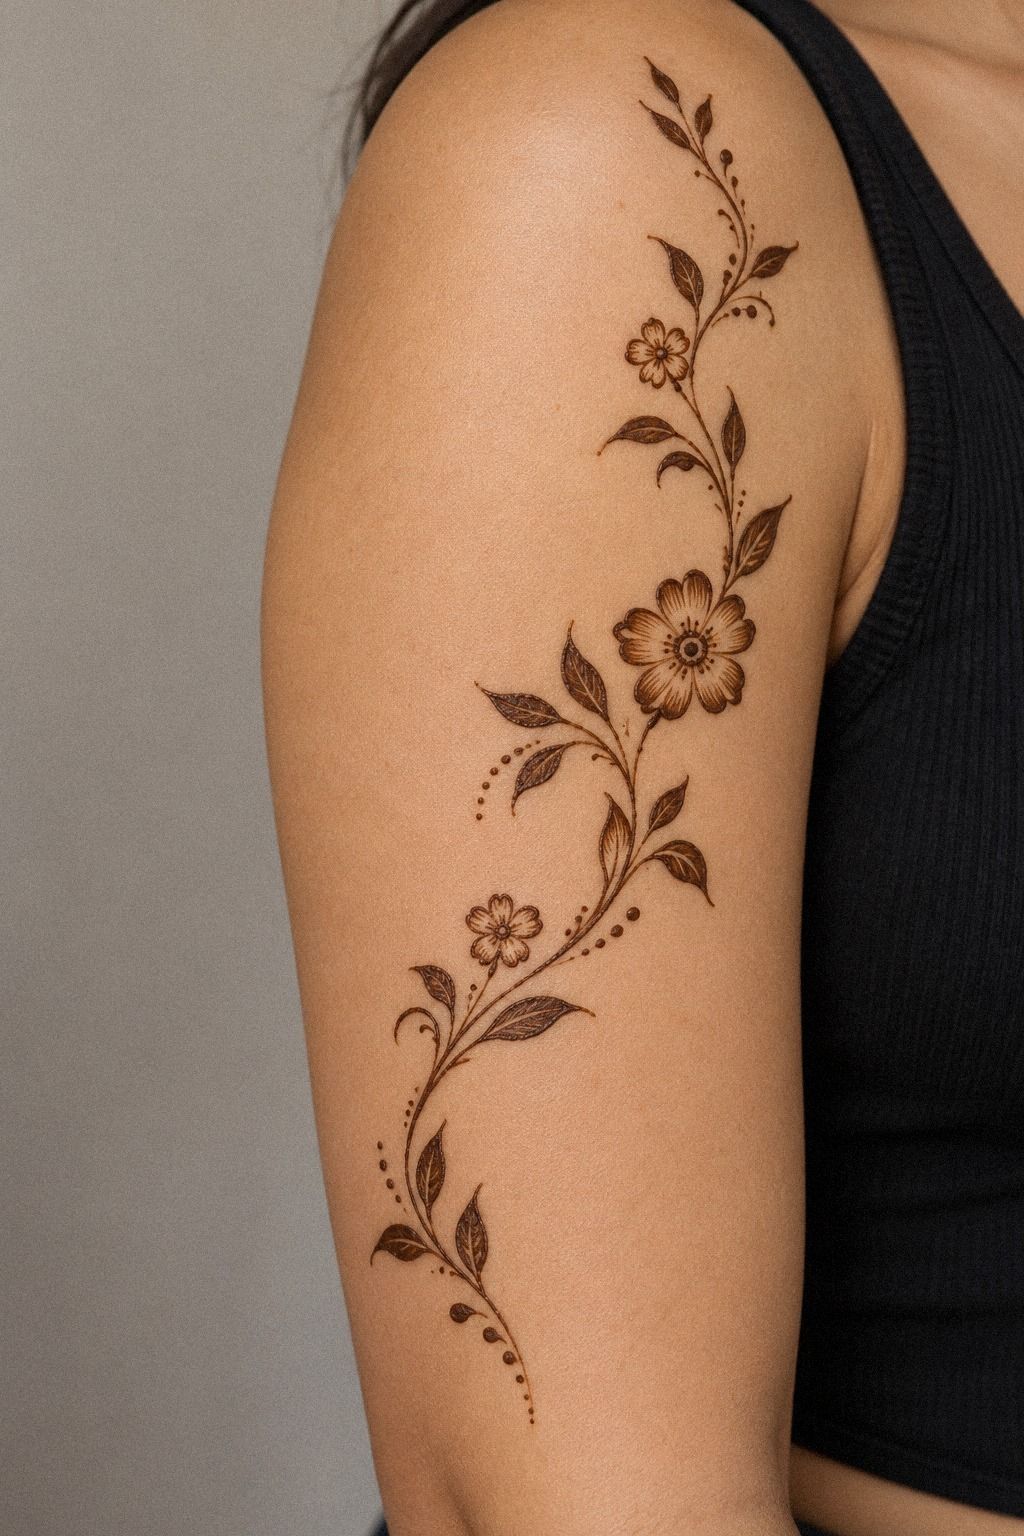
Finger mehndi looks modern when each finger gets a small detail instead of a full coating of paste.
A minimal finger pattern might include a short vine on the index finger, three dots on the middle finger, and a tiny paisley near the ring finger. Keep the other fingers mostly clear so the design feels sleek rather than crowded.
Ask your artist to repeat one shape instead of mixing several unrelated motifs. A graceful leaf, a crisp dot cluster, or a delicate line can be enough for a meaningful result.
3Arabic Hands: A Bold Diagonal Trail
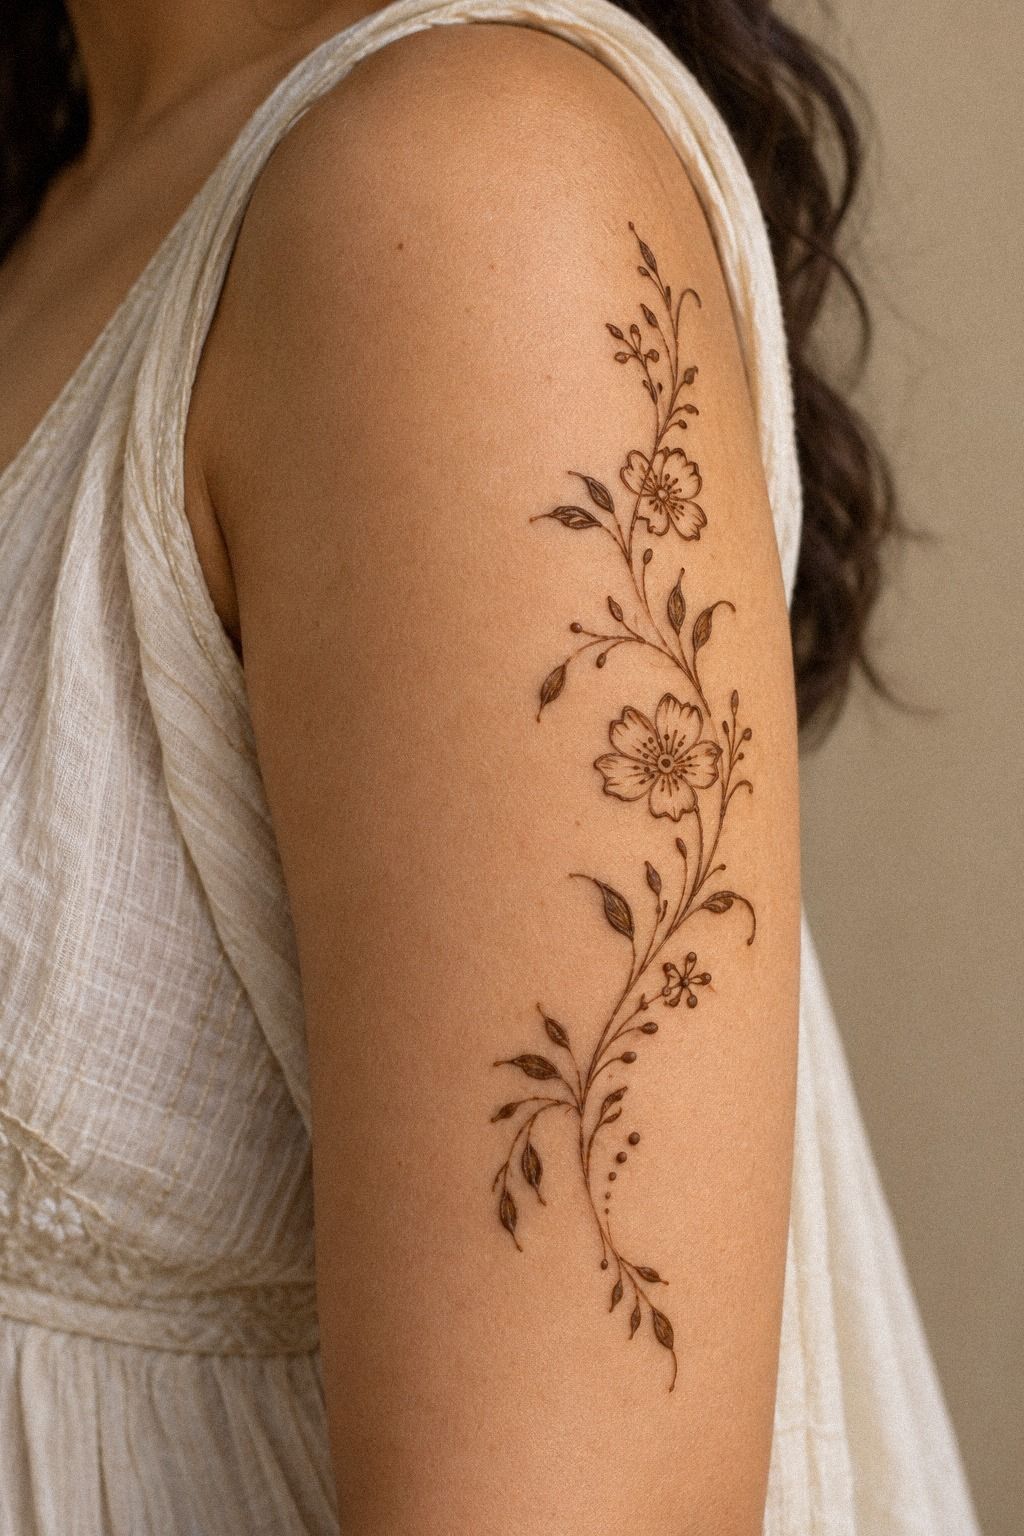
A hand design can stay elegant when the main shape travels diagonally from the lower palm toward the base of the fingers. That direction gives your eye somewhere to move, and it keeps the center from looking heavy. Choose a bold floral anchor, then let everything else remain soft.
The strongest feature here is a reddish-brown henna stain with open skin around it. Your artist might draw a paisley, three curved leaves, and a few fine dots. I’d avoid filling the entire palm because palms can create a darker, denser result that changes the balance.
A simple layout includes one large paisley beside the thumb, a short leafy branch across the palm, two tiny flowers near the wrist, and a few crisp dots between the shapes. The pattern feels meaningful and timeless without needing a complicated story.
If you’re preparing for a family celebration, test a small amount of paste first, especially if your skin is sensitive. Natural henna should be mixed cleanly, and you shouldn’t use suspicious instant-black mixtures that contain unknown additives.
Your best reference may be these Arabic mehndi designs for hands. Compare palm coverage, wrist placement, and the amount of open skin you want to keep visible. This option gives strong visual value without requiring a large budget.
For a more daring version, ask for a sharp diagonal finish near the index finger. You’ll still have the open palm, but the ending will feel more expressive and powerful. I’d choose it when you want your design to be noticed from across the room.
4One Narrow Cuff or a Heavier Wrist Band?
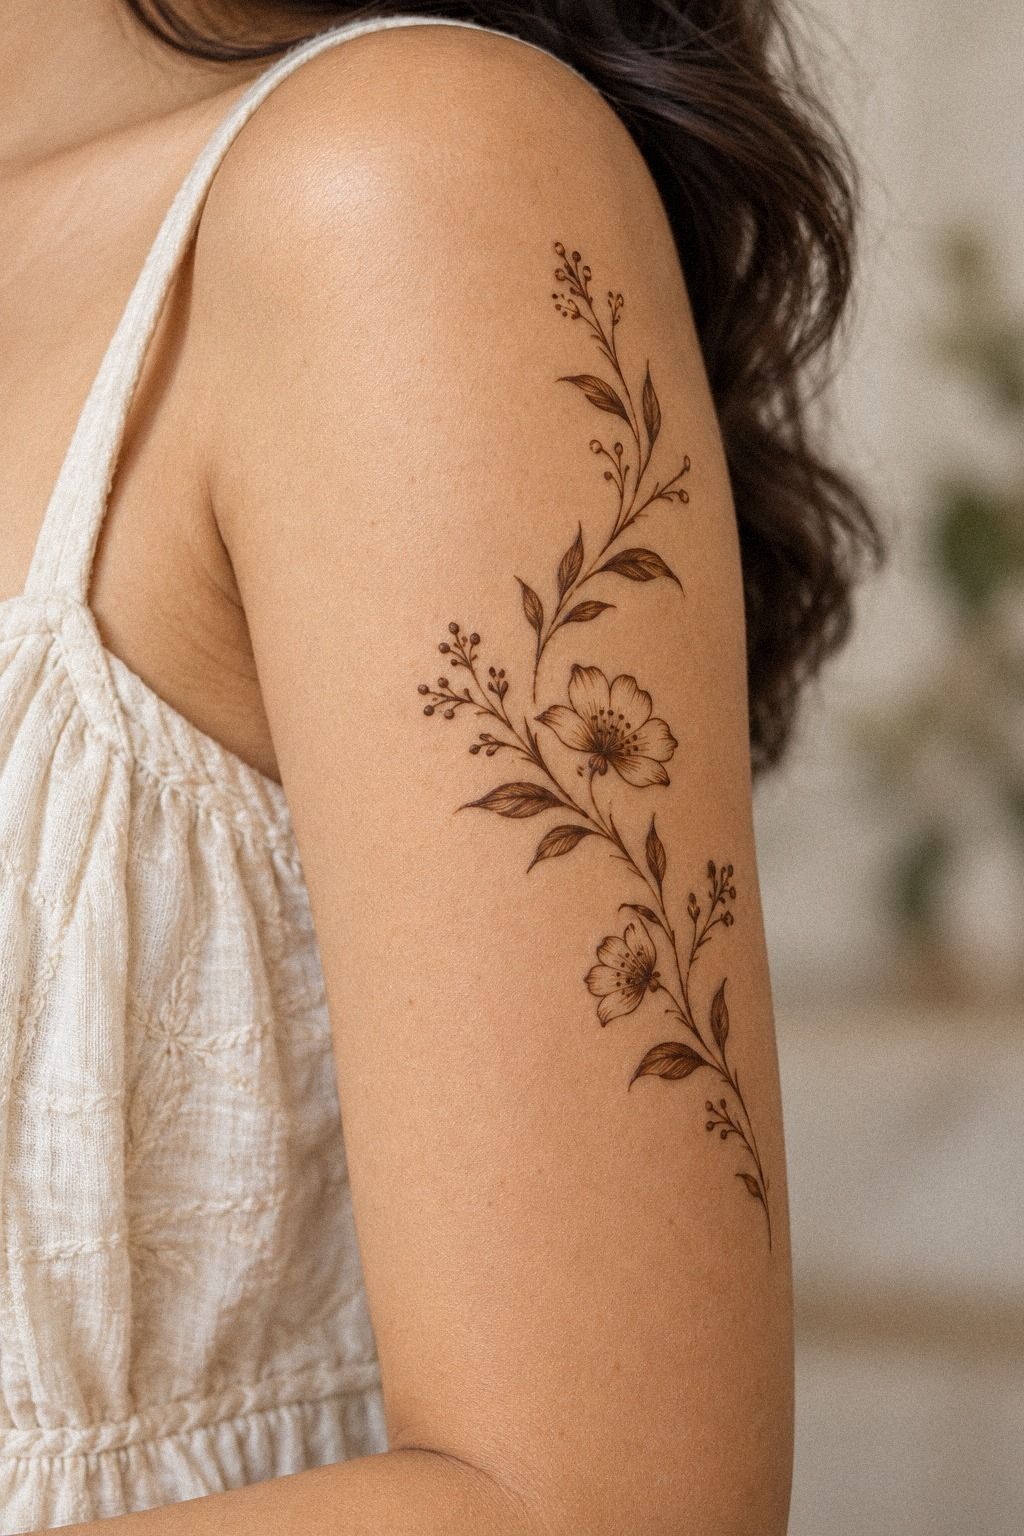
A wrist cuff works when the band stays narrow and the decoration points upward toward your palm. You can choose a simple chain of leaves, a broken floral border, or a line of dots that leaves visible skin between each mark.
A narrow wrist cuff is usually the safer choice for a first application. It uses less paste, dries quickly, and gives your hand a polished shape without taking over the rest of the design. I wouldn’t make the band too dark if you’re pairing it with finger details.
A heavier band can look ornate and classic, but it needs cleaner spacing than a slim cuff. Ask your artist to leave one intentional gap near the wrist bone so the pattern doesn’t become a solid ring.
If you’re working with a limited budget, compare a single cuff with the traditional Arabic mehndi designs in your saved references. You may discover that one polished border gives you more impact than several unrelated motifs. It can be beautiful.
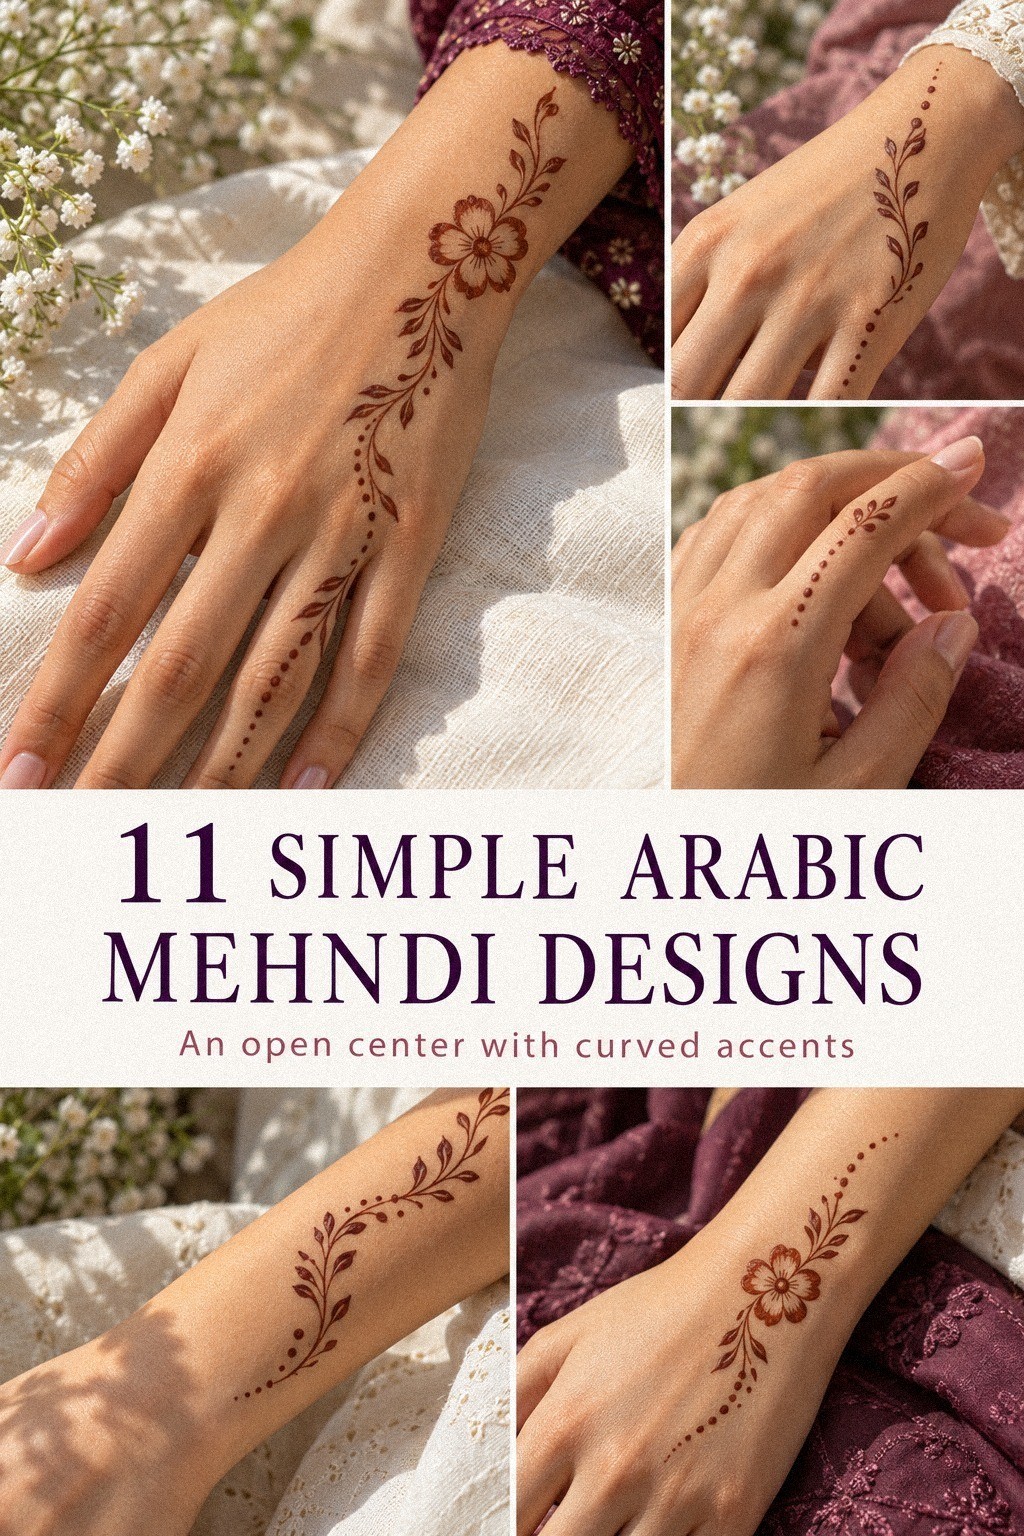
5Follow the Ankle Trail From Hand to Foot
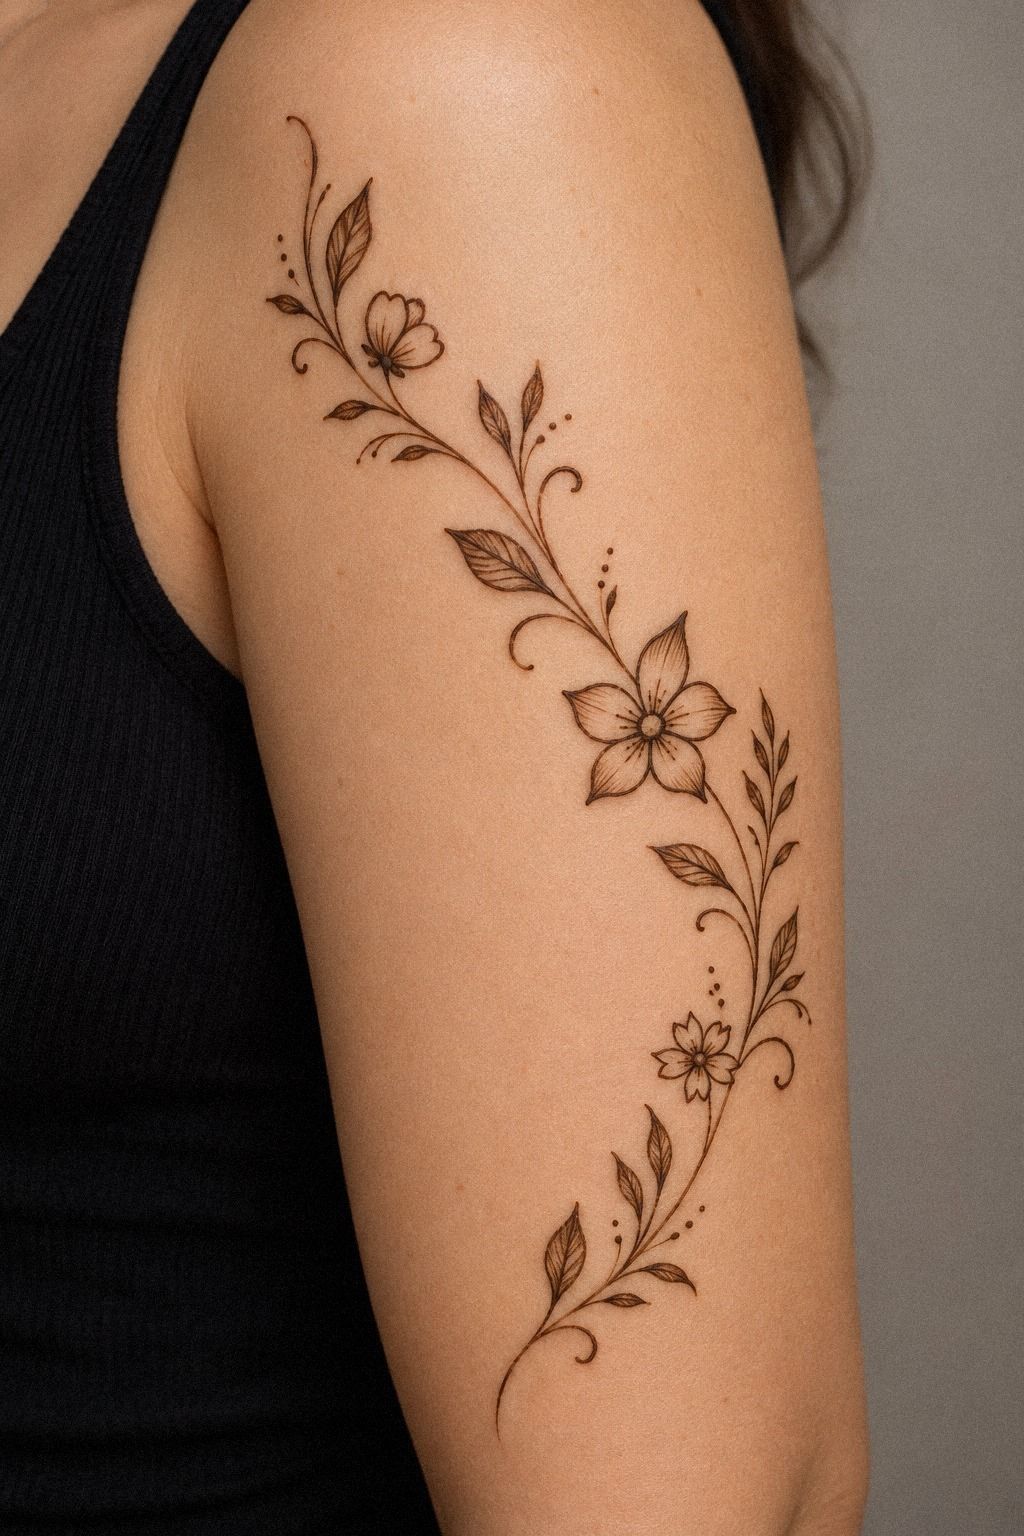
Although the title suggests an ankle variation, the delicate Arabic trail here works beautifully across the back of the hand. Let the motif begin near the wrist, travel toward the knuckles, and finish with open leaves near one finger. Keep the direction clear rather than spreading the pattern across the entire hand.
Use smooth henna paste for the backhand section and slightly smaller details as the trail reaches your fingers. Your hands experience plenty of friction, so a narrow design with clear spacing is wiser than a dense pattern that rubs against clothing or jewelry.
A useful sequence includes one long vine, three open flowers, a pair of curved leaves near the wrist, and tiny dots between the stems. It feels ethereal, romantic, and expressive while remaining easy to read.
If you prefer the same idea on an ankle, let the motif begin near the ankle bone and travel across the top of the foot. Keep the curve open, especially near the toes, where rubbing can soften fine details.
A backhand vine rule is simple: let the design travel in one direction. Why crowd both sides when one confident curve gives your hand more visual length? Your design will look stylish when the empty skin remains part of the pattern.
For a more feminine variation, place one open flower motif beside the wrist and let the vine fade toward the index finger. That ending feels graceful instead of abrupt. I’d choose it for a sangeet, Eid, or a summer celebration.
6Can a Palm-Corner Motif Stay Minimal?
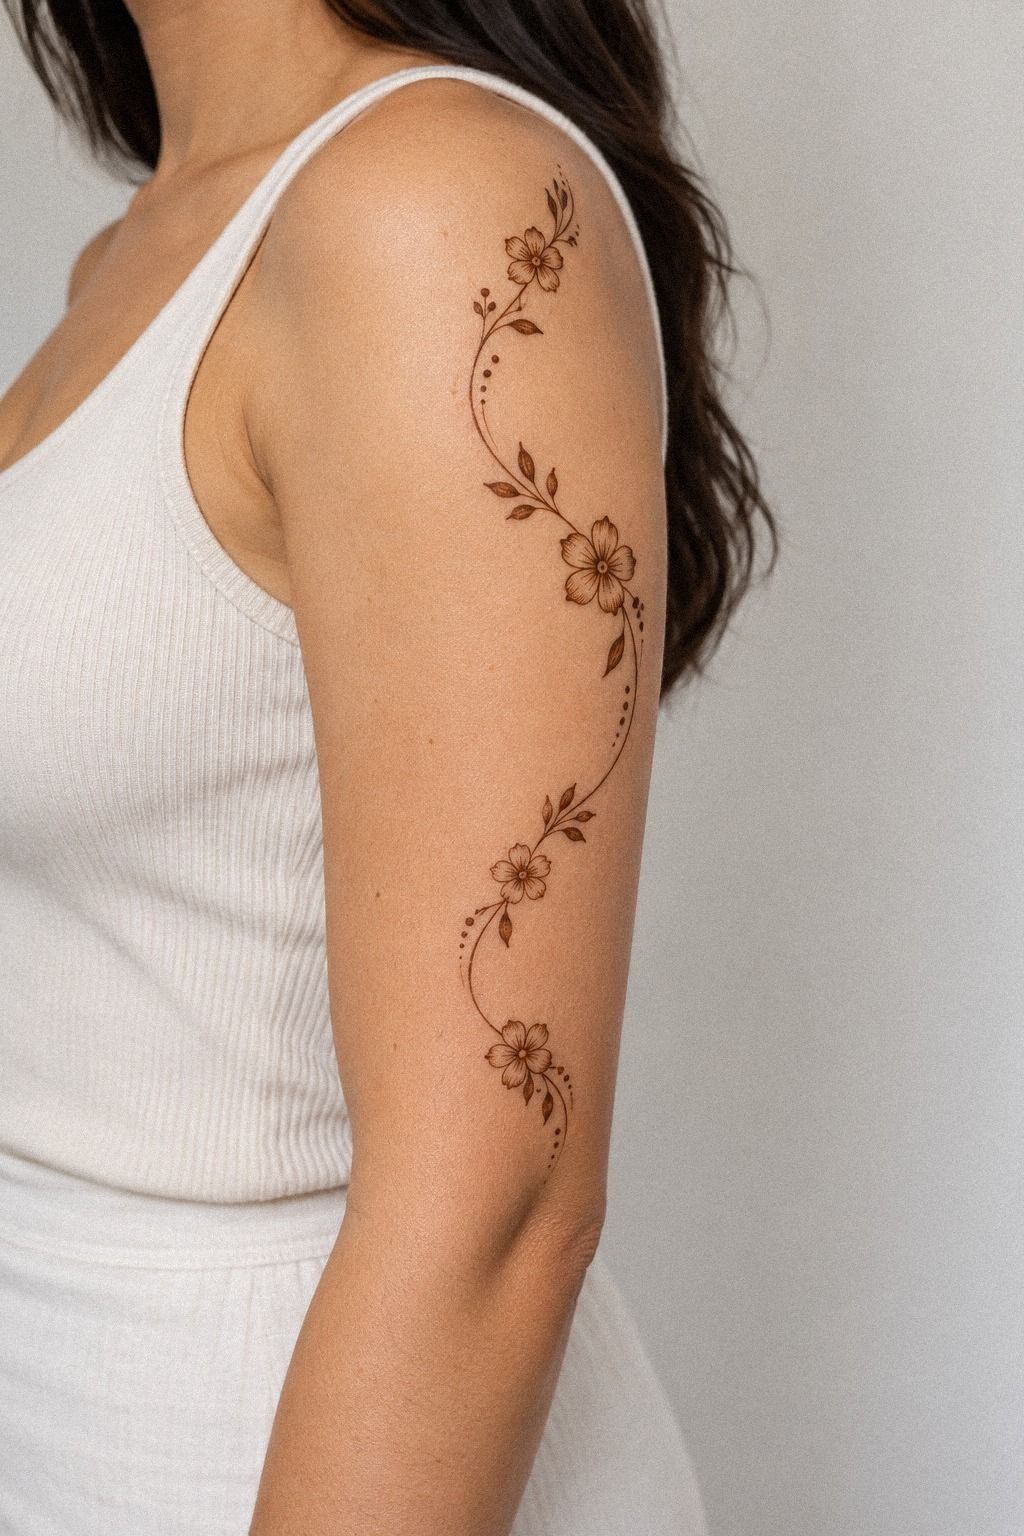
A palm-corner motif is ideal when you want something noticeable but not fully covered. Place a small paisley near the thumb, then connect it to two leaves or a short line of dots.
Keep the palm-corner paisley slightly open rather than filling every section. Your skin remains visible, and the motif feels more symbolic than heavy. I like this option when you want a meaningful detail that won’t compete with rings or bracelets.
You can make the corner more ornate by adding a tiny flower inside the paisley, but don’t add several unrelated borders. One clear shape usually looks more polished than a collection of competing details.
For a reference, compare the open placement in these simple Arabic mehndi designs with the fuller patterns in your saved examples. Your palm doesn’t need complete coverage to feel special. A smaller choice can still look iconic.
7Let One Finger Carry the Whole Design
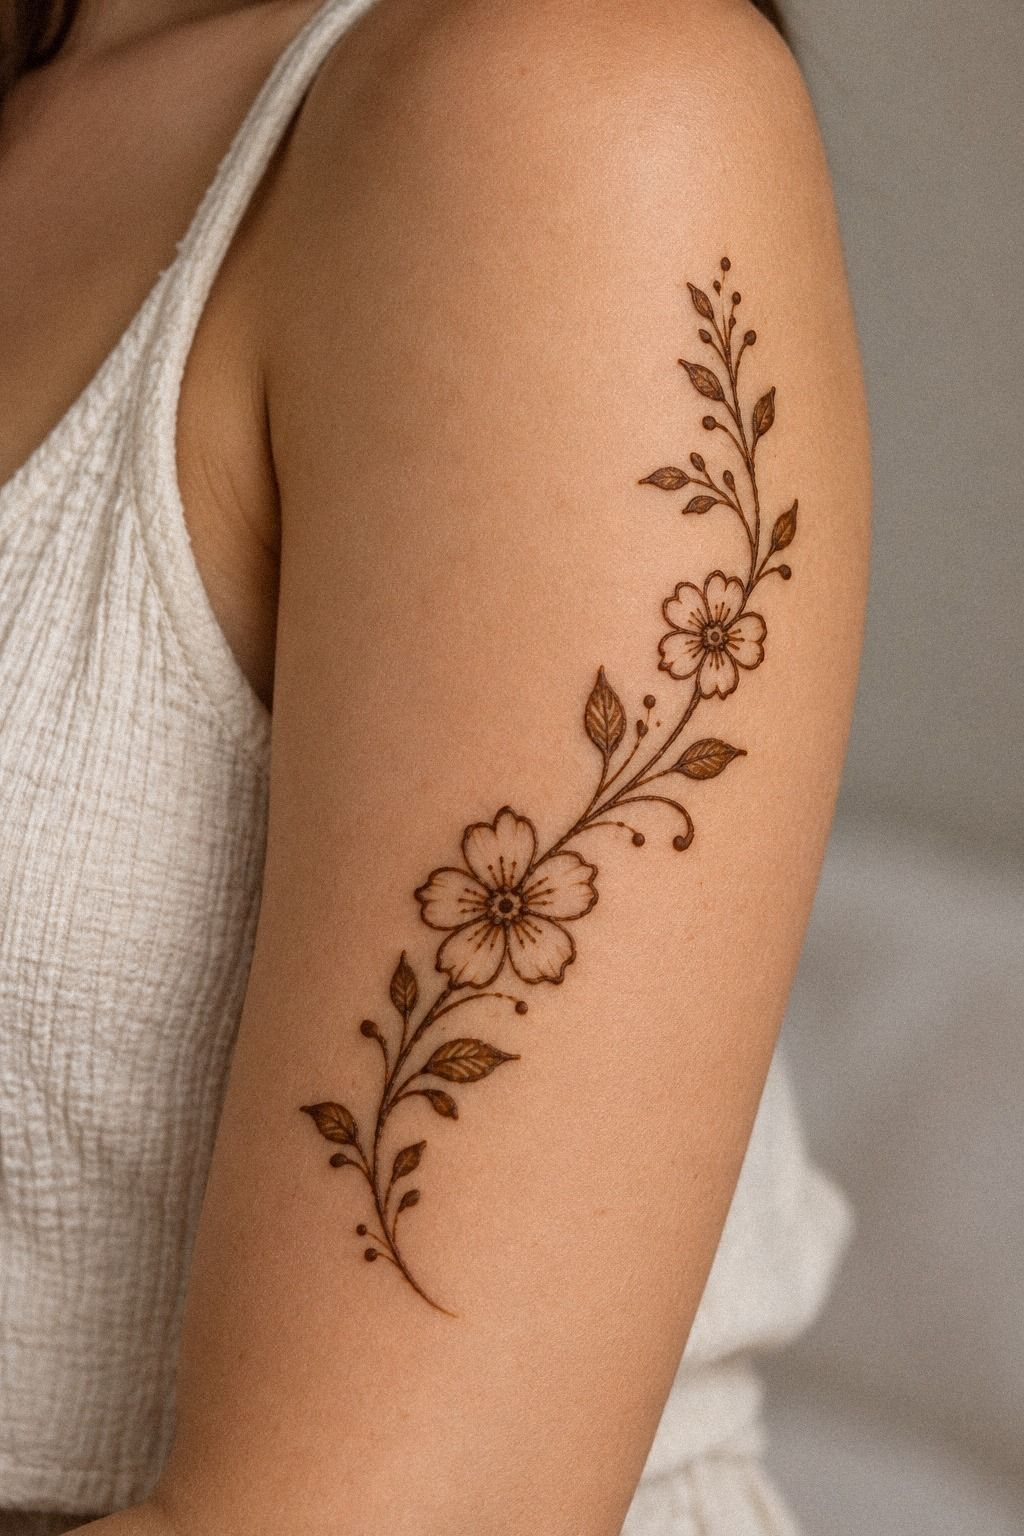
A single-finger design can be sleek, sharp, and empowering when the motif follows the finger instead of crossing it repeatedly. Begin near the palm, add a narrow vine, and finish below the fingertip. It’s visible, but never overwhelming.
Use a fine-tip mehndi cone for one continuous trail. Your design might include a leaf, a dot cluster, and a small paisley, but each part should share the same direction. I’d avoid mixing a heavy floral block with tiny filigree because the scale difference can look messy.
A practical layout includes one curved stem along the side, two open leaves at the middle joint, three dots near the fingertip, and a tiny hook back toward the palm. You’ll get a bold focal point while the other fingers remain mostly clear.
If you’re doing this yourself, draw the outline slowly and pause before each curve. Don’t chase perfect symmetry. Henna should feel expressive and handmade, not stamped into place.
The single-finger trail works especially well for a personal celebration or a small family gathering. Your hand can still move freely, and the stain should remain readable while it naturally fades over one to three weeks. It’s a strong budget choice for a first attempt.
You can make the same idea more intricate by adding a tiny floral chain along one side of the finger. Keep the chain broken in two places so the skin still shows through. Your result will feel playful and polished without becoming busy.
8The Flowing Ankle Vine
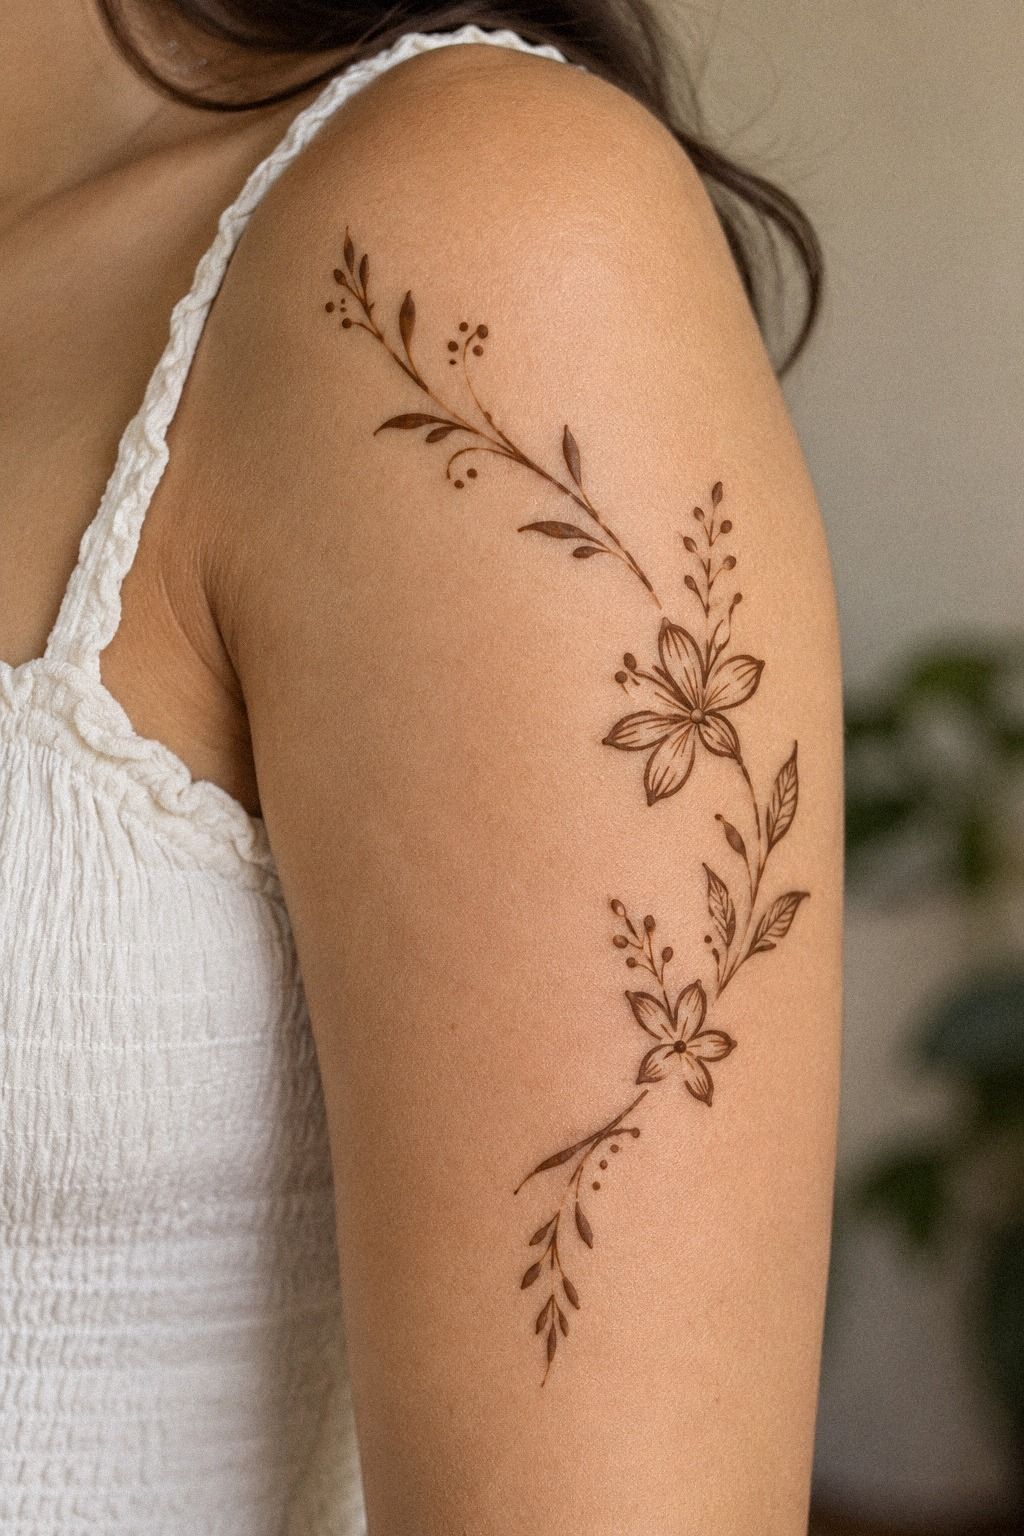
An ankle vine looks romantic when it wraps only partway around the ankle and then drops toward the foot. Use both feet as inspiration, but don’t force a mirrored copy. A classic curve on one side can feel more vibrant and graceful than perfect repetition.
The paste should be freshly mixed henna, with a smooth, toothpaste-like consistency. Your artist can create a leafy branch, small petals, and a few open curls. Keep the ankle edge lighter than the center so the design doesn’t look like a thick band.
Try this shape: one rising stem, two leaf pairs, a small flower beside the ankle bone, and three dots tapering toward the foot. It’s elegant, but the open spaces keep the result from feeling overly ornate.
Feet need practical planning. If you’re wearing sandals for an event, apply the paste well before leaving and let it dry fully.
Avoid tight straps while the paste is present, since rubbing can break the crisp surface. Ask about the artist’s cost before booking if you’re working within a budget.
For a second reference, explore traditional Arabic mehndi designs. You can borrow the flowing rhythm while keeping your own version simple, personal, and easy to wear.
A curved ankle flourish can make the design feel more vintage without adding much paste. I’d place it near the outer ankle, where the line has room to taper. Your feet will look stylish, but the pattern will still feel understated.
9Which Tiny Floral Details Keep the Pattern Clear?
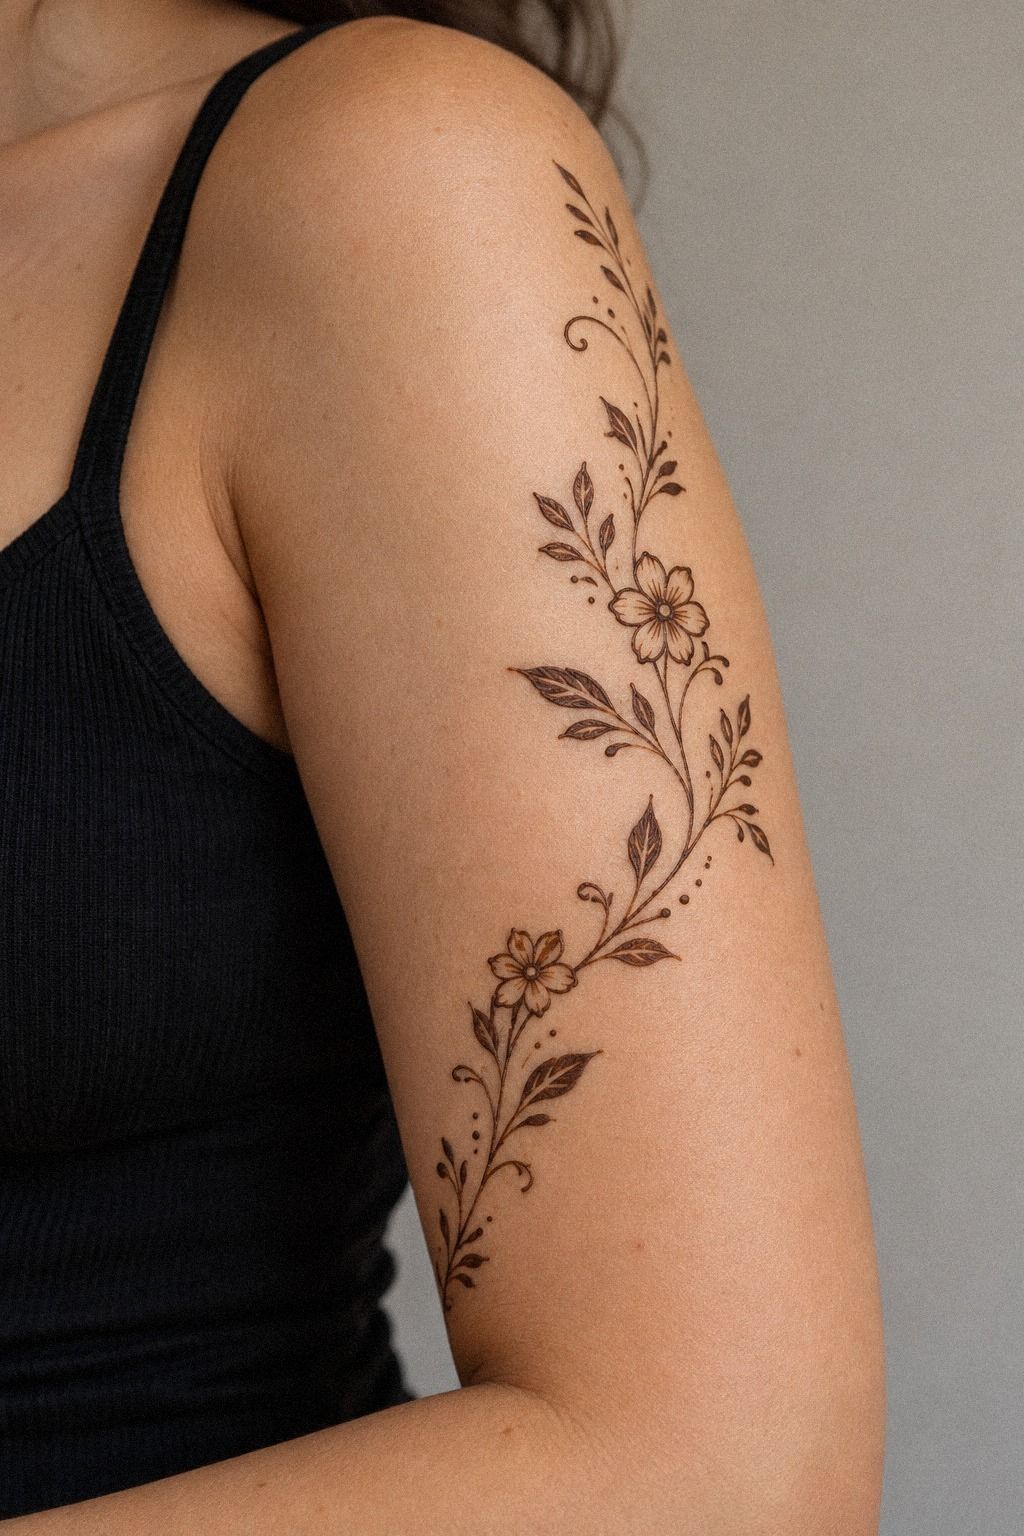
Tiny flowers make a simple hand or wrist pattern feel playful, whimsical, and feminine without making it childish. Choose one flower shape and repeat it two or three times.
A small open flower works well beside a vine because its petals remain readable after the paste flakes away. Your artist can add a dot at the center, but the outline should stay light enough to preserve the negative space.
Try placing one flower near the wrist, one near the middle of the hand, and one close to the finger base. The uneven rhythm feels more personal than a perfectly measured row. I’d use this arrangement when you want something graceful but not too formal.
For more inspiration, browse simple very simple mehndi designs and notice how small floral marks support the main motif. They shouldn’t compete with it. Let the vine lead.
You can also choose a petal-and-dot accent for the fingers. It feels dainty, crisp, and easy to repeat on both hands. If you’re applying the paste yourself, practice the petal pressure on paper first.
10Negative Space or Full Coverage?
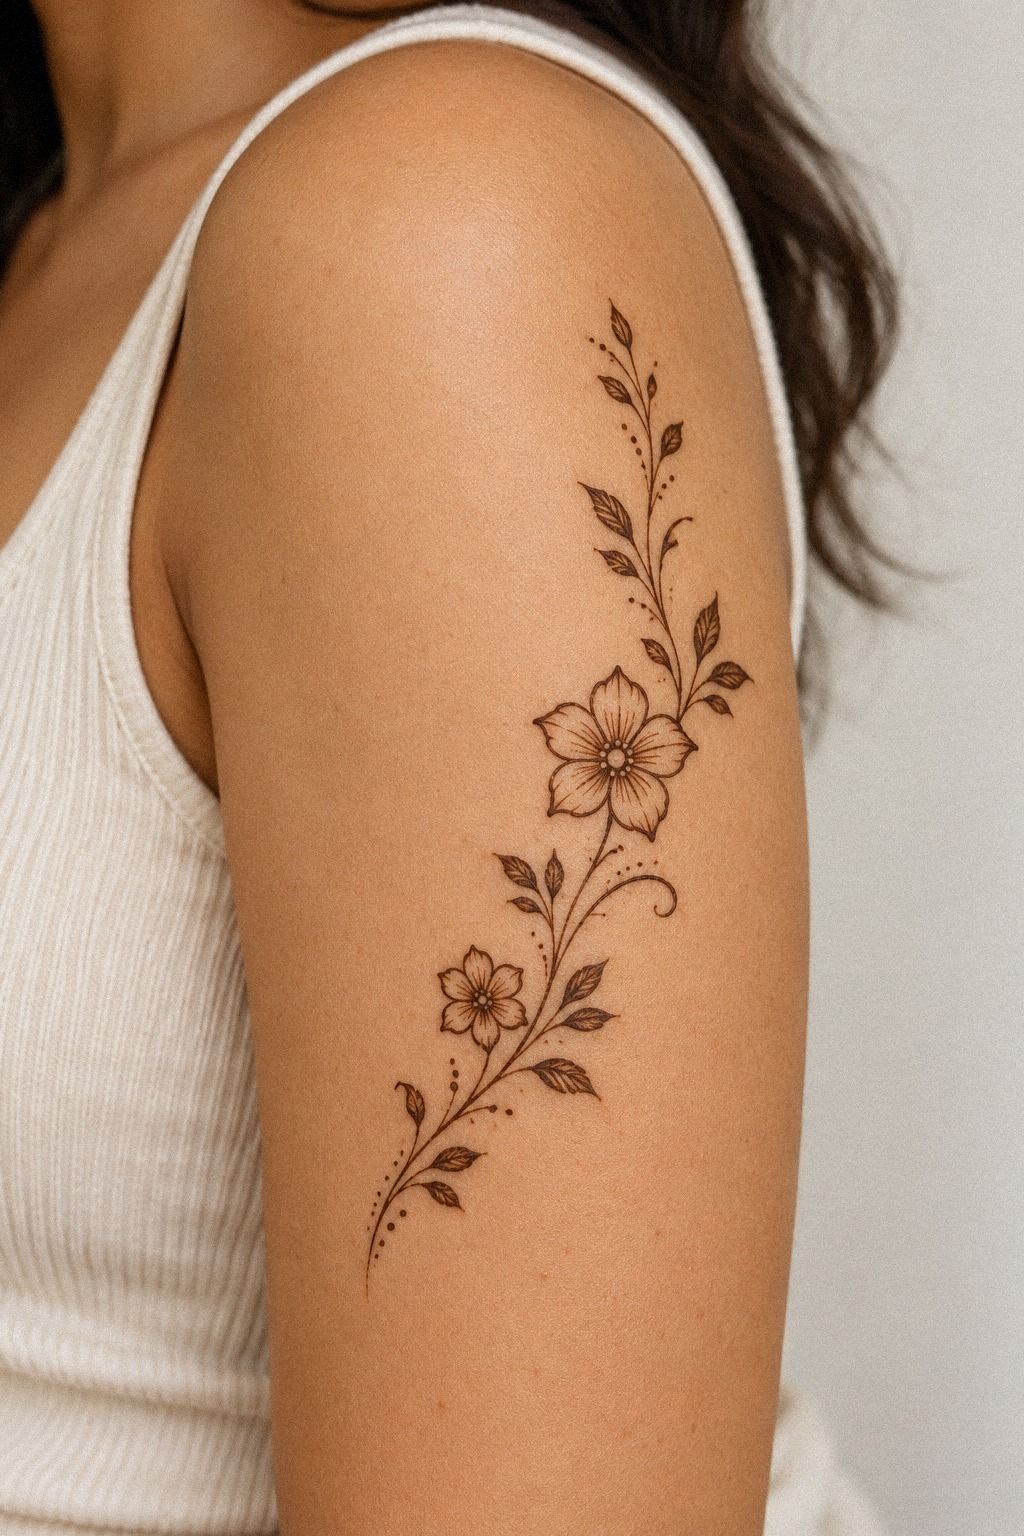
Negative space doesn’t mean the design has to be faint. A bold vine can look daring, edgy, and sharp when the filled shapes sit beside clear skin instead of spreading across it. On fingers and the palm, that contrast makes the pattern personal.
Use fresh natural henna paste for the strongest leaves and paisley outlines. Your design can include one filled petal cluster, but surround it with untouched skin. I’d skip an all-over palm pattern because the empty areas are doing the visual work here.
Try a clear structure: one thick paisley near the palm edge, a narrow branch toward the finger, three bare spaces between leaves, and a pair of dots near the thumb. You’ll get a crisp pattern that still feels light from a distance.
Don’t confuse negative space with unfinished work. The blank areas should have a purpose, and your artist should place them where they separate the main motifs. If you’re working alone, sketch the shape lightly with a cosmetic pencil first.
This is the open-skin contrast. It’s powerful because you’re choosing what not to cover.
For another clean reference, visit simple very simple mehndi designs and look for patterns with clear gaps. If your budget is limited, this approach gives you plenty of visual impact for less paste and time.
A bare-skin corridor can separate two strong motifs without making the design feel unfinished. Keep it narrow near the palm and wider near the fingers. Your pattern will look more polished when every empty space has a reason.
11Add a Crisp Mandala Accent
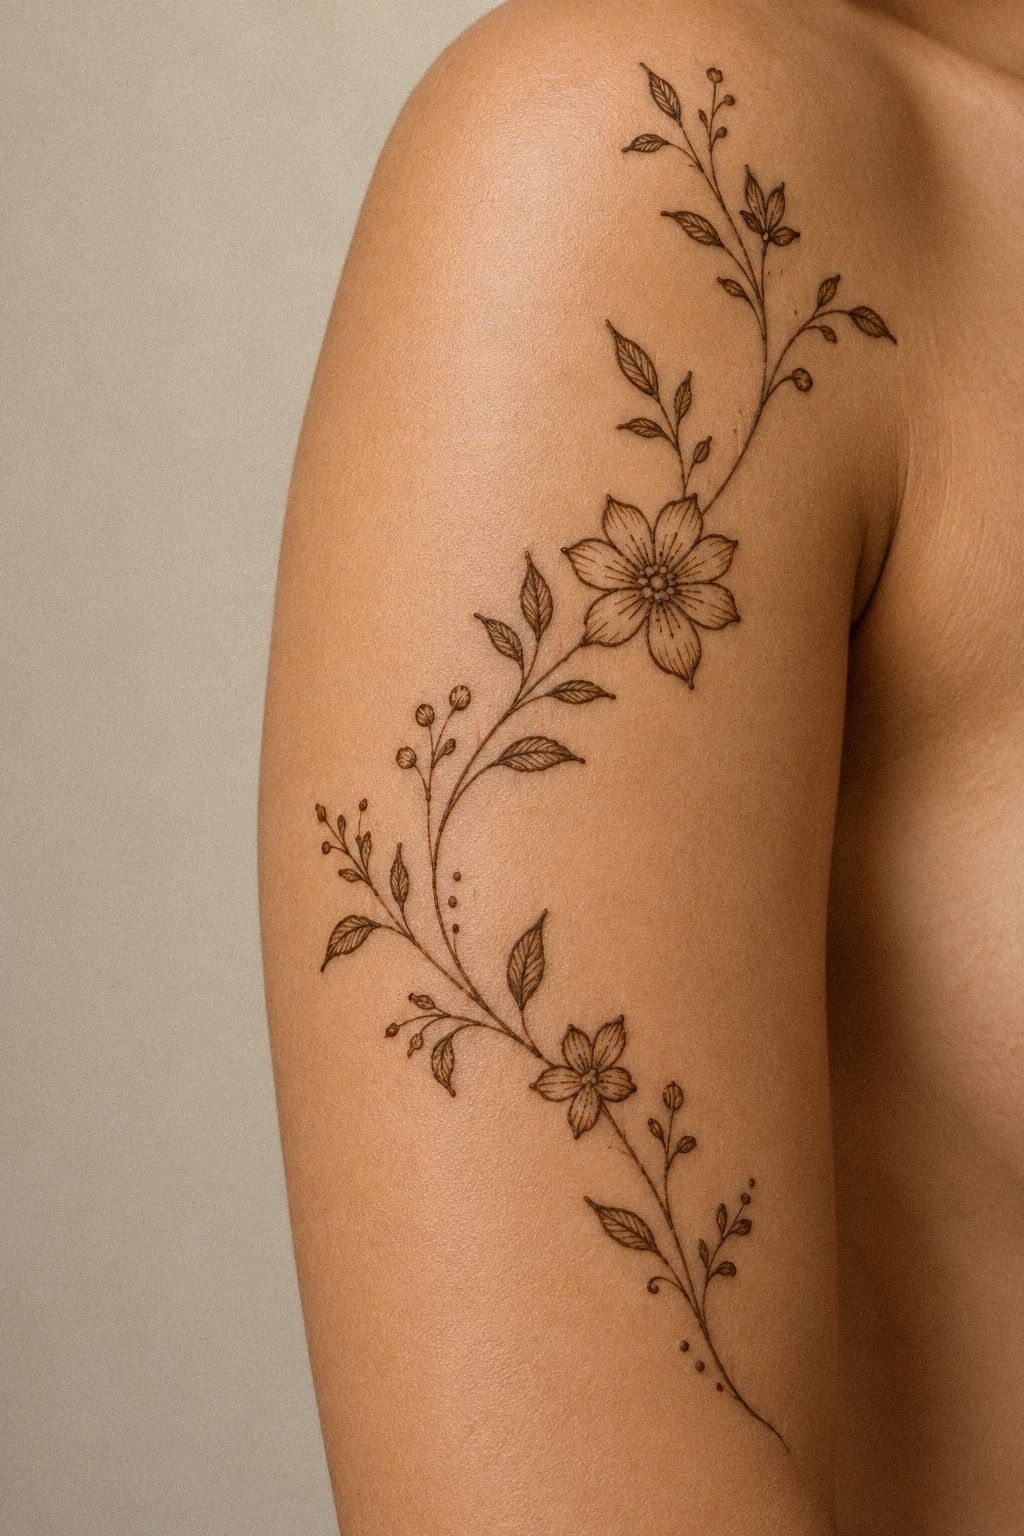
A mandala accent can anchor an otherwise flowing design, especially on feet and ankles. You don’t need a large circle; a small center with four or five petals can be enough.
Choose a small mandala center near the wrist, palm corner, or ankle bone. Your artist can surround it with dots and two open leaves, creating a controlled focal point without filling the entire placement.
For a symbolic variation, ask for a tiny sunburst inside the mandala. It feels sacred and expressive, while the surrounding vine keeps the pattern light. I’d avoid adding a second large motif unless your placement has plenty of open skin.
Compare this idea with the details in an elegant mehndi guide before deciding how much ornament you want. A mandala is easy to overwork, so leave room around it. Less can still feel powerful.
The mandala-and-vine pairing works especially well when you want a classic center with a more modern trail. Your artist can make the center crisp and the vine softer, giving you contrast without visual clutter.
Arabic Placement That Fits Your Occasion
Your placement changes the personality of the design. The back of your hand feels visible and expressive, the palm feels intimate and symbolic, while the ankle can feel more unexpected and graceful.
A backhand vine suits a wedding, Eid, or family gathering when you want the pattern noticed quickly. A palm-corner motif feels more personal, and a single-finger trail works when you want something quick. I’d choose the placement before choosing the exact flower.
If you’re attending a sangeet or Diwali celebration, you may want richer coverage on one hand and a lighter design on the other. Your result can still feel balanced without being mirrored. That contrast often looks more stylish.
For everyday wear, compare the scale of these Arabic mehndi designs for hands with your preferred clothing and jewelry. You’ll know the right choice when the design supports your occasion instead of competing with it.
Before You Apply the Henna Paste
Start with clean, dry skin and avoid applying heavy lotion immediately beforehand. Your clean skin preparation helps the paste grip evenly, especially around the fingers and ankle.
If you’re using a cone at home, test the flow on paper before touching your skin. The line should come out smoothly without spluttering. I’d rather spend five minutes practicing than repair a crooked paisley later.
Ask where the ingredients came from, especially if someone offers instant-black paste. Natural henna ingredients should be clear and familiar, and you should stop if the paste causes burning or unusual discomfort.
Your artist should also explain the drying time, aftercare, and expected color change. If you’re unsure about your skin’s reaction, test a tiny area first. A careful test is always worth the extra minute.
How the Henna Stain Changes by Day Two
Fresh paste usually sits on the skin for about 1 to 2 hours. After you brush away the flakes, the first orange stain may look lighter than expected. Don’t judge the final result immediately.
The color commonly deepens during the second day. Your palms and fingers may develop a richer tone than areas exposed to more rubbing, while the ankle can fade faster if sandals touch it.
A day-two reddish-brown stain is part of the charm. It won’t look exactly like the wet paste, and that change is normal. I like checking the color the next morning because the design often feels more finished then.
After that, the pattern gradually fades over about 1 to 3 weeks. Washing, friction, placement, and paste quality all matter. You’ll get the longest wear when you avoid unnecessary scrubbing during the early hours.
Choosing Fresh Paste for a Clearer Result
Fresh paste should have a smooth consistency that moves through the cone without large lumps. Your smooth henna mixture needs enough body to hold a raised line but shouldn’t feel dry or gritty.
A narrow cone tip helps with fingers, dots, and fine vines. A slightly wider tip can create a stronger paisley or filled petal. I’d use one cone for detail work and avoid switching styles halfway through the same motif.
If you’re buying from a mehndi artist, ask when the paste was made and how it has been stored. A fresh mixture usually gives you cleaner lines and a more dependable stain.
The henna cone tip also affects your confidence. When the flow feels steady, your hand can relax and your curves become more graceful. Practice pressure first, then begin with the simplest part of the design.
What Should Your Mehndi Budget Include?
Your price depends on the size, placement, detail, occasion, and whether you’re applying the paste yourself. Use these figures as simple planning ranges, then ask your artist for a clear quote before booking.
A simple one-hand design can give you strong visual value without requiring a large amount of paste or time. If your budget is tight, choose one focal motif and keep the surrounding skin open.
For an occasion package, ask whether travel, extra people, or additional coverage changes the cost. Your final price should be clear before the application begins. No awkward surprise later.
You can compare styles in this elegant mehndi guide and decide whether you prefer a delicate vine or a more ornate palm design. The most expensive option isn’t automatically the most meaningful.
Choosing a Design for Wedding, Eid, or Diwali
A wedding design can be more intricate, but it still needs readable spacing. A wedding mehndi motif might include paisleys, flowers, and a narrow wrist trail while keeping the fingers lighter.
For Eid, you may prefer a symbolic palm corner, a graceful vine, or a clean cuff. Your design can feel sacred without covering every visible inch. I’d choose one meaningful shape and let it lead the pattern.
Diwali and sangeet gatherings are ideal for expressive details, including tiny flowers, dots, and a flowing ankle trail. A festive floral accent can feel vibrant without becoming crowded.
If you’re planning around an event, apply the paste early enough for the color to deepen by the next day. Your stain will usually look richer on day two, which makes timing part of the design choice.
Editor’s Note: Why Simple Mehndi Still Feels Special
Simple mehndi is often treated as the easy option, but I think that undersells it. A restrained design asks you to notice spacing, direction, and the way the paste sits on real skin.
When the pattern has only a vine, a paisley, and a few dots, every curve has a job. That’s why an understated design can feel more expressive than a crowded one.
I’ve made the mistake of choosing too many tiny details at once. The reference picture looked intricate, but the result would have needed constant correction while the paste was still wet. Now I look for one anchor first.
Maybe it’s a palm-corner paisley. Maybe it’s a narrow ankle trail.
The rest should support that choice.
The stain also has its own small timeline. Fresh paste generally dries in about 1 to 2 hours. After you remove the flakes, the color may look orange.
It usually darkens through the second day, then wears gradually over roughly 1 to 3 weeks, depending on washing, friction, and placement. That natural change is part of the henna stain process.
Your safest choice is fresh natural henna from a trusted mehndi artist or a reputable source. Avoid products that promise an instant black result, because unknown additives can irritate skin.
If you’re unsure, test a small area before covering your hand, foot, or wrist. A careful test is always worth the small amount of extra time.
I’d choose the simple design that matches your occasion and your patience. A delicate wrist cuff may suit an everyday look, while a sacred-feeling palm motif might belong at Eid, Diwali, a sangeet, or a wedding.
The best design isn’t the busiest one. It’s the one you’ll still enjoy watching darken the next morning.
The Questions Worth Answering First
How long does Arabic very simple mehndi last?
Arabic very simple mehndi usually lasts about 1 to 3 weeks, depending on the body area, washing, friction, and paste quality. Palms and feet can wear differently from the back of the hand. Fresh paste and careful aftercare usually offer the best value.
– Fresh natural paste – Gentle washing – Limited rubbing – Gradual fading
When does the mehndi stain get darkest?
The stain often darkens through the second day after the dry paste is removed. It may look orange at first, then develop into a richer reddish-brown tone. Keeping the paste dry while it sets can support a clearer result.
– Orange first stage – Deeper day-two color – Warm brown finish
Can I make these designs at home?
Yes, you can make simple mehndi designs at home with a fresh henna cone, a steady surface, and a small practice sheet. Begin with vines, dots, and open leaves before attempting dense palm details. It’s a sensible budget option if you’re comfortable practicing first.
– Fresh henna cone – Tissue for the tip – Folded towel support – Simple practice strokes
Where can I find a mehndi artist?
Look for a mehndi artist whose portfolio shows clean paste control, varied skin tones, and developed stain results rather than only wet designs. Ask what ingredients are used and whether the artist avoids instant-black mixtures. Compare the artist’s cost, experience, and occasion-based value before booking.
– Clear portfolio – Natural henna ingredients – Clean preparation – Occasion-based experience
How should I care for fresh mehndi?
Let the paste dry for about 1 to 2 hours, brush it away gently, and avoid unnecessary water immediately afterward. Don’t scrub the area, and protect it from heavy friction while the day-two stain develops.
– Gentle paste removal – Minimal early washing – No harsh scrubbing – Loose contact
What design works best for a first attempt?
A narrow vine, palm-corner paisley, or small wrist cuff is a strong first choice because the shapes are forgiving and the open skin keeps the design readable. You’ll learn cone pressure without committing to a crowded pattern. For most beginners, the simple option is worth it.
– One main motif – Open spacing – Short flowing trail – Simple finger details
Where I’d Start First
If I had to pick one, I’d start with the palm-corner motif. It gives you a clear focal point, enough open skin to keep the pattern crisp, and a richer day-two stain without requiring a crowded design. Save this elegant mehndi guide for your next occasion.
Choose the style that fits your budget, your placement, and the way you want the stain to change. A delicate vine may be all you need. Sometimes one graceful curve says enough.


