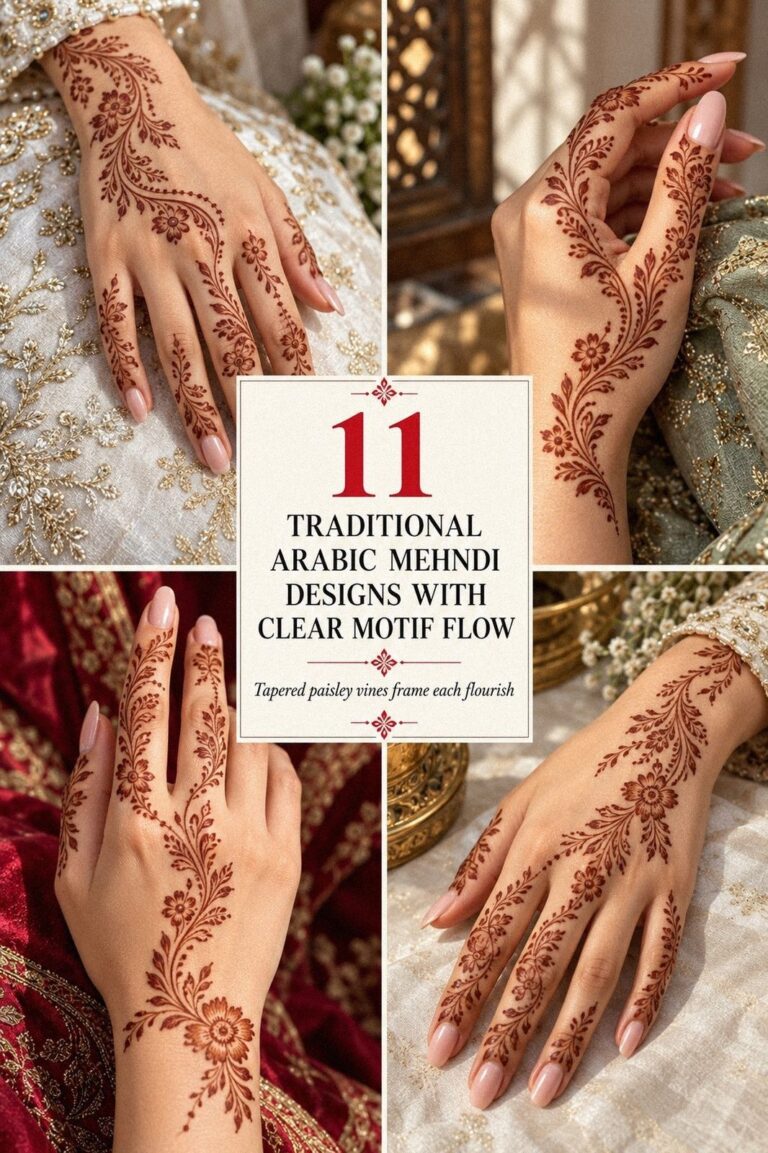
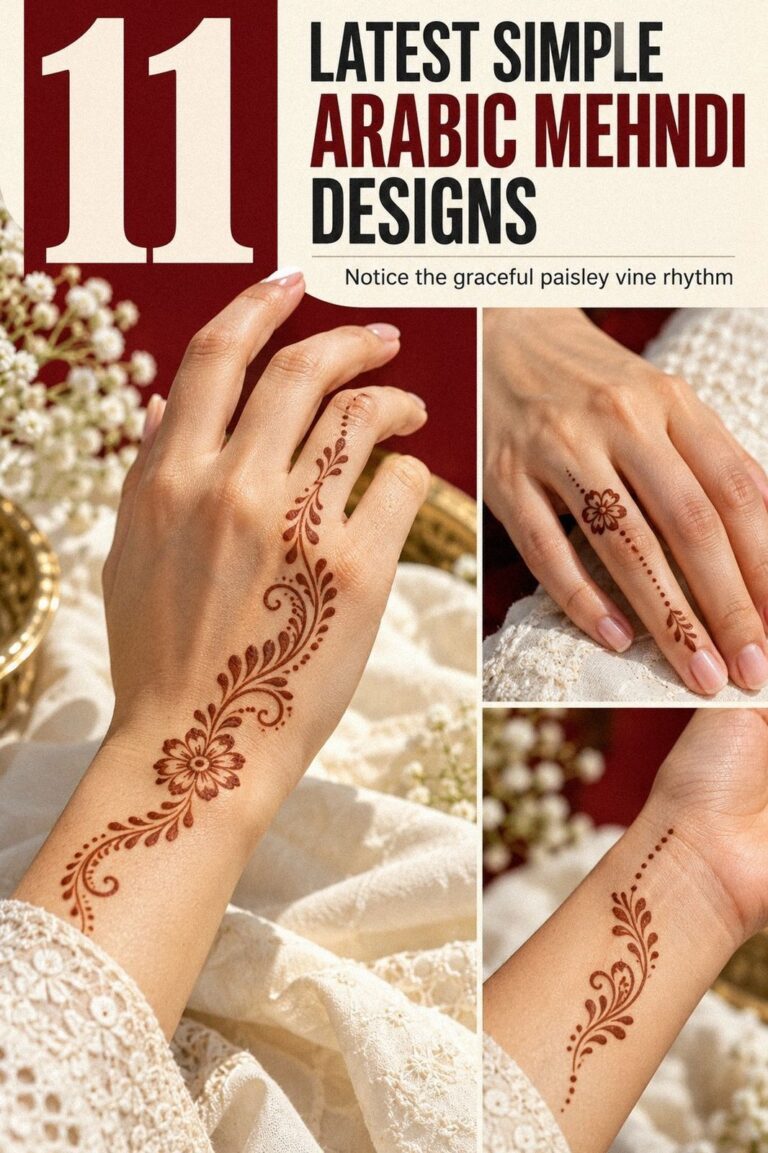
Indo Arabic bridal mehndi designs feel balanced when bold trails meet delicate open skin. I once filled every gap and lost the flowing rhythm that makes this style graceful. The fix was simple: plan the palm, fingers, and wrist as one composition. These ideas will help you choose a meaningful pattern that darkens beautifully over two days!
- Keep the First Trail Simple
- Why Do Fine Lines Still Look Bridal?
- Full Coverage, Clear Route
- Follow the Bold Floral Trail
- Build Fingertip Detailing With Restraint
- Leave the Negative Space Deliberate
- Let the Peacock Lead
- Shape Bracelet-Style Bands With Open Trails
- Keep the First Trail Simple
- Why Do Fine Lines Still Look Bridal?
- Full Coverage, Clear Route
- Follow the Bold Floral Trail
- Build Fingertip Detailing With Restraint
- Leave the Negative Space Deliberate
- Let the Peacock Lead
- Shape Bracelet-Style Bands With Open Trails
- Minimal Hands, Meaningful Marks
- Choose the Symbol That Matters
- Hands and Wrists, One Flow
1Keep the First Trail Simple
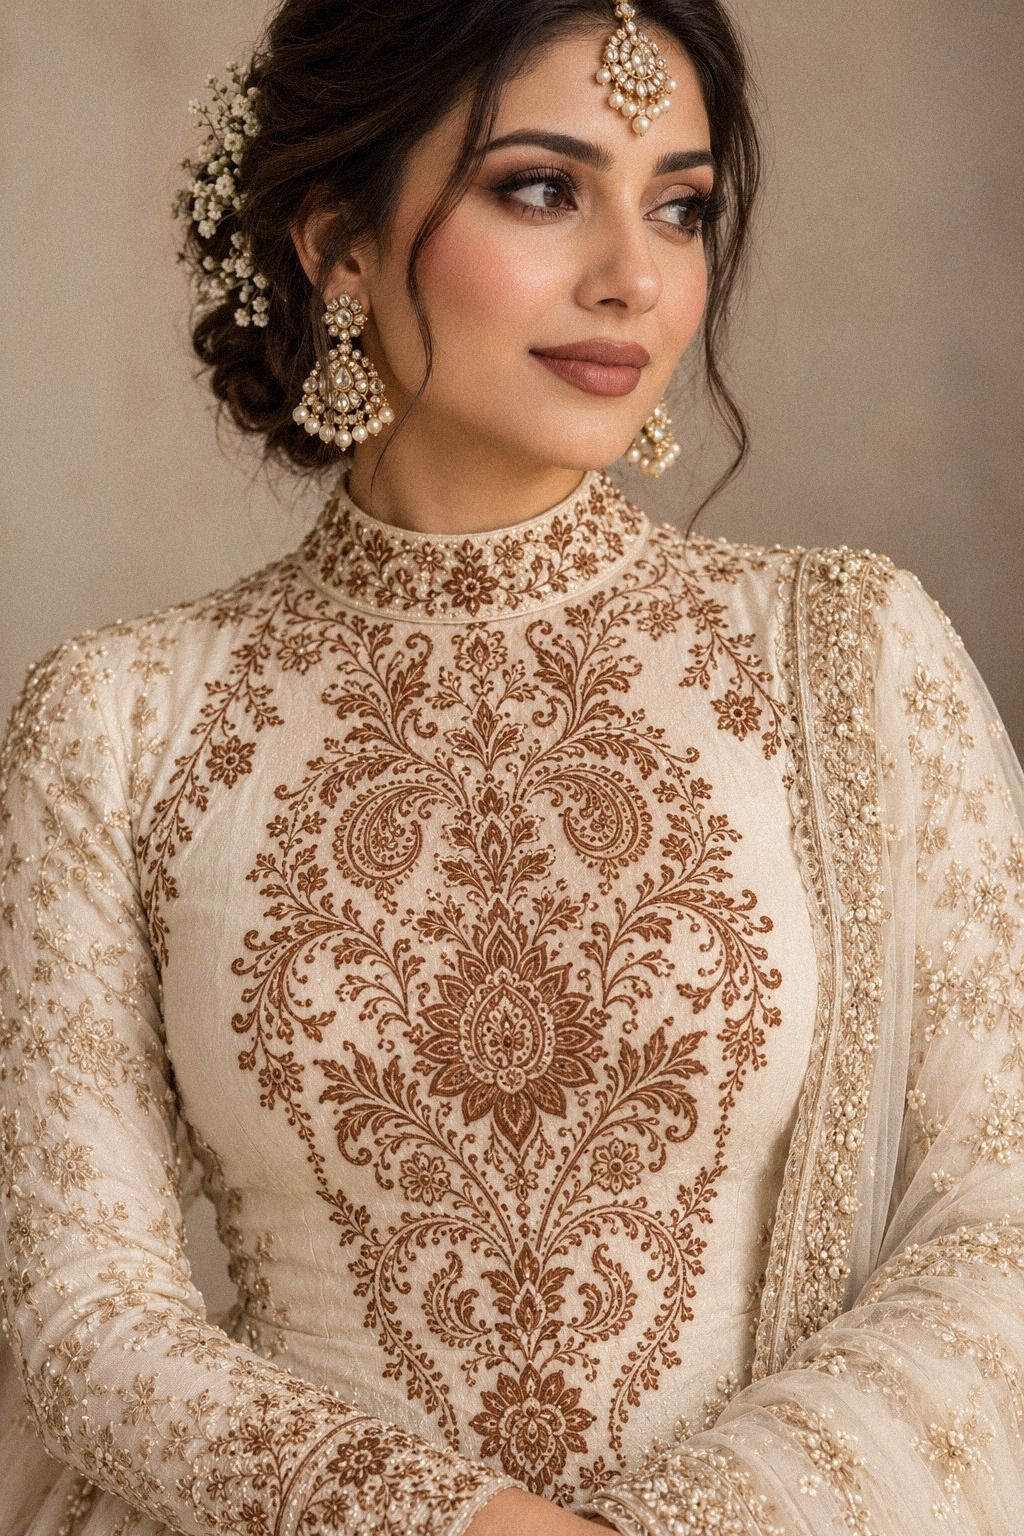
A simple back-of-hand trail works when you want reddish-brown henna paste to guide the eye from wrist to fingertips. Start with one graceful paisley near the thumb. Then let two curved stems travel toward the index finger.
You’ll get an intricate look without covering every patch of skin.
Keep the spaces intentional. A small paisley motif beside the wrist, three crisp leaves near the knuckles, and a delicate fingertip finish can look polished.
I’d skip random dots between every flower. They interrupt the flowing Arabic rhythm.
The cone pressure matters here. Use a fine opening for crisp stems.
Press slightly harder for bold flower centers. Your artist can leave the palm mostly open, which makes the stain feel understated when the paste flakes away.
If you’re collecting references, compare these simple Indo Arabic mehndi designs with simple Arabic mehndi designs. You’ll notice that the strongest examples use fewer elements. Every curve still has a job.
Start With the Wrist Route
Your first decision should be the direction of the main wrist trail. Will it rise toward the index finger, curve toward the thumb, or split gently across the hand? Choose one route before your artist begins.
A flowing route feels more personal than scattered decoration. I’d draw the path with a fingertip first, then adjust it until your hand still feels natural. This quick test can save time and protect your budget.
2Why Do Fine Lines Still Look Bridal?
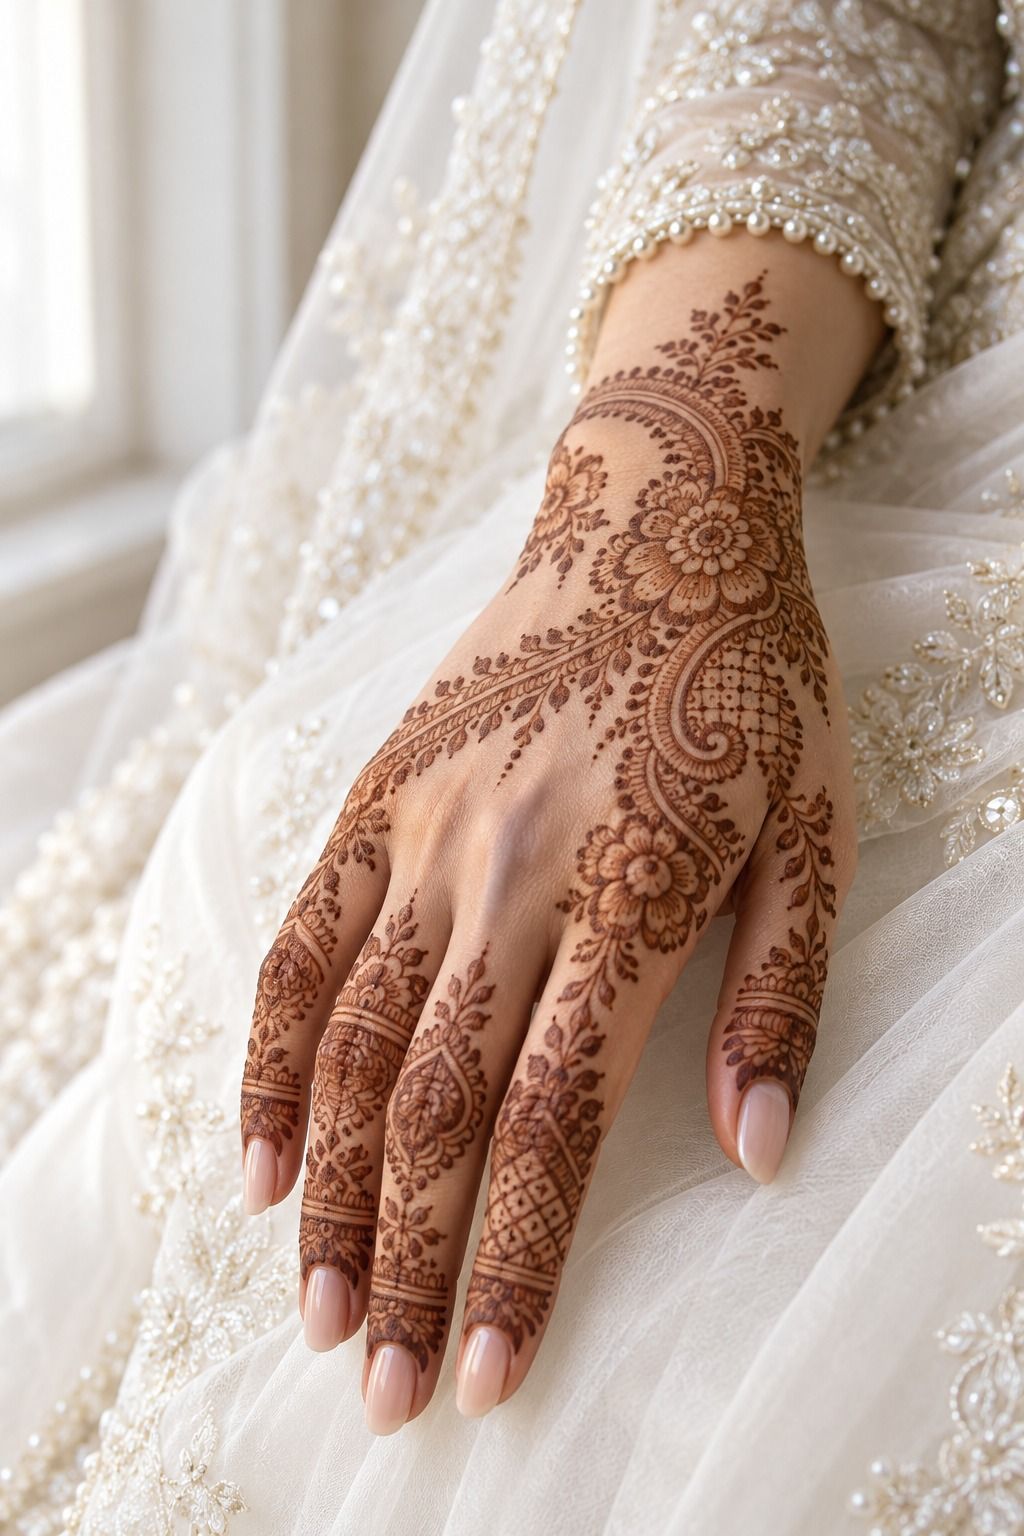
Fine linework gives Indo Arabic bridal mehndi its crisp, elegant character. You’ll want to protect that lightness by avoiding thick borders around every leaf. A graceful vine, sharp tendrils, and delicate petal interiors create more movement than a solid block.
The contrast between open skin and fine henna lines makes this style expressive. Keep the outer edge clean, especially near the wrist. Your pattern will look intentional when your hands are holding flowers, fabric, or a ceremonial object.
I’ve seen designs lose their charm when every line is pushed too dark too early. Ask your artist to vary pressure. Fine strokes can carry the detail, while firmer marks can anchor the main flowers.
For a stronger reference set, browse latest Arabic bridal mehndi designs and simple new bridal mehndi designs. You’ll find that a vibrant stain doesn’t need a crowded composition to feel bridal.
Let the Fingers Echo the Main Trail
Finger details should repeat the language of the small finger arcs. They don’t need to copy the palm exactly. One curved line, two tiny leaves, or a partial band can be enough.
Your fingers move constantly. I’d keep the marks crisp and narrow near the joints. This makes the final result feel sleek instead of stiff.
3Full Coverage, Clear Route
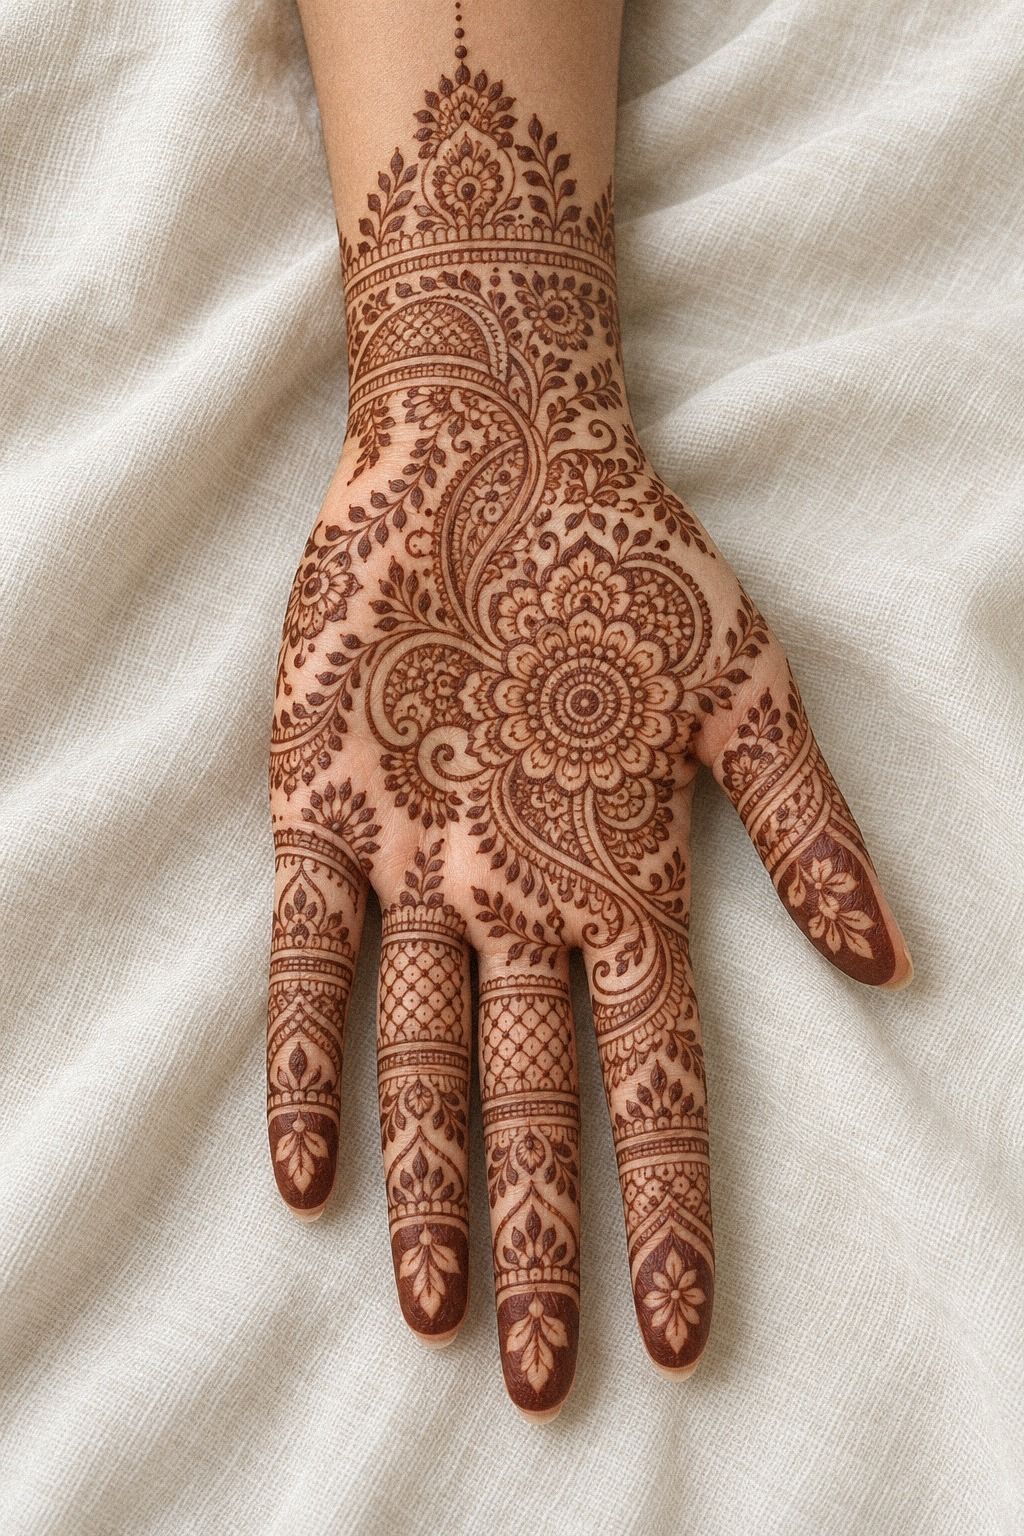
Full hand coverage can still feel balanced when the pattern has a clear route. Let the dense floral jaal travel across the hand and wrist while the edges remain readable. That contrast keeps the ornate pattern from becoming one uninterrupted brown shape.
Build the pattern in layers. Begin with the largest floral anchors.
Connect them with curved stems and smaller leaves. Your artist shouldn’t fill every fingertip identically, because varied detailing makes the composition feel personal and bold.
A full design needs drying patience. Leave the paste on for about 1 to 2 hours.
Let the stain deepen on the second day. Don’t judge the final shade while the paste is still fresh.
I’ve learned that the first orange stage can look completely different from the richer result later. If you’re paying for full coverage, ask what aftercare is included in the quoted value. A careful application deserves careful timing.
If you want full coverage with a lighter visual weight, compare these Arabic bridal mehndi designs with new bridal mehndi references. You’ll see how dark centers and open borders can keep a large pattern from feeling overwhelming.
What Does Full Coverage Cost?
The price depends on bridal hand coverage, timing, location, and the artist’s experience. Use these ranges as a planning guide, not a fixed menu.
A higher quote can be worth it when you want intricate placement, natural paste, and a reliable appointment window. Still, compare the finished portfolio before you pay. Your budget should support the result you actually want.
4Follow the Bold Floral Trail

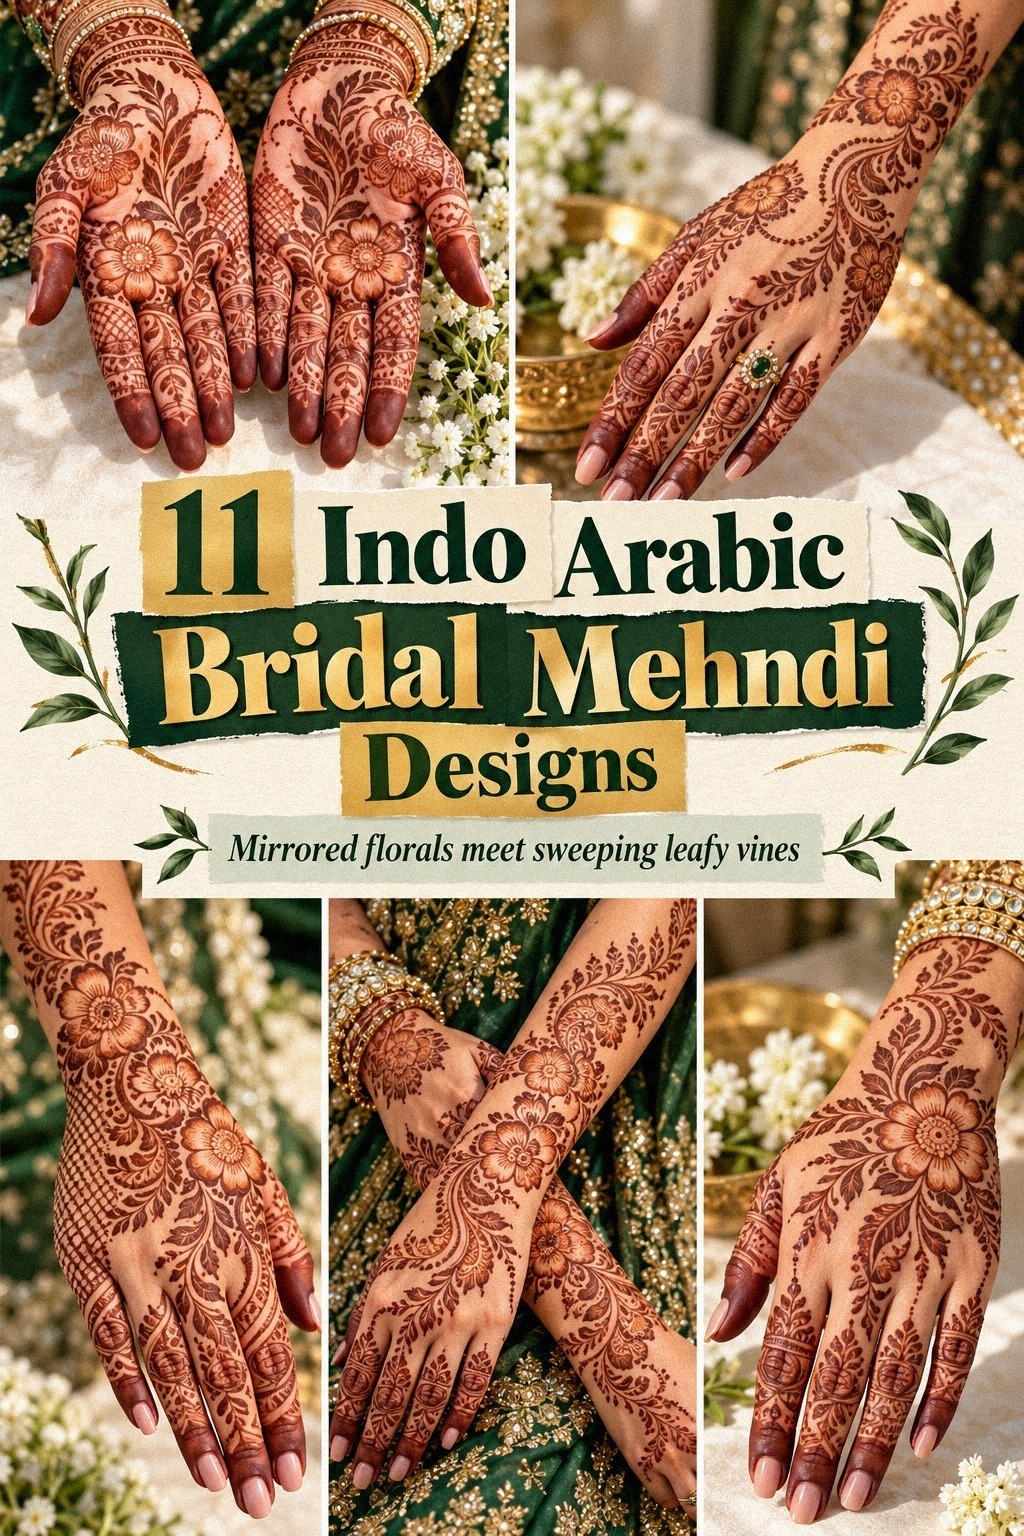
Bold floral trails make this option feel romantic and powerful without losing its flowing direction. Let rounded flowers move across the fingers and palm. Connect each bloom with a visible curved floral vine so the pattern reads as one story.
Choose one dominant flower shape. Repeat it with small changes. A large bloom near the palm, two medium flowers along the finger line, and narrow leaves near the edge create a striking progression.
I’d avoid mixing five unrelated flower styles. The result can feel scattered. One repeated flower gives your pattern a classic, polished rhythm.
The boldness should come from placement, not only paste thickness. Let the flower centers carry the darkest detail. Keep the petals more open and delicate.
Your hands will look vibrant at the ceremony. The pattern can still have a dainty edge as it fades.
If you’re deciding between a large trail and a simpler arrangement, save these simple new bridal mehndi designs beside your references. You’ll know which direction feels more personal before the cone touches your skin!
Choose One Focal Flower
One central floral anchor gives your artist a clear starting point. It can sit near the thumb, below the fingers, or slightly off-center toward the wrist.
Ask yourself what you want people to notice first. If your answer is the flower, keep nearby leaves smaller. If your answer is the flowing trail, let the flower support it.
5Build Fingertip Detailing With Restraint
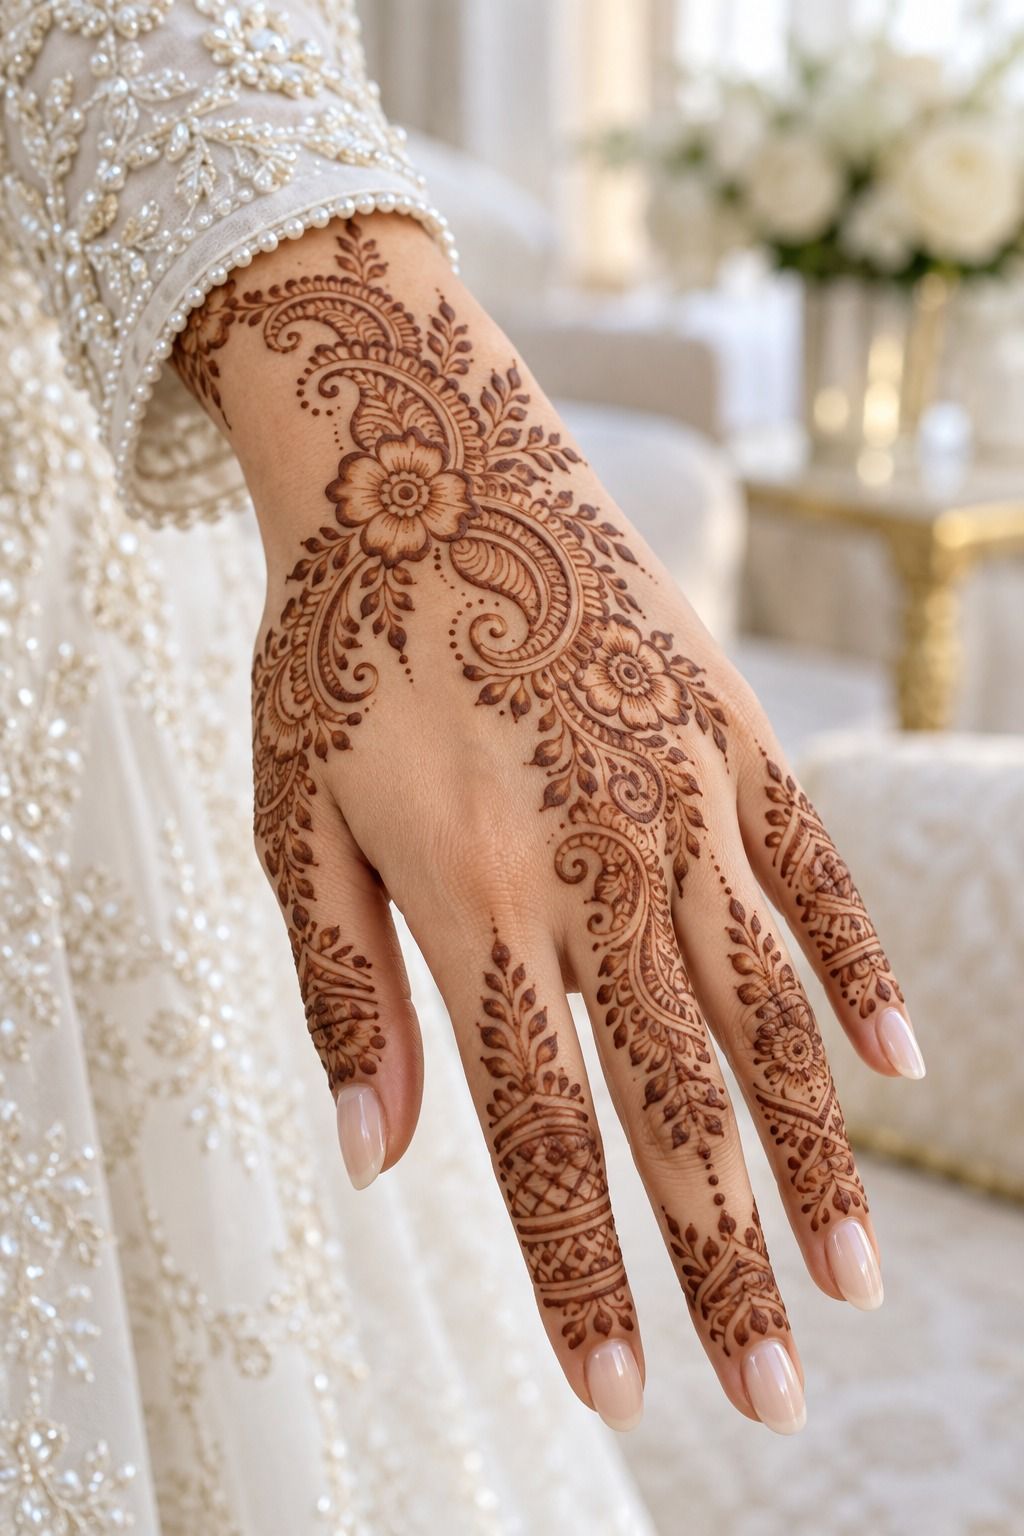
Fingertip detailing works best when it echoes the main hand pattern without taking over. Use pointed fingertip petals on two or three fingers, then leave the remaining tips lighter or open.
For the index and middle fingers, narrow arcs can create a graceful rhythm. For the ring and little fingers, a small cap or a few crisp leaves may be enough. Keeping the details varied makes the finish feel personal.
Your artist can vary the paste pressure between the palm and fingertips. Finer marks suit the joints. A firmer squeeze can define a small fingertip border without making the hand look heavy.
If you want matching references, review easy new bridal mehndi designs and simple Indo Arabic mehndi examples. Think about your comfort, appointment time, and total coverage before adding more detail.
Keep the Fingertips Delicate
Fingertip accents work best as small matching motifs. A paisley, leaf pair, or narrow arc can echo the palm without competing with it.
I’d avoid filling every fingertip with the same dense pattern unless you truly love that look. A few crisp marks may feel more elegant, personal, and manageable during a long bridal appointment.
6Leave the Negative Space Deliberate

Negative space gives this design an ethereal, understated quality. Use a clean open-skin channel between the main flowers so your eye can follow the composition from wrist to fingers.
Plan the empty areas before adding details. One open strip beside the wrist, a lighter palm center, and small gaps between finger motifs can make the pattern sharper.
I’d rather see three confident spaces than a patchwork of tiny accidental holes. Your artist should treat the open skin as part of the composition, not as unfinished paste work.
The floral marks should be crisp enough to hold the structure. Use a bold flower near the hand.
Soften the surrounding leaves with finer lines. Your design will feel graceful and expressive as the stain deepens.
I’ve gone back and forth on this style because it can look almost too minimal in a reference. In person, though, the contrast is striking. Compare it with elegant back-of-hand mehndi designs before you choose.
Why Open Skin Is Worth Protecting
Open skin has real design value. It keeps the motif readable and can make a detailed pattern feel less heavy.
You’ll also spend less time under the cone. That can matter if you’re booking several bridal applications. A simpler appointment may be worth it when your schedule and budget are tight.
7Let the Peacock Lead
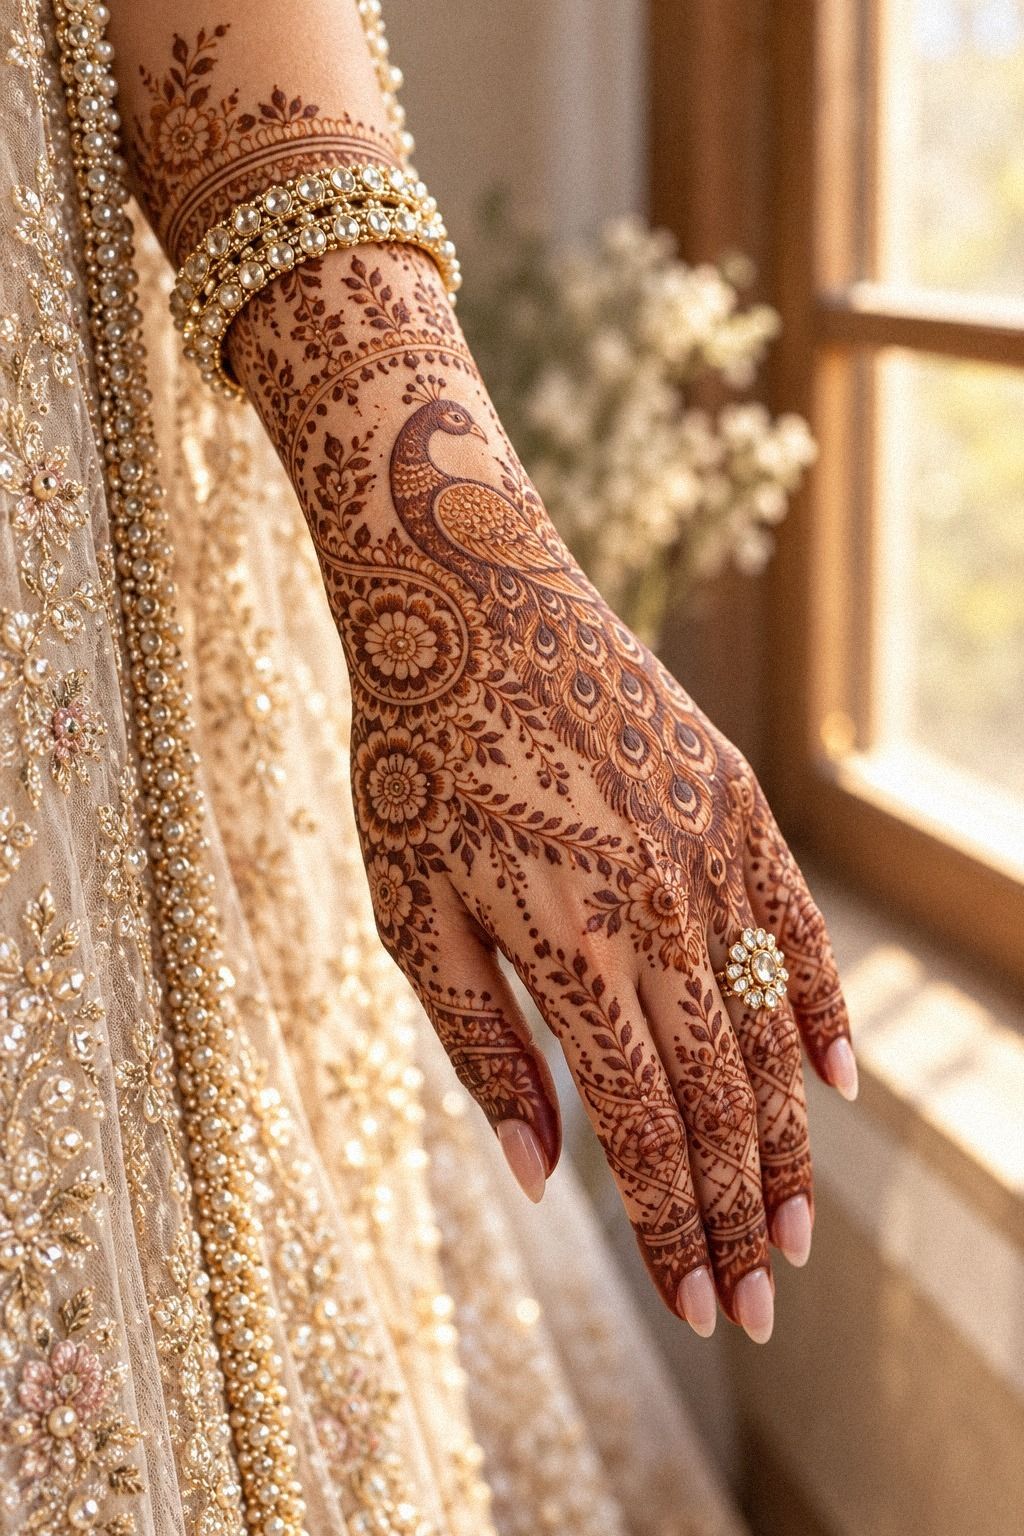
A peacock brings symbolic movement to the back of the hand. Let the peacock feather body become the main anchor while curling flowers and leaves extend toward the fingers.
Keep the peacock recognizable without drawing every feather too tightly. A rounded body, lifted neck, fan-shaped tail, and a few sharp feather marks are enough.
Your artist can make the surrounding trail whimsical. The central bird should remain the clearest element. That contrast gives the pattern an iconic focal point.
This motif works especially well when the tail follows the natural direction of your hand. A bold tail near the wrist can balance a delicate finger finish.
Small dots and arcs make the pattern ornate without becoming stiff. I’d skip placing the peacock directly over the knuckles, where movement can interrupt its shape.
For more meaningful references, compare simple peacock mehndi designs with classic bridal mehndi ideas. You’ll notice that a symbolic centerpiece can make the whole design feel personal, even when the surrounding details stay traditional!
Make the Peacock Personal
A symbolic peacock motif doesn’t need many extra elements. You might add one paisley, a flower linked to your family, or a small shape connected to the ceremony.
Tell your artist why the motif matters to you. That story can guide the surrounding lines. It also helps prevent random filler from taking over.
8Shape Bracelet-Style Bands With Open Trails
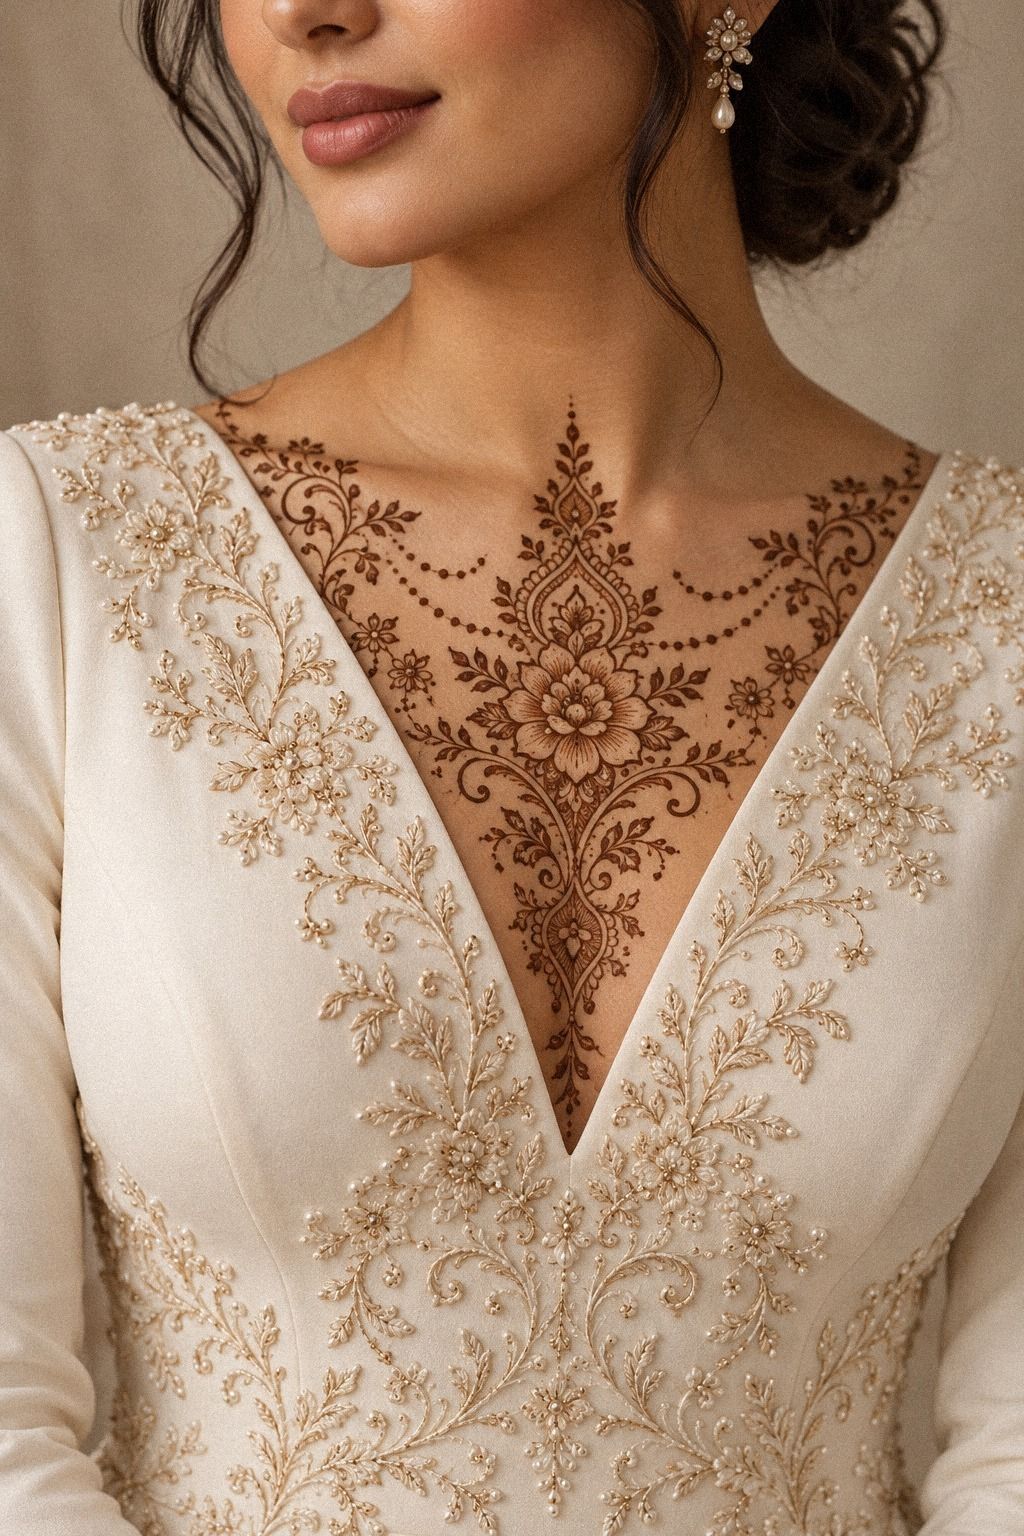
Bracelet-style bands create a polished rhythm around the wrist while keeping the hand connected to the main pattern. Use a slim wrist band with scalloped edges, paisleys, or short floral repeats.
The band can remain separate from the palm trail, or one curved stem can cross the wrist and link both areas. I prefer a small opening between repeated elements because it keeps the design delicate rather than dense.
You can make the band bold and the fingers minimal, or reverse that balance. A narrow border with one symbolic flower often feels more meaningful than several crowded rows.
If you want the wrist to remain flexible, ask your artist to avoid placing thick paste directly across every crease. Clear spacing helps the pattern stay sharp as the stain fades.
Choose a Band That Moves
A flowing bracelet motif should follow the wrist instead of forming a rigid ring. Let one end taper toward the thumb and the other finish beneath the little finger.
Your artist can use repeated leaves, tiny arches, or a broken paisley chain. These details create a playful rhythm while leaving enough open skin to keep the pattern readable.
9Minimal Hands, Meaningful Marks
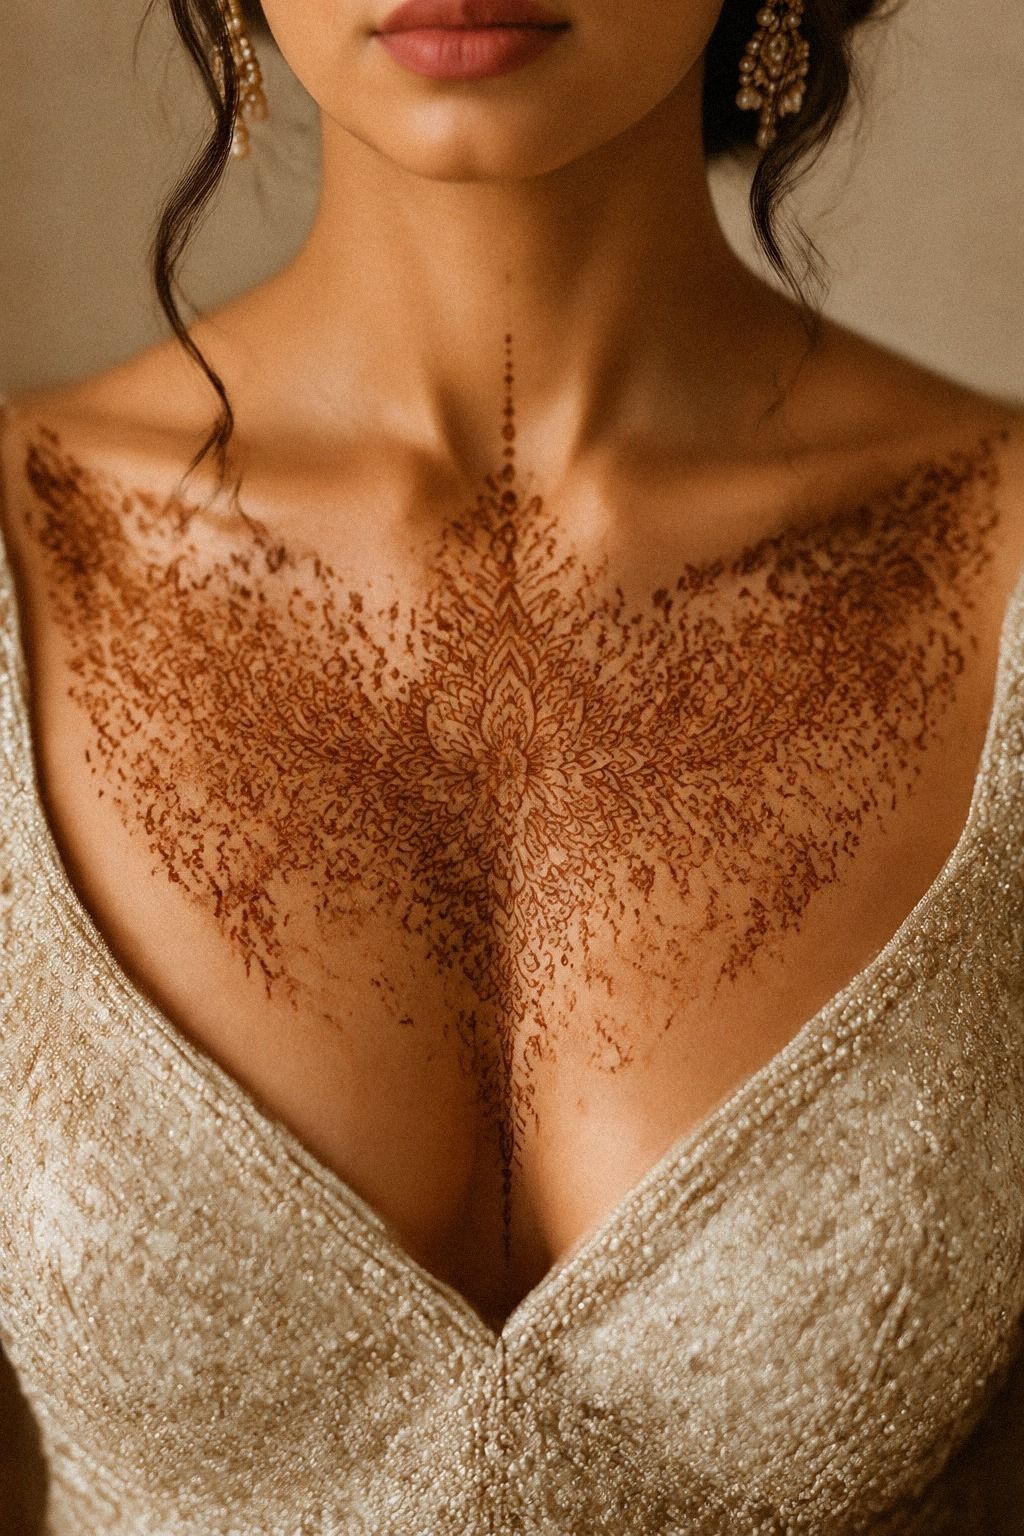
Minimal bridal hands can still look ornate when every mark has a purpose. Use a single open floral trail across the hand and wrist, with a few finger details that keep the finish dainty and personal.
Start with the main curve. Then decide where the design should stop. A crisp line near the wrist, one flower beside the thumb, and two small finger motifs may be enough.
Your artist doesn’t need to fill the palm just because bridal mehndi can be dense. The restraint is part of the style. It makes the result feel sleek and understated.
This approach is ideal if you want a delicate finish that won’t compete with jewelry. Keep the leaves sharp and the flower centers bold so the pattern remains readable as the stain softens.
I’d avoid adding extra filler at the last minute. The open skin is doing important work. If you’re unsure whether minimal feels bridal enough, compare simple Indo Arabic mehndi designs with elegant bridal references.
When Minimal Is Worth the Price
Minimal work isn’t always cheaper. A precise fine-line application can require serious skill and steady timing.
Ask what the quote includes. Some artists price by coverage. Others price by appointment length, event timing, or the number of people waiting.
Your best value comes from a pattern you’ll still love after the stain fades. Don’t pay for density you never wanted.
10Choose the Symbol That Matters
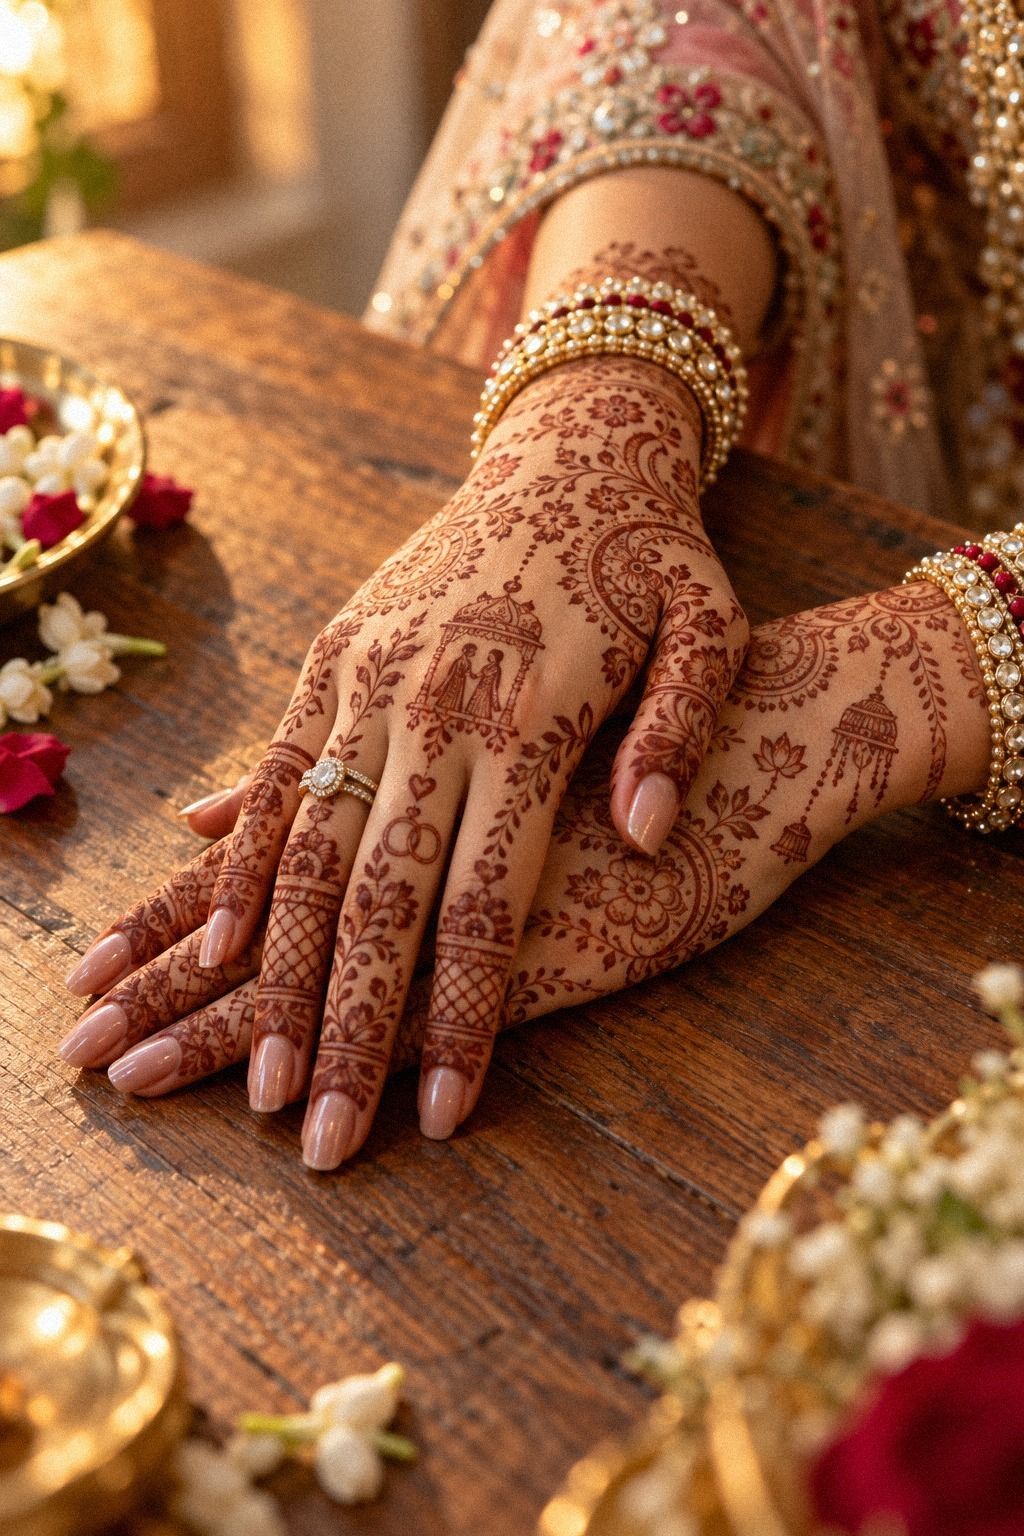
Symbolic details give your bridal mehndi a meaningful, expressive center. Add small wedding symbols among flowers, leaves, and curved trails instead of placing them like separate stickers.
Choose one or two symbols that matter to you. Initials, a tiny paisley, a floral heart, or a discreet date can work when the surrounding linework stays clean.
Your design will look more elegant if the symbols are discoverable, not oversized and obvious. A small heart inside a flower can feel more personal than a large central emblem.
Keep symbolic marks away from overly crowded areas. Dense filler may blur the visual message. I’d choose one meaningful element over six decorative ones every time.
And don’t forget the ceremony itself. Henna paste is applied through a cone, dries before removal, and leaves a stain that deepens later. Save these easy new bridal mehndi designs before finalizing your symbols!
Give the Symbol Some Space
A small personal detail needs breathing space around it. Ask your artist to keep nearby leaves and dots lighter.
You’ll recognize the symbol faster when it has a clear edge. This is especially useful for initials or a tiny date.
11Hands and Wrists, One Flow
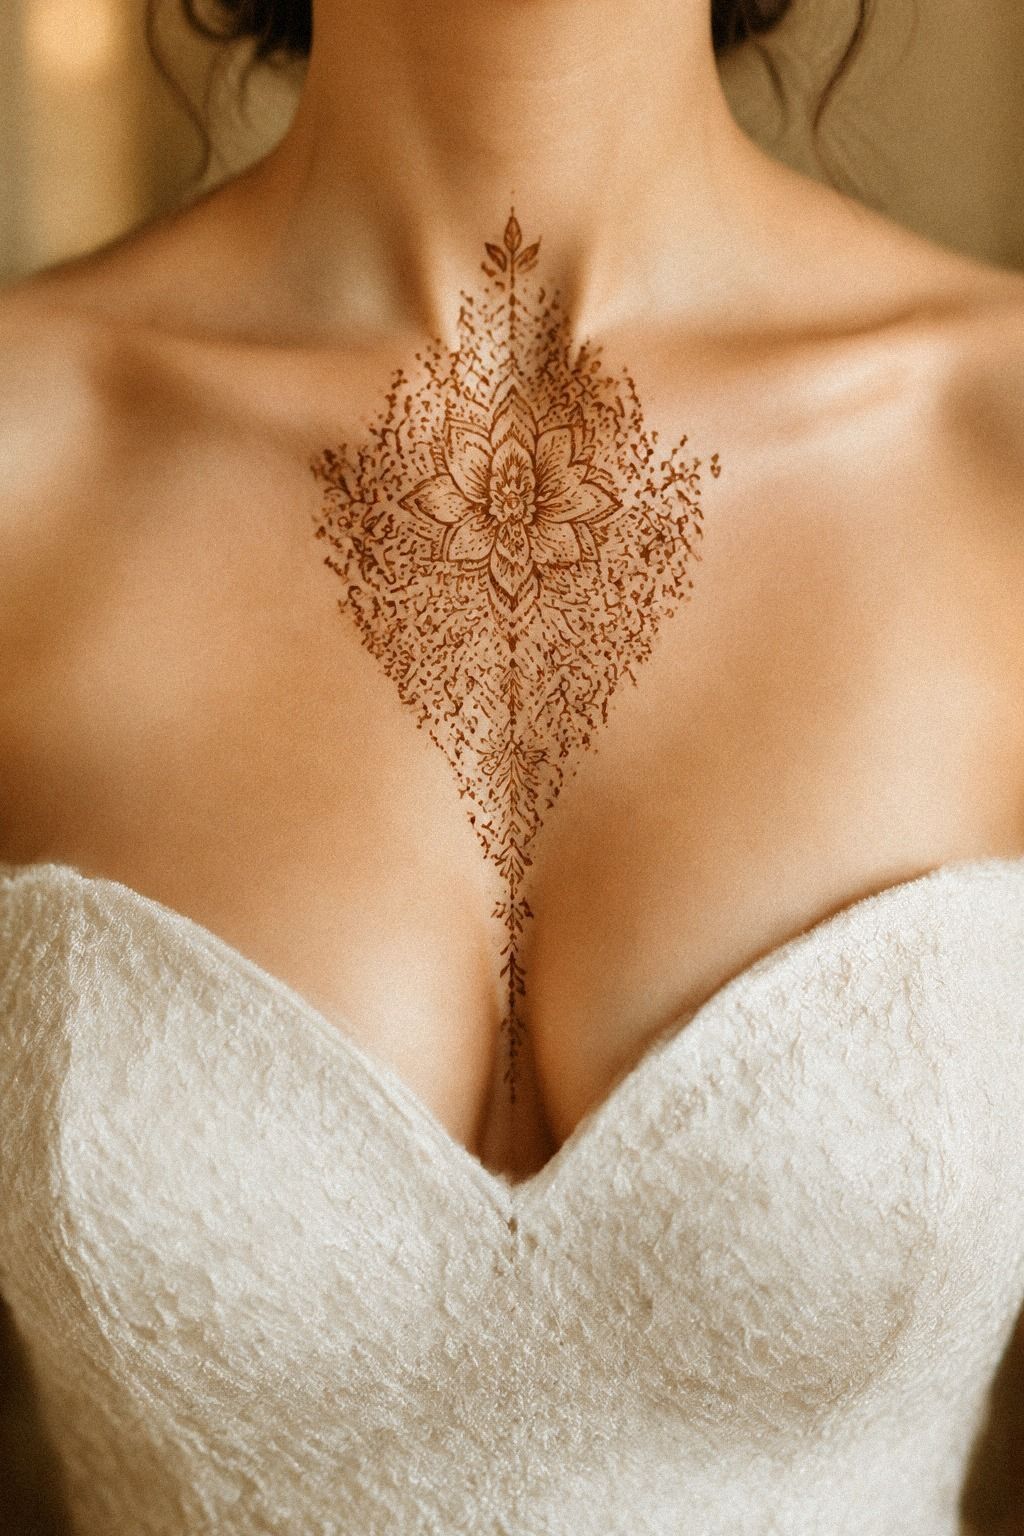
The same balance principle works across hands and wrists. Build a continuous wrist-to-finger route so each area feels connected without becoming identical.
You can place the strongest flower near the hand and let the wrist carry thinner stems. Or reverse the emphasis with a bold wrist band and delicate fingers.
Your artist should check the design while your hand is relaxed. Movement changes the spacing around the knuckles and wrist. A pattern that looks perfect when stretched may feel crowded when you move.
I’d also consider how the stain will fade. The wrist receives friction from clothing and washing. Keep the smallest details away from areas that rub often.
For more references, compare back-of-hand mehndi designs with simple bridal hand patterns. Choose the option that feels personal, readable, and worth the appointment.
Check the Full Composition
Before the cone touches your skin, review the complete hand plan. Check the wrist, palm, fingers, and any matching detail together.
You’ll spot repeated flowers, awkward gaps, and crowded edges early. I’d rather revise a reference sheet than ask for major changes during application.
The Cone-Pressure Method and the Two-Day Deepening Rule
I used to think a good bridal mehndi pattern depended mostly on complexity. It doesn’t. The cone controls the line, the open skin controls the rhythm, and the drying time controls the final stain.
Once you understand those three choices, even a restrained design can feel striking and sophisticated. Your artist can shift between fine and firm pressure within one trail.
Fine pressure gives you delicate tendrils and crisp borders. A firmer squeeze creates bold petals and darker centers. That variation keeps the design expressive instead of mechanically uniform.
The second rule is patience. Let the henna paste dry for roughly 1 to 2 hours. Remove it gently rather than scrubbing.
The color may look bright at first. It often deepens by the second day and gradually fades over 1 to 3 weeks. You’ll get a richer result when you follow the timing instead of judging the stain too soon.
I’d protect the stain from unnecessary friction, harsh washing, and early water exposure. Gentle care, a little patience, and a sensible application time will help your deep brown stain develop evenly.
If you’re paying for a bridal package, ask whether the artist explains aftercare. Clear guidance adds value. It can also help you avoid paying twice for rushed corrections.
The Questions Worth Answering First
How much do Indo Arabic bridal mehndi designs usually cost?
The price varies by artist, region, coverage, and event timing. A small hand design may cost less than a full bridal package. Ask for a written clear quote that includes both hands, feet, travel, and application time.
You’ll want to compare the finished portfolio, not just the lowest number. A more experienced mehndi artist may charge more for balanced placement and fine detail. Your choice should still match your design, schedule, and budget.
Is this a good choice for a first mehndi application?
Yes, especially if you choose a clean pattern with moderate coverage and a comfortable application window. A simple floral trail lets you test the look without committing to dense palms or elaborate feet.
You’ll also have room to see how your skin responds to the paste. Start with an open back-of-hand trail, a small wrist motif, delicate finger accents, and one symbolic detail.
If you’re new to bridal mehndi, tell your artist what you like and what you don’t. A personal reference board will help them create something meaningful, elegant, and manageable.
How do I choose a mehndi artist?
Review portfolio examples showing crisp lines, clean curves, and fully dried results. A strong portfolio should show different hand shapes, coverage levels, and motif styles.
You’ll want someone who understands Indo Arabic flow, not just isolated flowers. Ask about the cone ingredients, hygiene practices, timing, and aftercare.
I’d also ask how they handle sensitive skin and whether they use natural henna paste without unknown additives. Your safety matters as much as the final pattern.
How long does the henna take to dry and fade?
Henna paste commonly needs about 1 to 2 hours to dry before careful removal. The stain often deepens on the second day. The visible color usually lasts around 1 to 3 weeks.
You’ll get a longer-lasting result when you avoid unnecessary scrubbing and protect the design from heavy friction. The stain fades naturally rather than disappearing all at once.
What color should Indo Arabic bridal mehndi be?
A warm reddish-brown stain is the classic result of natural henna. The final shade varies by skin, paste freshness, warmth, and timing.
A rich brown finish often develops after the paste is removed and the color has had time to deepen. Avoid judging the design too soon.
Your hands may look orange at first, then become darker over the next day. I’d choose a balanced pattern rather than chasing one exact shade.
Where can I buy a good henna cone?
Buy from a reputable mehndi supplier or directly from an experienced local artist who can explain the ingredients and freshness. A fresh natural cone should have clear storage guidance and a sensible use-by date.
You’ll want to avoid unknown mixtures marketed for an instant dark stain, especially when the ingredients aren’t clearly listed. Ask about storage, skin testing, and application timing before purchasing.
A trustworthy source will answer plainly. If the price seems unusually low, check the ingredients before you decide that the deal is worth it.
The One Pattern I’d Choose First
If I had to pick one, I’d start with the elegant negative-space trail. It keeps the hand readable, lets the stain deepen without looking heavy, and sits beautifully beside bridal jewelry.
Pin this back-of-hand mehndi guide for later. Show your artist the open spacing you want. Then ask them to adapt the negative-space route to your hand shape.
That option feels expressive without becoming crowded. It’s symbolic without being obvious. Most of all, it remains personal enough to feel like yours.