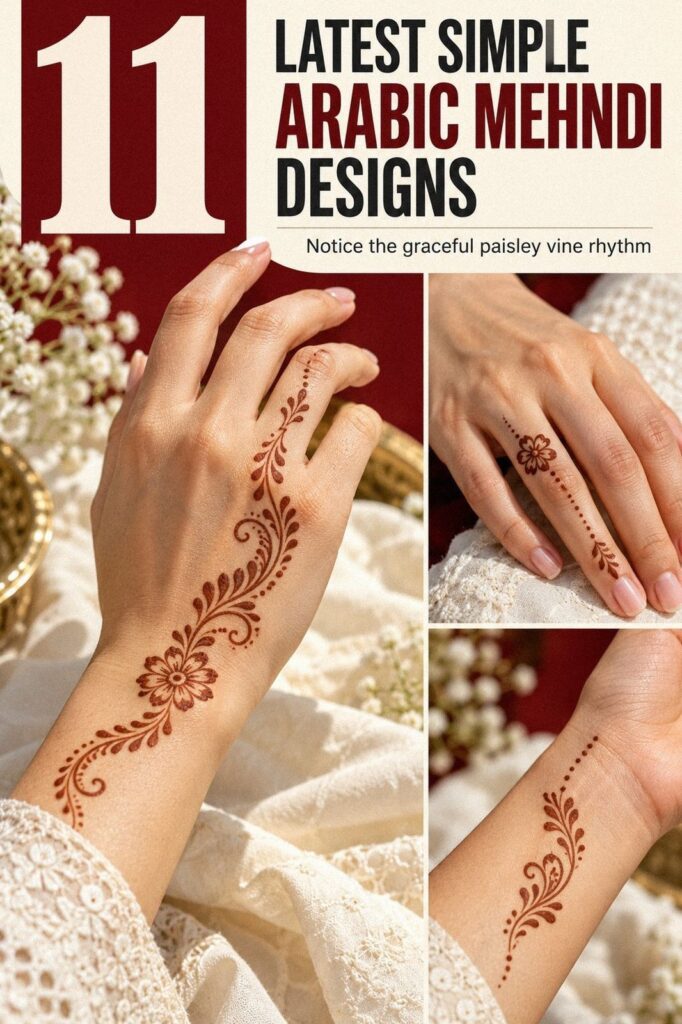
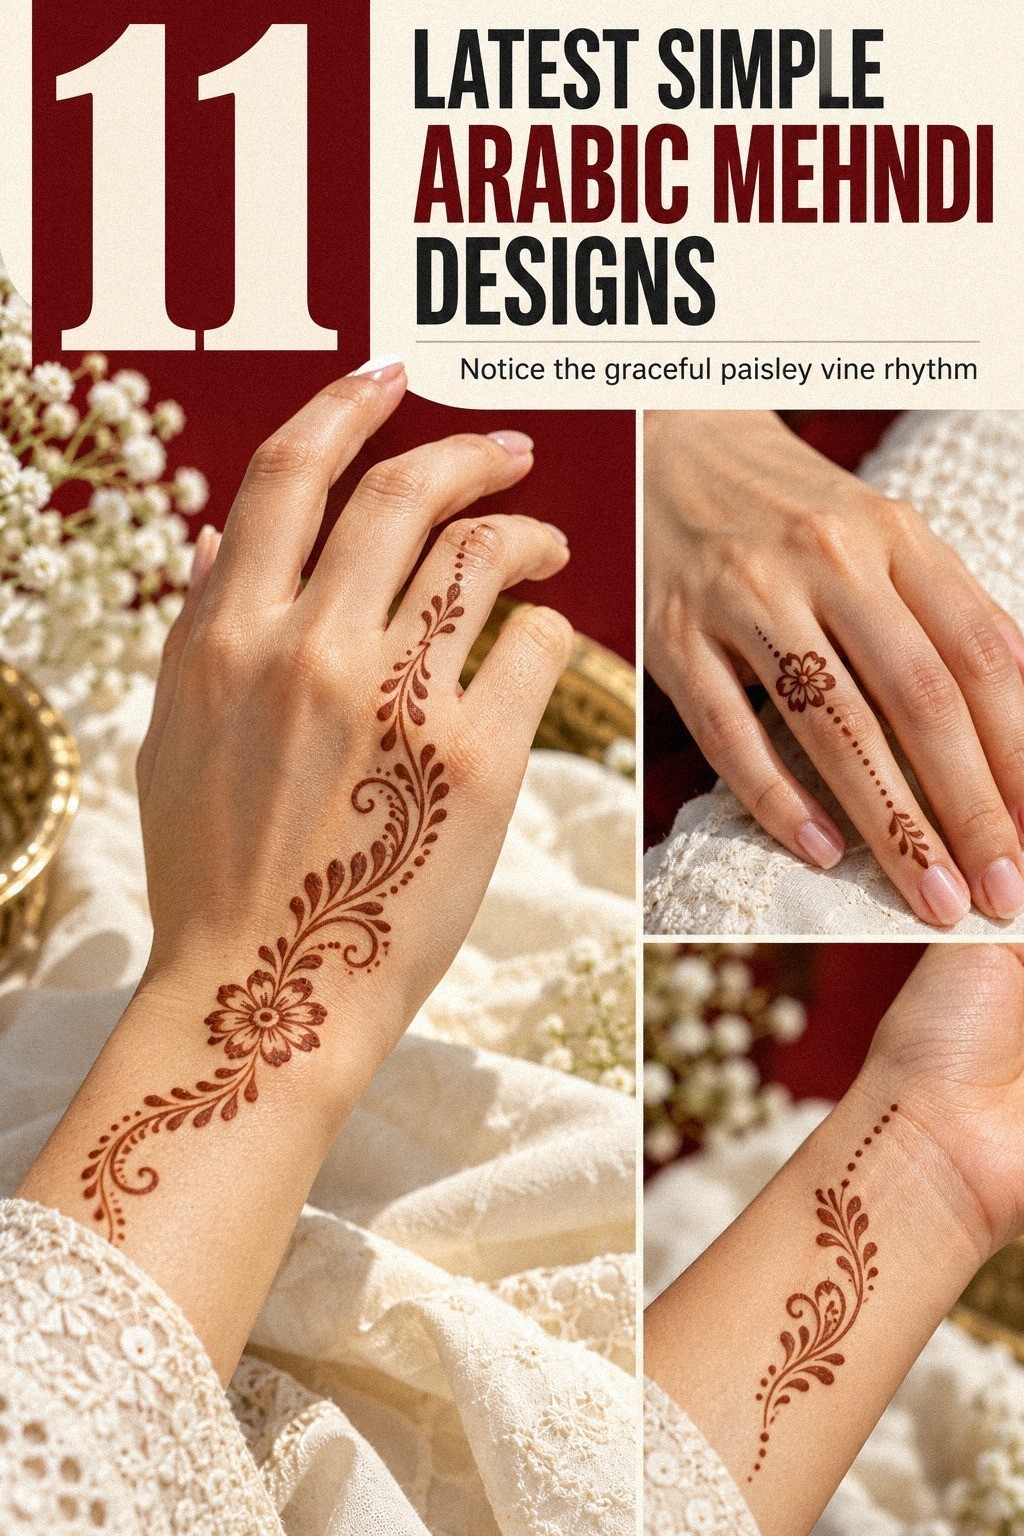
Arabic latest simple mehndi designs are easiest when you build one flowing path instead of filling every inch. I learned that after a cone gave me a charming vine, then a muddy palm because I kept adding. This guide keeps the paste bold, the shapes elegant, and the final reddish-brown stain personal. You’ll need one cone, clean skin, and patience. For more inspiration, compare these simple Arabic mehndi designs.
- Start With a Simple Arabic Mehndi Vine
- Which Latest Arabic Mehndi Fingertip Patterns Work Best?
- Place Flowing Arabic Lines Across the Palm
- Keep Negative Space Between Delicate Motifs
- Bold Wrist Cuffs Versus Ankle Trails
- A Symbolic Arabic Flower Trail for One Finger
- Balance Intricate Trails on Both Hands
- Minimal Arabic Mehndi for Short Nails
- Where Should Arabic Arches Sit Near the Knuckles?
- Match Latest Designs With Dainty Bridal Details
- Finish With Crisp Arabic Mehndi Lines
1Start With a Simple Arabic Mehndi Vine
Begin with a henna cone on clean, dry skin. Draw one curved stem from the side of the wrist toward the index finger, keeping the line gentle rather than perfectly straight. Add three delicate leaves on the outer side and one small paisley near the base.
Your first pass should look striking and organic. If you’re working on the back of the hand, leave the center mostly open so the reddish-brown color has room to develop.
The cone tip should be narrow enough for crisp lines, but it shouldn’t drag across your skin. Test a short curve on paper first.
I’ve found that a soft squeeze gives a graceful result without creating a thick mound of paste. You won’t need a complicated pattern to make the design memorable. See these latest simple mehndi designs for another flowing starting point.
The One-Cone Trail Rule
Your vine needs a beginning, a middle, and a light finish. Use a larger paisley near the wrist, medium leaves through the palm, and tiny dots near the finger. That scale change makes the pattern feel sophisticated, even when the technique stays minimal.
Keep the paisley motif open inside. A few short curved lines are enough. Don’t pack it with crosshatching yet.
The most expressive Arabic patterns let the skin show between each mark, and your design will look more polished once the paste dries. Start small!
2Which Latest Arabic Mehndi Fingertip Patterns Work Best?
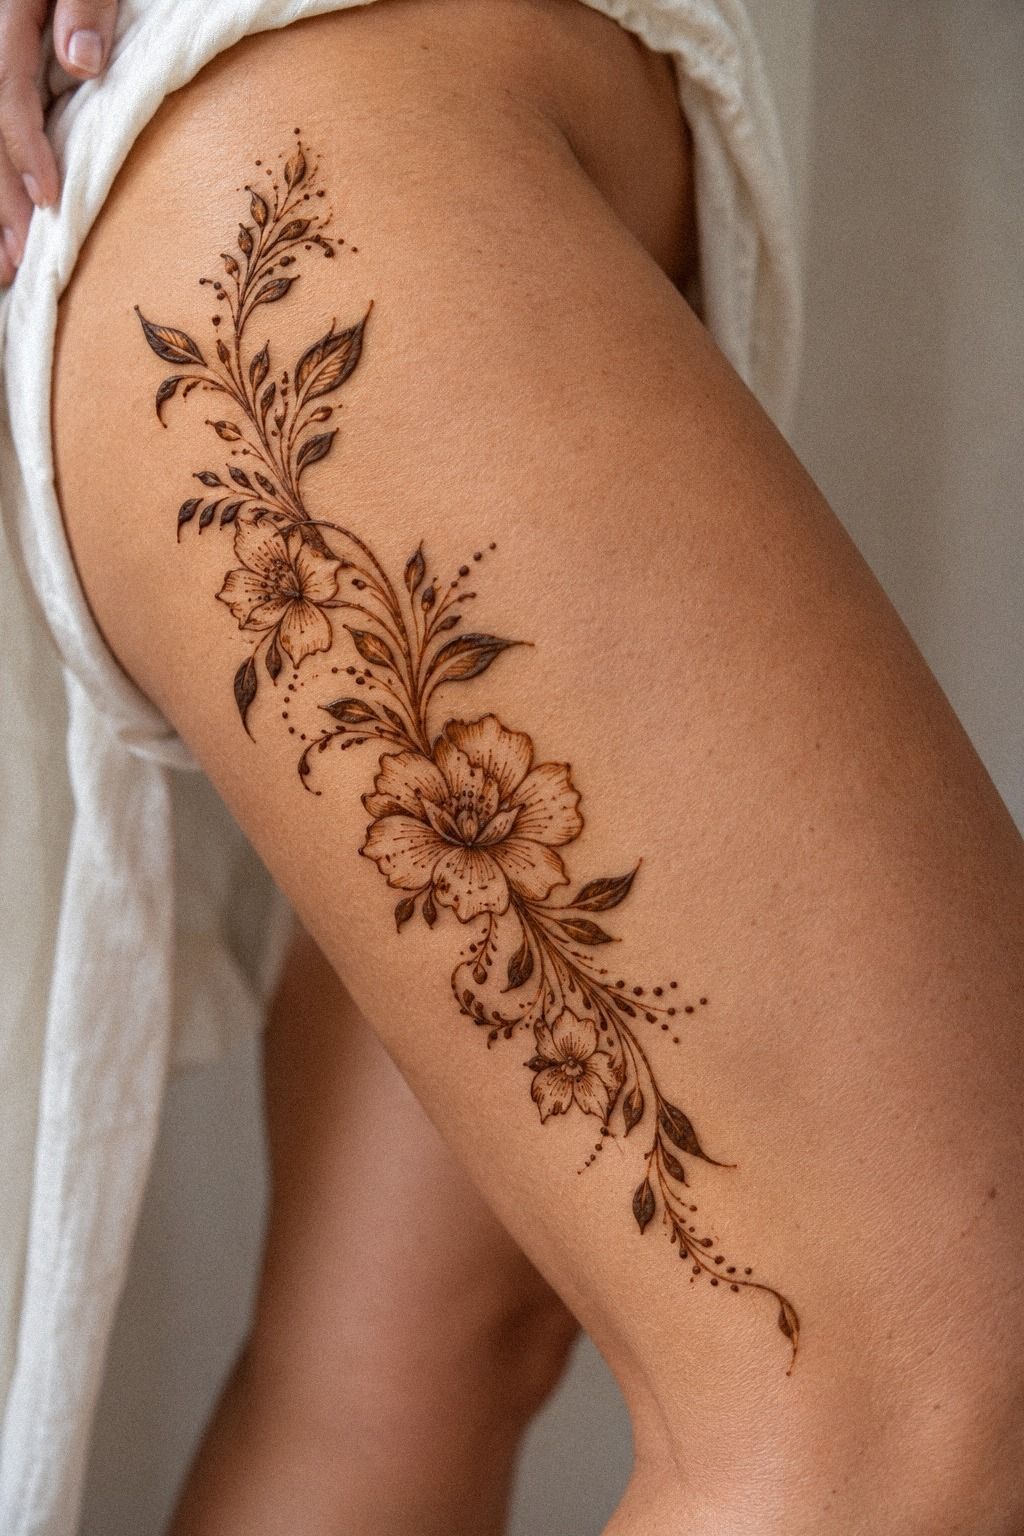
Choose fingertip details that repeat the movement of your main vine. Fingertip patterns can be delicate fans, tiny arches, or narrow lines that echo the paisley without copying it. Keep the details crisp and understated so the fingers support the main design instead of competing with it.
3Place Flowing Arabic Lines Across the Palm
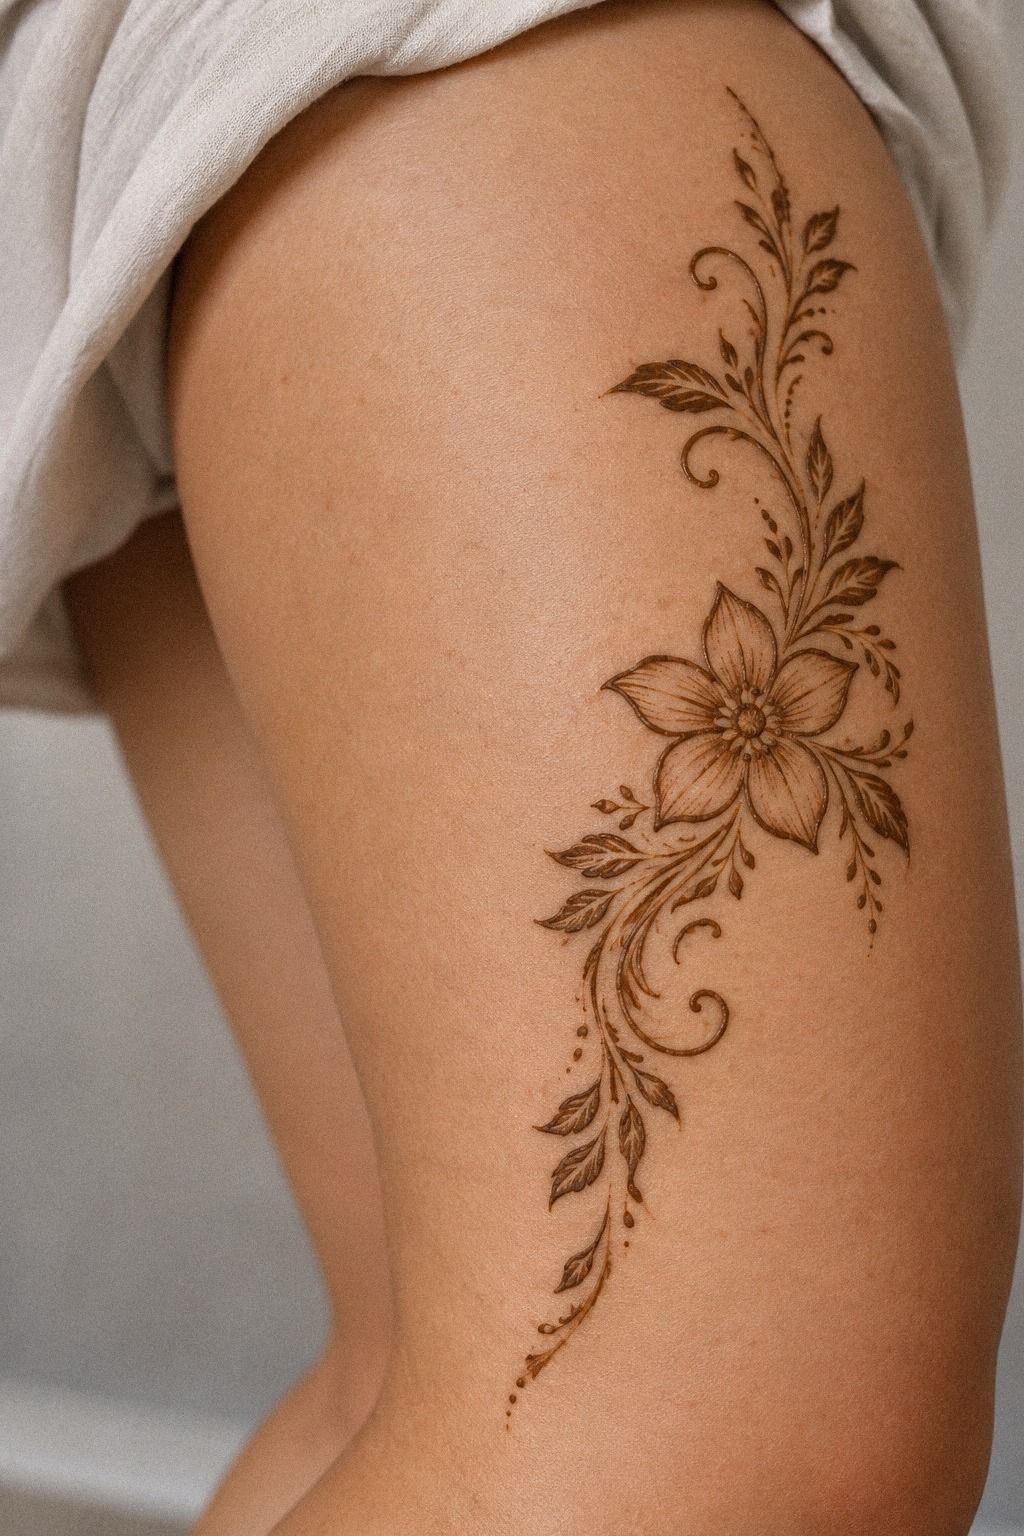
Map your palm before squeezing the cone. Start near the base of the thumb, sweep toward the center, and curve upward toward the middle finger.
That flowing route creates movement without turning the entire palm into a solid block. You’ll want one dominant line and two smaller branches, not a tangle of equal shapes.
Add a small flower where two lines meet. A four-petal flower looks graceful and expressive, while a six-petal bloom feels more ornate. I prefer the four-petal version for simple Arabic latest simple mehndi designs because it leaves room for the warm stain to show clearly.
Your palm will look more striking if the strongest motif sits slightly off-center.
A four-petal flower gives you a dependable anchor. Keep each petal pointed at the outer edge, then add one dot in the middle. Don’t outline every open space.
That restraint keeps the pattern understated and personal. You can compare palm placement with these latest simple mehndi designs.
4Keep Negative Space Between Delicate Motifs
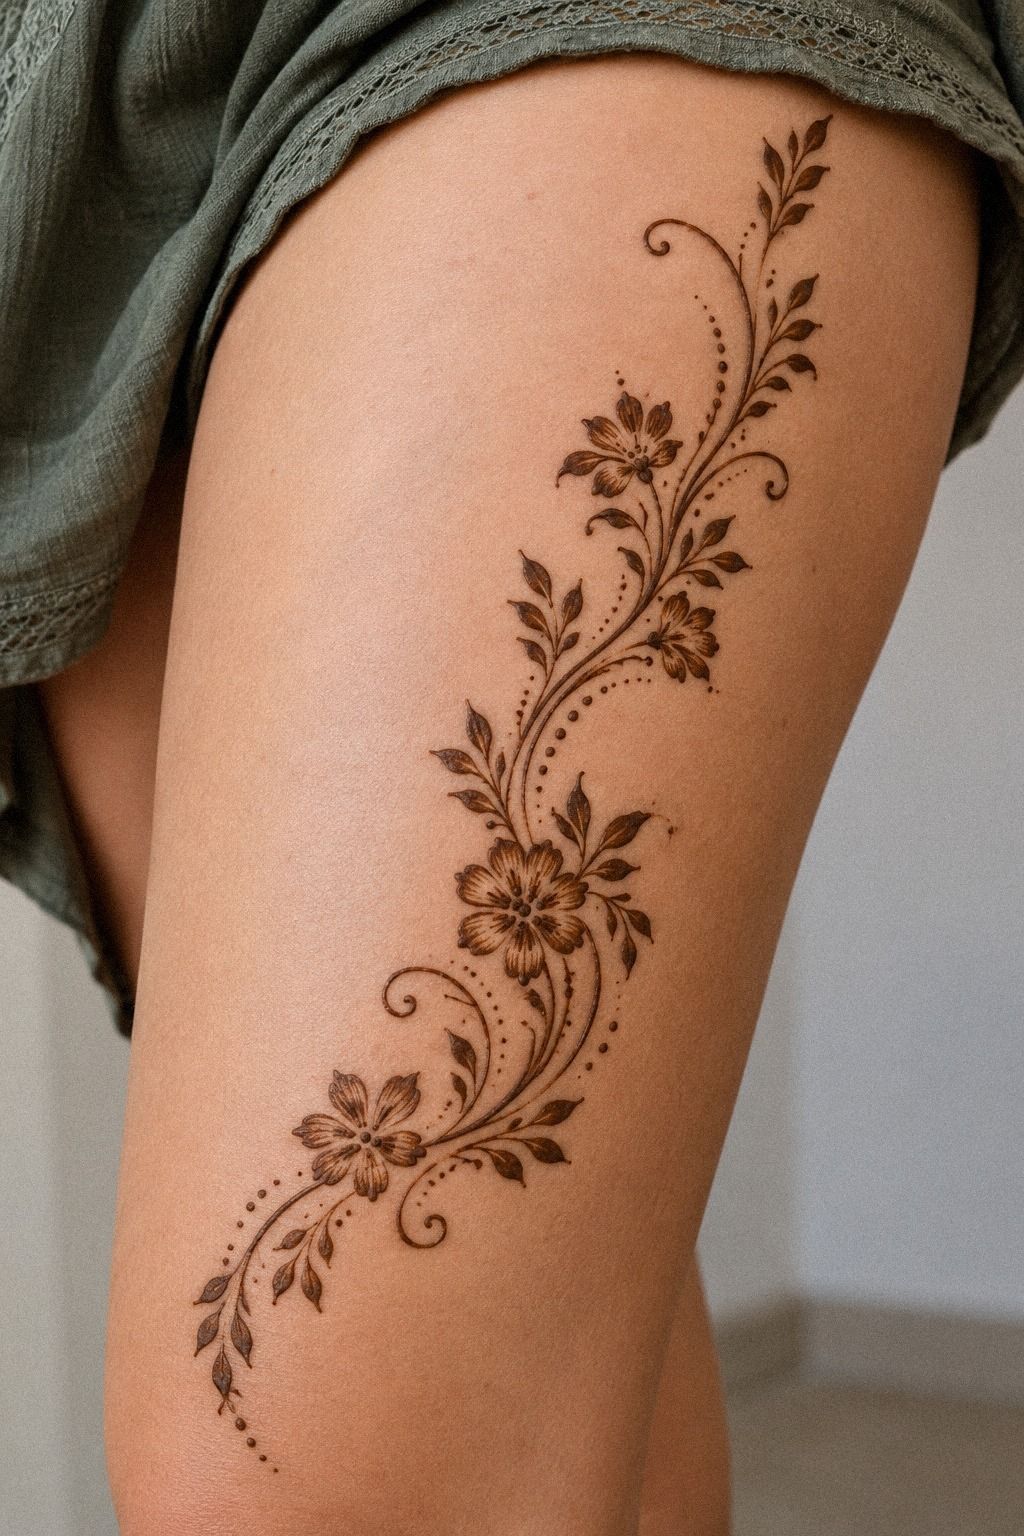
Leave a visible strip of bare skin between your vine, flower, and fingertip details. On a palm, even a few millimeters can make the difference between a delicate design and a crowded one. Your empty spaces should follow the same direction as the lines, so they’ll look intentional rather than unfinished.
Try placing one motif near the thumb, one near the wrist, and one near the index finger. That triangle gives you a graceful visual rhythm. I made the mistake of filling a gap because it looked too plain while the paste was wet.
Once the color developed, the extra dots made the design feel moody and dense. Wait before adding anything.
The Air-Gap Method
After each section, pause for a full minute and look at your hand from a distance. Ask yourself: does the design still have breathing room?
If you’re tempted to add another flower, add one curved line instead. It’s softer, quicker, and less likely to overwhelm your skin.
That pause matters!
A cotton swab can lift a fresh mistake before the paste dries. Keep one nearby, along with a damp tissue. You don’t need perfect symmetry, and your final stain will look more personal if the lines have small natural variations.
For another understated pattern, see these easy simple mehndi designs.
5Bold Wrist Cuffs Versus Ankle Trails
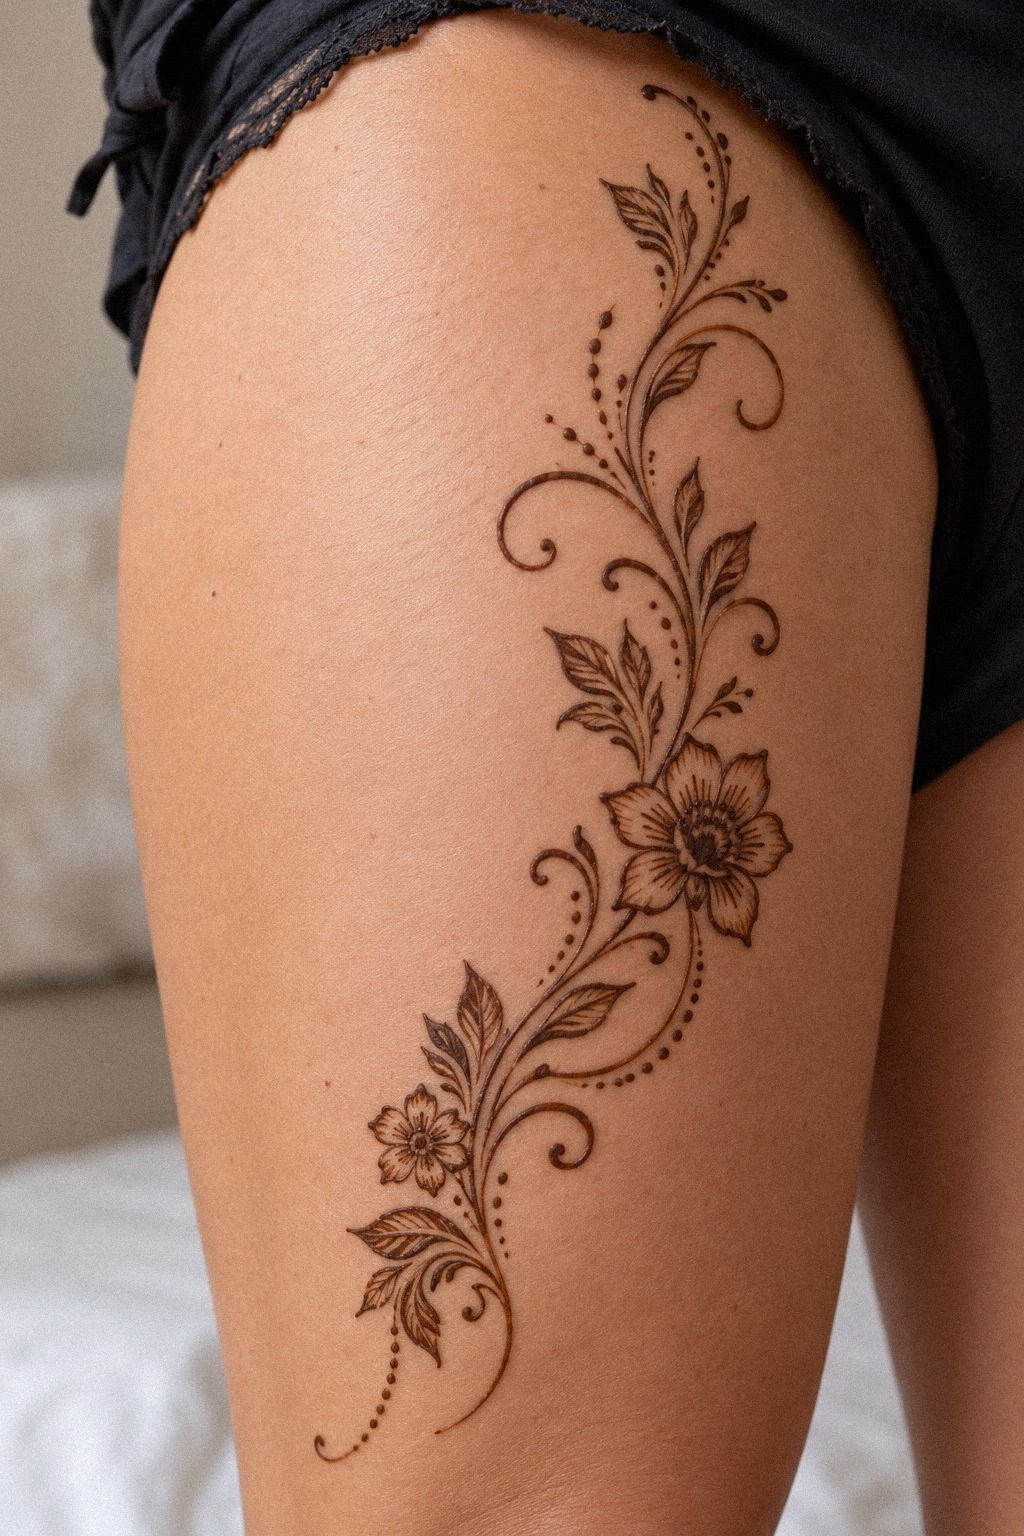
For a wrist cuff, draw two gently curved bands rather than one thick stripe. Leave a narrow gap between them, then connect the bands with three small arches.
This structure looks bold from a distance but remains delicate up close. Your wrist is a good place for a powerful design because the shape can wrap naturally without covering the whole hand.
If you’re applying the pattern to feet and ankles, use the ankle bone as your guide. A central flower with two trailing leaves can create an elegant ankle trail. Avoid copying a wrist cuff exactly onto the ankle because the skin bends differently there.
I’d skip a solid band around the ankle because a fierce outline can feel harsh once the stain turns darker.
Use a jaal pattern only as a small connector inside the cuff. Two or three diamond shapes are enough.
Your lines should remain crisp, and you’ll get a more timeless result when the border has space between each element. For a related direction, look through these Indo-Arabic simple mehndi designs.
6A Symbolic Arabic Flower Trail for One Finger
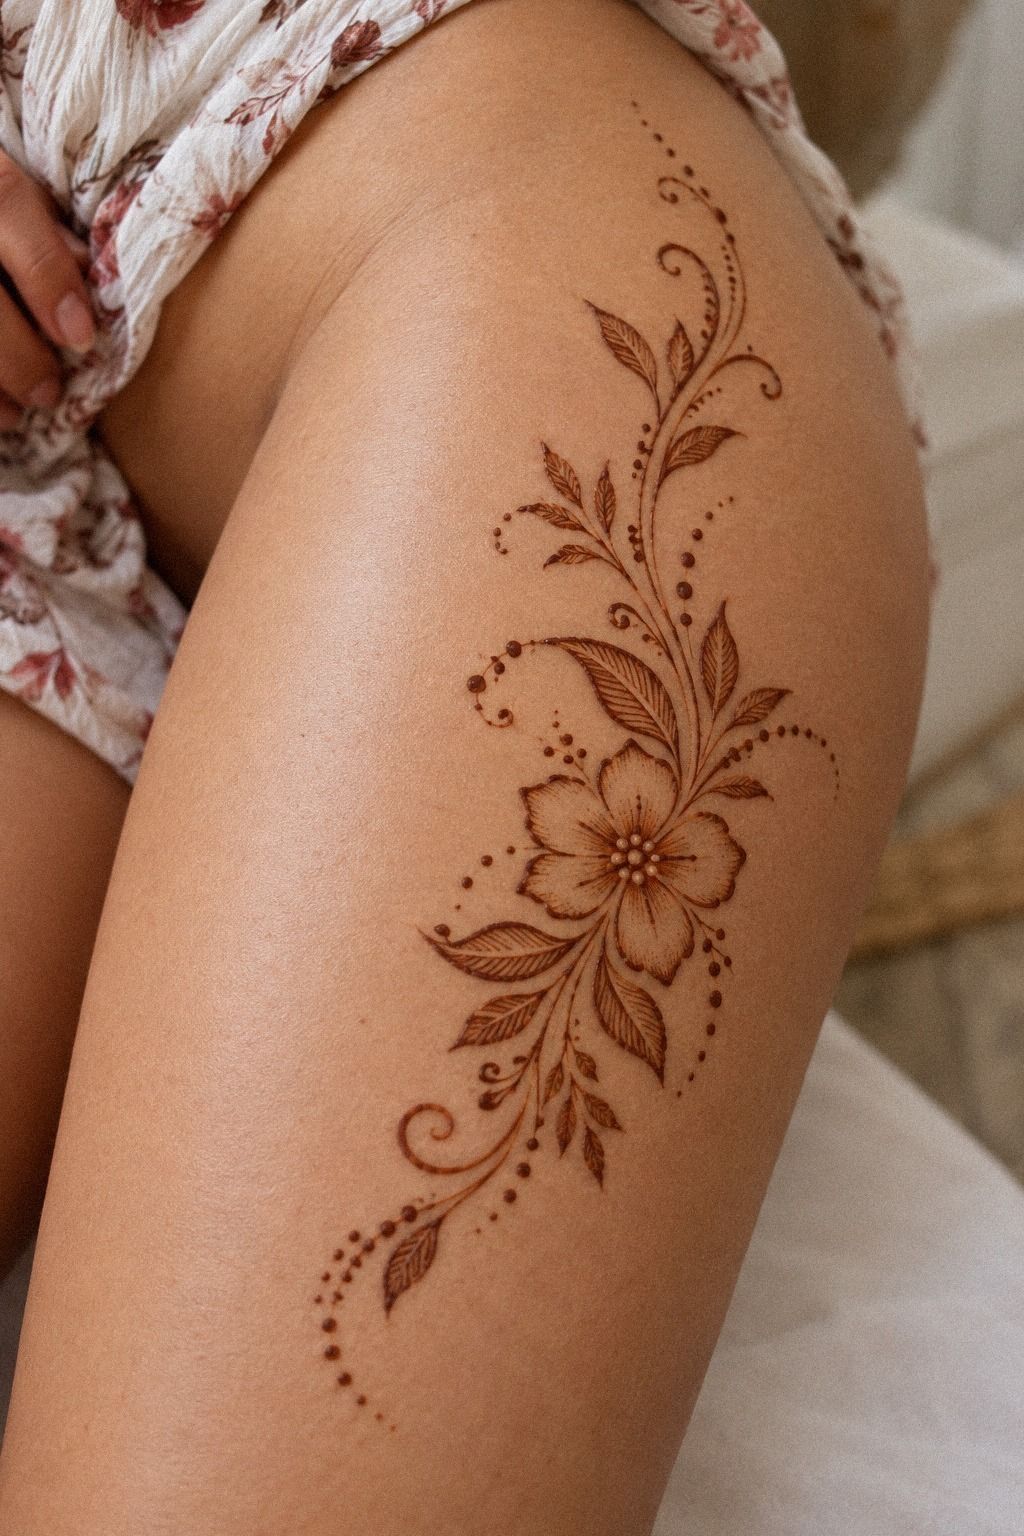
Choose one finger for the flower trail, then let the other fingers stay quieter. A small bloom near the knuckle, a second bloom near the middle joint, and three dots near the fingertip can create a captivating vertical rhythm.
Your flowers don’t need to be identical. Slight changes make the design feel handmade and expressive.
A peacock feather detail works well beside a flower because its curved eye echoes the petal shape. Keep it tiny, with a narrow center and two short side lines.
I like this combination on the ring finger when the rest of the hand carries a single vine. It feels meaningful without looking overly formal, and you’ll still see plenty of skin between each motif.
For the paste, use a steady squeeze and lift the cone at the end of every petal. Don’t pull the tip through wet paste because it can smear the edge.
A dainty flower trail is more enchanting than a crowded bouquet, especially on a smaller hand. These simple peacock mehndi designs offer useful placement ideas.
7Balance Intricate Trails on Both Hands
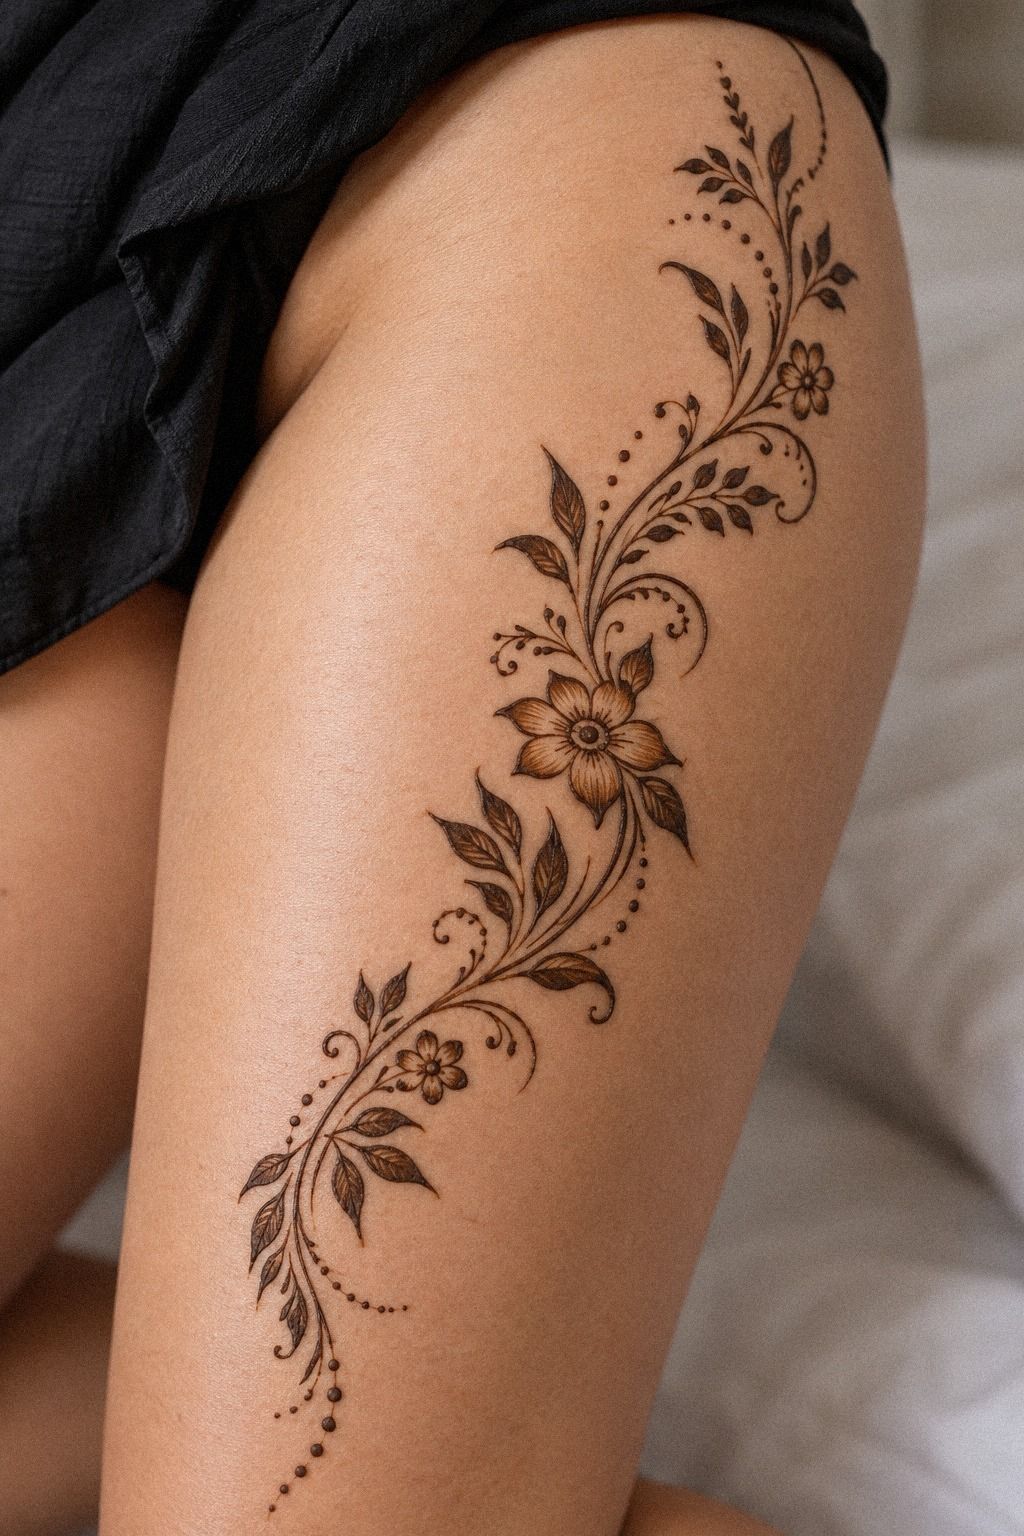
When you decorate both hands, choose one shared feature and one different feature. You might use the same paisley near each wrist, then give one palm a flower trail and the other a leafy vine.
That balance keeps your hands connected without making them look copied. Your final result will feel more iconic if the differences are planned.
Put the heavier design on the hand you’ll show most often, then keep the other hand slightly lighter. This matters because the two palms won’t always face the same direction.
A bold central paisley on one hand can pair with a soft diagonal trail on the other. If you’re comparing the value of one-hand and two-hand work, this approach gives you a polished result without doubling every detail.
The Two-Hand Balance Rule
The mandala center should stay compact if your surrounding lines are intricate. Four rings are plenty for a simple piece.
I’ve tried larger circular centers, and they can swallow the whole design once you add petals around them. For paired inspiration, compare these latest simple mehndi designs for hands.
And don’t worry if one side isn’t perfectly mirrored. Henna should look organic, and your hands aren’t identical canvases. A slightly different leaf or dot can make the result feel raw, expressive, and personal.
8Minimal Arabic Mehndi for Short Nails
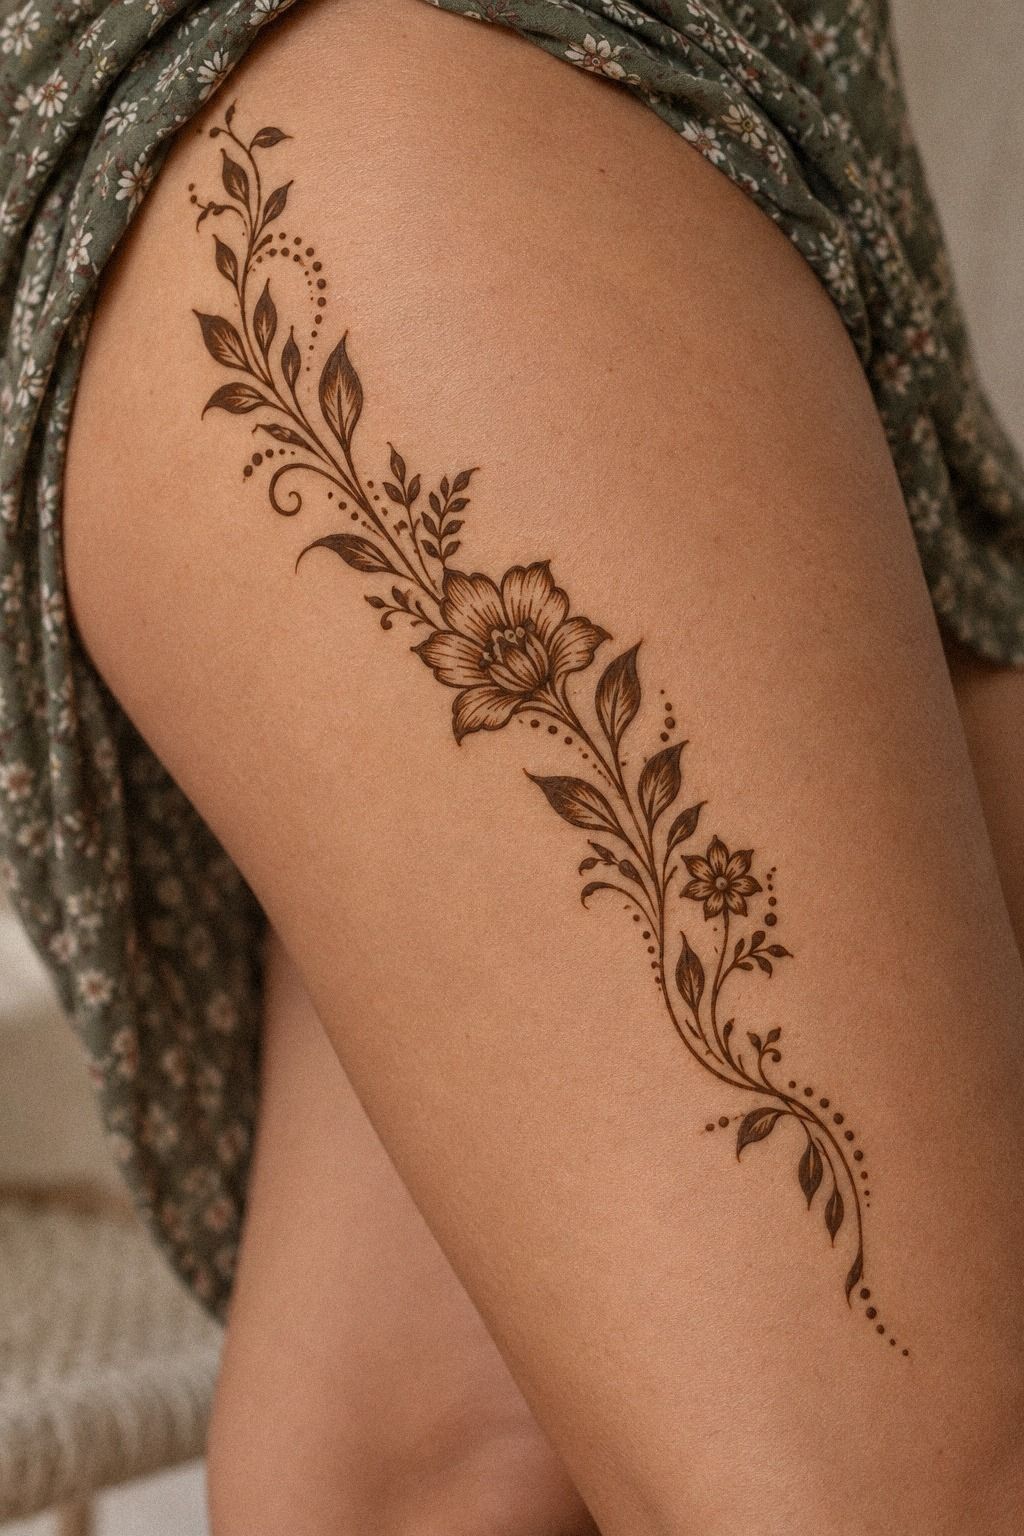
Short nails pair well with small fingertip fans, half-moons, and single dots. Start your line below the nail rather than extending the design onto the nail itself. That placement keeps the hand looking sleek and modern, and you’ll have less risk of smudging the paste while it dries.
For a minimal palm, choose one diagonal vine with two leaves and one open paisley. That’s enough.
A brown henna stain will deepen as it develops, so the design won’t look faint forever. I’d avoid filling the whole fingertip with paste when your nails are short because the visual weight can make the fingers appear shorter.
Try a small fan on the index finger and a single curved line on the ring finger. The result is subtle, stylish, and easy to maintain while the paste sets. If you’re comparing compact options, these simple latest simple mehndi designs can help you choose.
Keep it simple!
9Where Should Arabic Arches Sit Near the Knuckles?
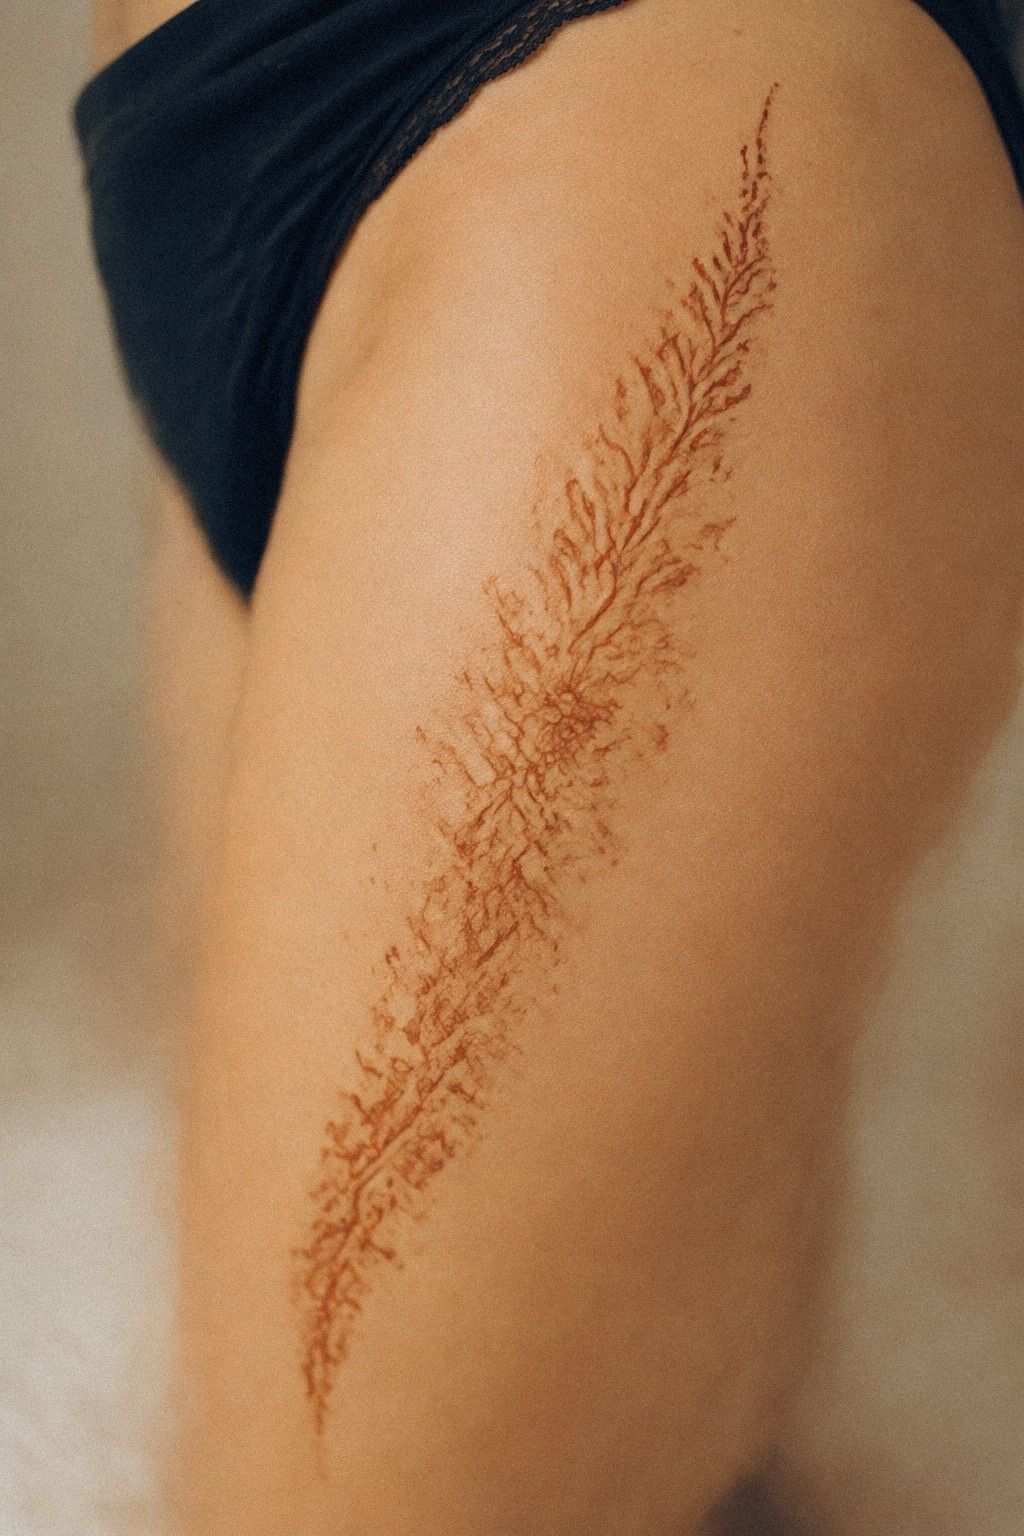
Draw a row of arches just below the knuckles, then connect only two of them to a side vine. This gives your hand a graceful border while keeping the joints flexible.
Your arches should be similar in height, but they don’t need to match perfectly. A little variation makes the line feel organic rather than stamped.
Use three arches for a small hand and five for a wider palm. Between each arch, add one dot or a tiny leaf.
A wooden toothpick can help clean the outer edge of a wet dot, but use a light touch. I’d avoid placing thick paste directly across the knuckle crease because movement can crack the shape before it dries.
The best Arabic latest simple mehndi designs follow the hand’s movement. They don’t fight it. If you’re unsure where to stop, end the arch line before the side of the palm and let one narrow trail continue toward the wrist.
These easy latest simple mehndi designs show how a small stopping point can preserve the shape.
10Match Latest Designs With Dainty Bridal Details

For a bridal-inspired version, add one refined detail rather than covering every surface. A tiny floral chain near the wrist, a few dots around a paisley, or a narrow finger band can make the design feel romantic. Your pattern will remain elegant if the main vine stays readable beneath the extra decoration.
Use a citron-sugar seal only after the paste has dried enough to resist smearing. Dab it lightly with cotton, and don’t soak the lines.
The seal can help keep the paste attached while you wait, but too much liquid can blur delicate edges. For a softer bridal look, add a small peacock near the wrist instead of a large central mandala.
When Bridal Details Earn Their Place
I prefer dainty details on the fingers and a stronger motif on the palm. That contrast feels harmonious and polished.
You’ll still have a vibrant focal point, but the surrounding marks will remain gentle and refined. If you’re weighing the cost of bridal details, ask whether each extra motif changes the overall design or merely adds time.
A bridal mehndi application can be worth paying for when the artist explains the paste, drying time, ingredients, and aftercare clearly. It doesn’t need to cover every inch to feel empowering. For more hand placement ideas, see these latest simple mehndi designs front hand easy.
11Finish With Crisp Arabic Mehndi Lines
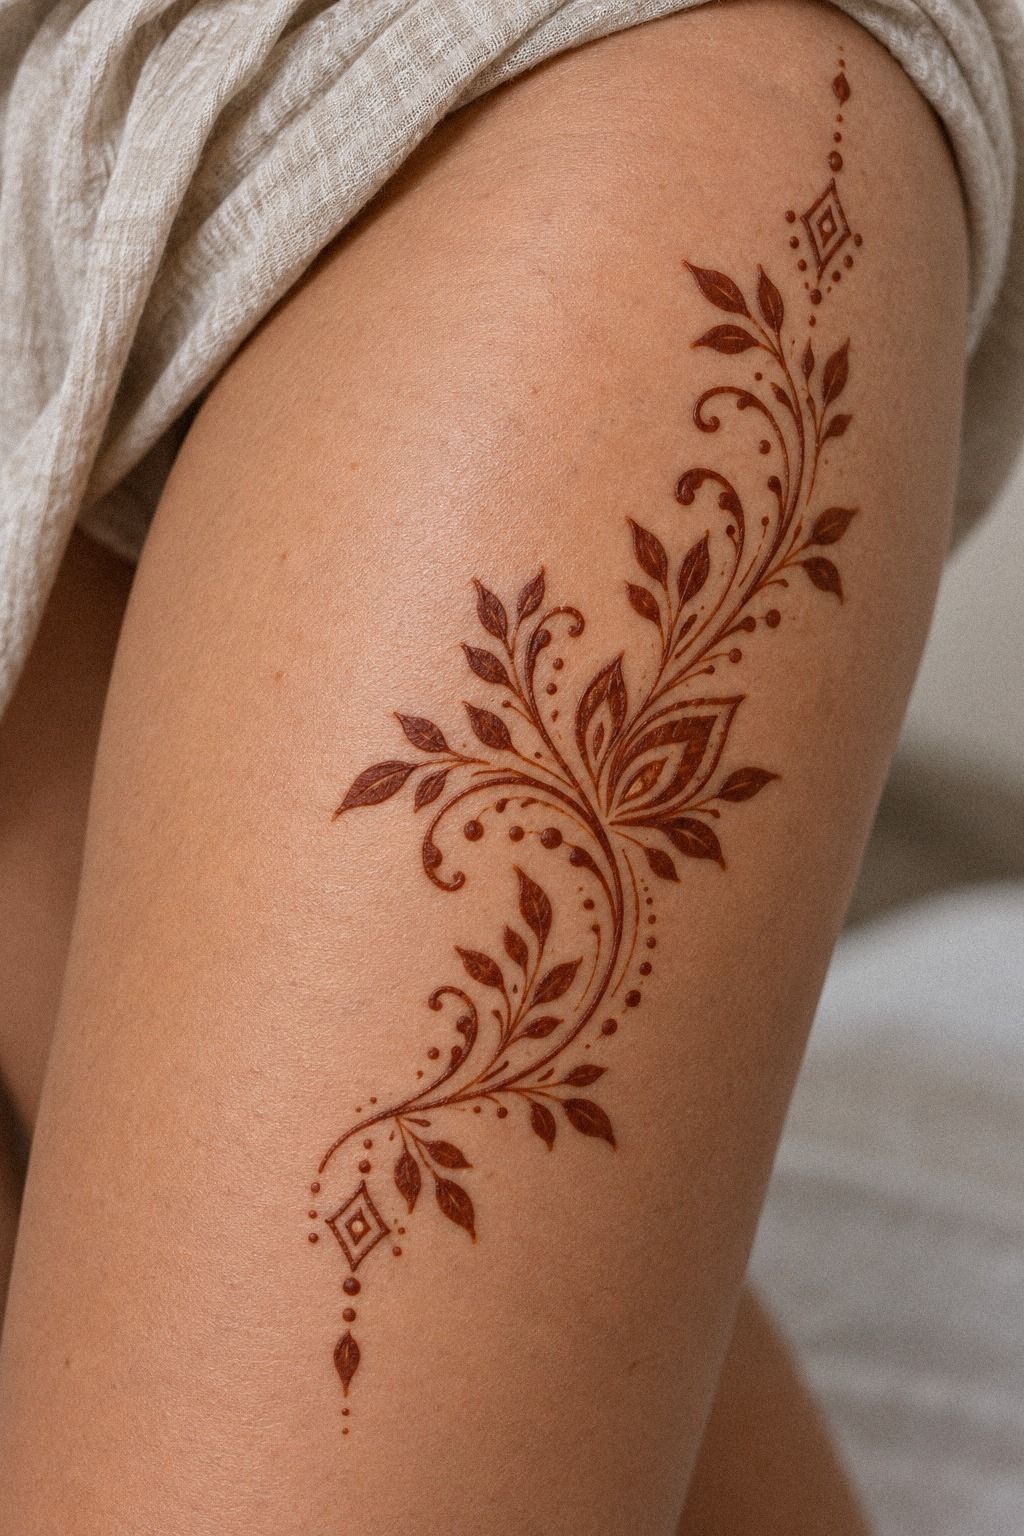
Finish by checking every line while the paste is still fresh. Look for broken stems, uneven dots, and places where the cone dragged.
Your final pass should add only small corrections. A crisp outline around one paisley can help, but repeating the same outline everywhere may make the design look stiff.
Let the paste dry for about 1 to 2 hours before gently brushing it away. The color may look pale at first, then deepen over the next day, often reaching its richest reddish-brown tone on the second day. Keep the area dry for a little while longer, and avoid harsh washing, heavy rubbing, sun exposure, and swimming while the stain settles.
A gentle aftercare routine protects the finished color. Wash with mild soap, pat dry, and use a small amount of plain moisturizer if your skin feels tight.
The stain usually lasts around 1 to 3 weeks, depending on washing, skin, and placement. Your hands and feet may fade faster because they get more friction.
The final stain color is usually strongest on the second day. If your lines look slightly uneven, leave them alone.
Handmade marks often look more graceful than corrections. For a simple starting point, revisit these simple Arabic mehndi designs.
What I Learned After Making This Design
I used to think the latest Arabic simple mehndi designs needed more detail to feel special. My first attempts had extra dots, crowded petals, and a heavy palm center.
They looked impressive while the paste was wet, but the dried color turned the whole design into one dark patch. That taught me to treat empty skin as part of the pattern, not as a gap waiting to be filled.
The one-cone approach also changed how I work. I don’t need several shades or complicated supplies. I need a reliable cone, clean skin, a steady hand, and enough time to let the paste dry.
A natural henna paste should have a fresh herbal scent and a smooth texture that moves without splitting. I won’t use unknown dark paste, especially if the ingredients aren’t clear.
The strongest designs usually have one decision behind them. Maybe you’re choosing a vine because you want movement, or a wrist cuff because you want a bold border.
Once you know that, every flower and dot has a job. Your hand doesn’t need every symbol. It needs one clear idea carried through with confidence.
I’d choose a simple vine over a packed palm every time. The vine keeps the design readable, works across different skin tones, and fades in a graceful way.
It’s also forgiving if your cone pressure changes. And when the color deepens on day two, you’ll still see the spaces between the marks.
That’s why this style feels so timeless. It can be sacred for a family gathering, vibrant for Eid, refined for a wedding, or playful for a weekend of experimenting. You can make it personal with a paisley, flower, leaf, or peacock, but you don’t have to explain every symbol.
Sometimes the cleanest line says enough. That is the whole charm!
The Questions Worth Answering First
How Much Do Arabic Latest Simple Mehndi Designs Usually Cost?
A simple cone-applied design often costs less than an elaborate bridal application, but the price varies by artist, region, detail, and time. Ask for a quote before booking. A clear price estimate should mention the design area, application time, and whether both hands or feet are included.
For a limited budget, a one-hand vine usually offers the best value. You can also compare examples in these simple Arabic mehndi designs before requesting a quote.
Are Arabic Latest Simple Mehndi Designs Good for a First Mehndi Design?
Yes, they’re an excellent first choice because the flowing shapes are forgiving and the stain fades naturally. Simple placement also lets you test how your skin responds to henna. Start with one hand, a wrist vine, or a small palm trail before choosing a larger paired design.
– Open paisley – Three-leaf vine – Fingertip dots – Small wrist cuff
How Do I Choose a Mehndi Artist for Arabic Latest Simple Mehndi Designs?
Look for clear photos of fresh and developed stains, then ask what paste the artist uses. A clean portfolio should show crisp lines, balanced spacing, and natural reddish-brown color. You’ll also want an artist who explains drying time, ingredients, and aftercare without rushing you.
– Fresh cone application – Day-two color – Ingredient transparency – Clean working surface
How Long Does Arabic Latest Simple Mehndi Take to Dry?
Most designs need about 1 to 2 hours to dry before you brush the paste away. Longer contact time can support a deeper stain, but you shouldn’t force the paste to stay on if it cracks or irritates your skin. Keep your hand still and avoid water during drying.
– Light paste layer – Gentle air drying – No rubbing – Loose clothing for feet
How Long Do Arabic Latest Simple Mehndi Designs Last?
Most stains remain visible for about 1 to 3 weeks. Gentle care helps the color last longer, especially during the first few days. Wash with mild soap, avoid harsh scrubbing, and limit swimming and strong sun exposure while the stain is developing.
– Mild cleanser – Pat-dry towel – Plain moisturizer – Less friction
What’s the Best Placement for Arabic Latest Simple Mehndi Designs?
The back of the hand, wrist, palm edge, fingers, feet, and ankles all work well. The best placement depends on how visible you want the design and how much friction the area gets. A wrist vine is easy to display, while a palm design usually develops a stronger color.
– Back-of-hand vine – Side-palm trail – Wrist cuff – Ankle motif
How Can I Keep the Cost Within My Budget?
Start with one clear motif, choose a smaller area, and ask whether the artist charges by time or coverage. A focused design often gives stronger value than a crowded pattern because every line remains visible. These latest very simple mehndi designs can help you explain the amount of detail you want.
Where I’d Start First
If I had to pick one step, I’d start with the simple Arabic mehndi vine. It gives your whole design direction, and its open curves keep the stain readable after day two.
Pin this guide for later, choose one cone, and let the first line stay lighter than you think. For another starting reference, save these latest simple mehndi designs front hand easy.