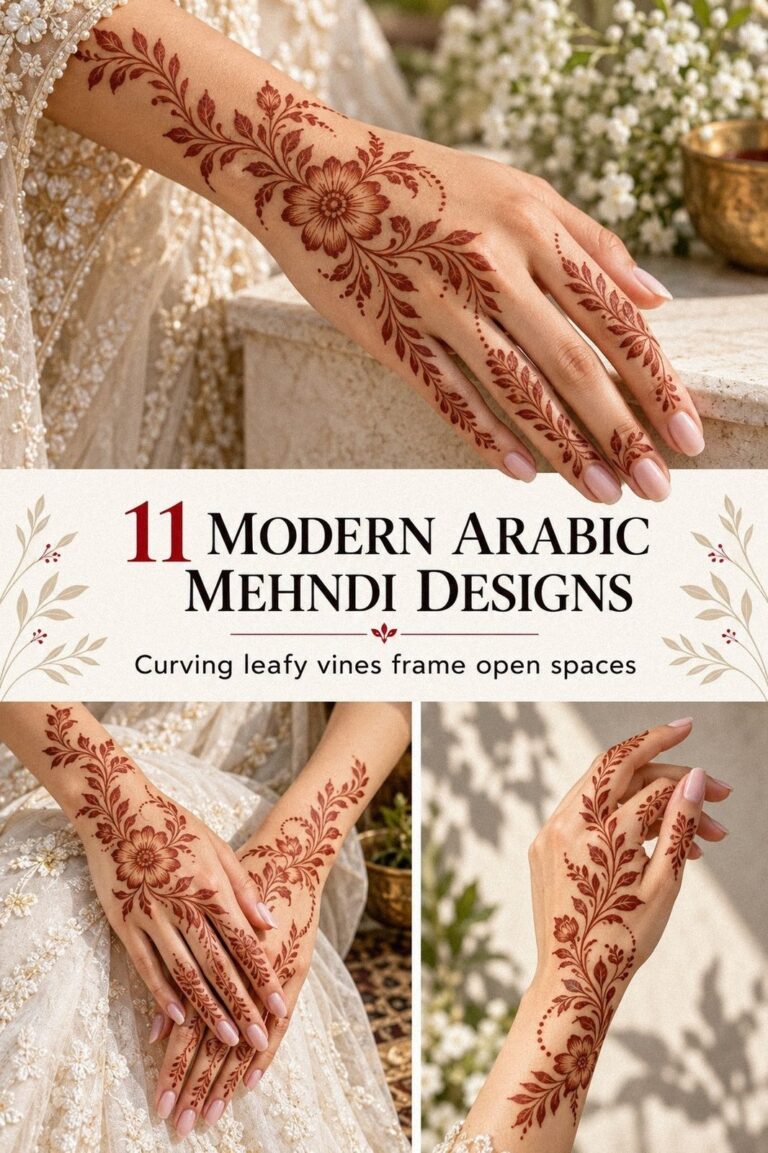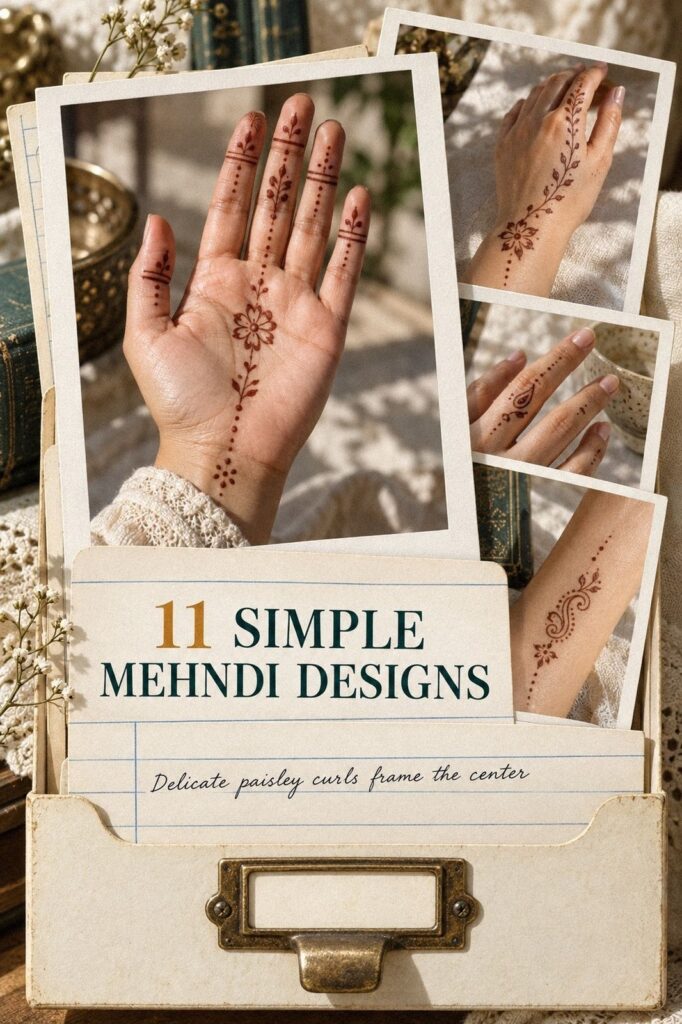
Natural henna paste needs about 1 to 2 hours to dry. The color usually deepens on the second day, then fades within 1 to 3 weeks. I once rushed a delicate design before guests arrived, and the paste smudged at every fingertip. This guide keeps your timing clear. No panic!
Choose one clear design, keep your hand still, and protect the pattern while it sets. You’ll have time to enjoy the occasion instead of checking every fingertip.
- Start With Latest Simple Mehndi Designs
- Pick Delicate Linework For Hands
- Place Minimal Florals Across Fingers
- Keep Negative Space Around Motifs
- Plan Symmetrical Patterns For Both Hands
- Choose Bold Dots Along The Wrist
- Add Symbolic Vines Near The Thumb
- Match Flowing Lines To Hand Shape
- Frame Latest Designs With Crisp Outlines
- Test Temporary Mehndi Before Application
- Photograph Finished Hands In Natural Light
1Start With Latest Simple Mehndi Designs
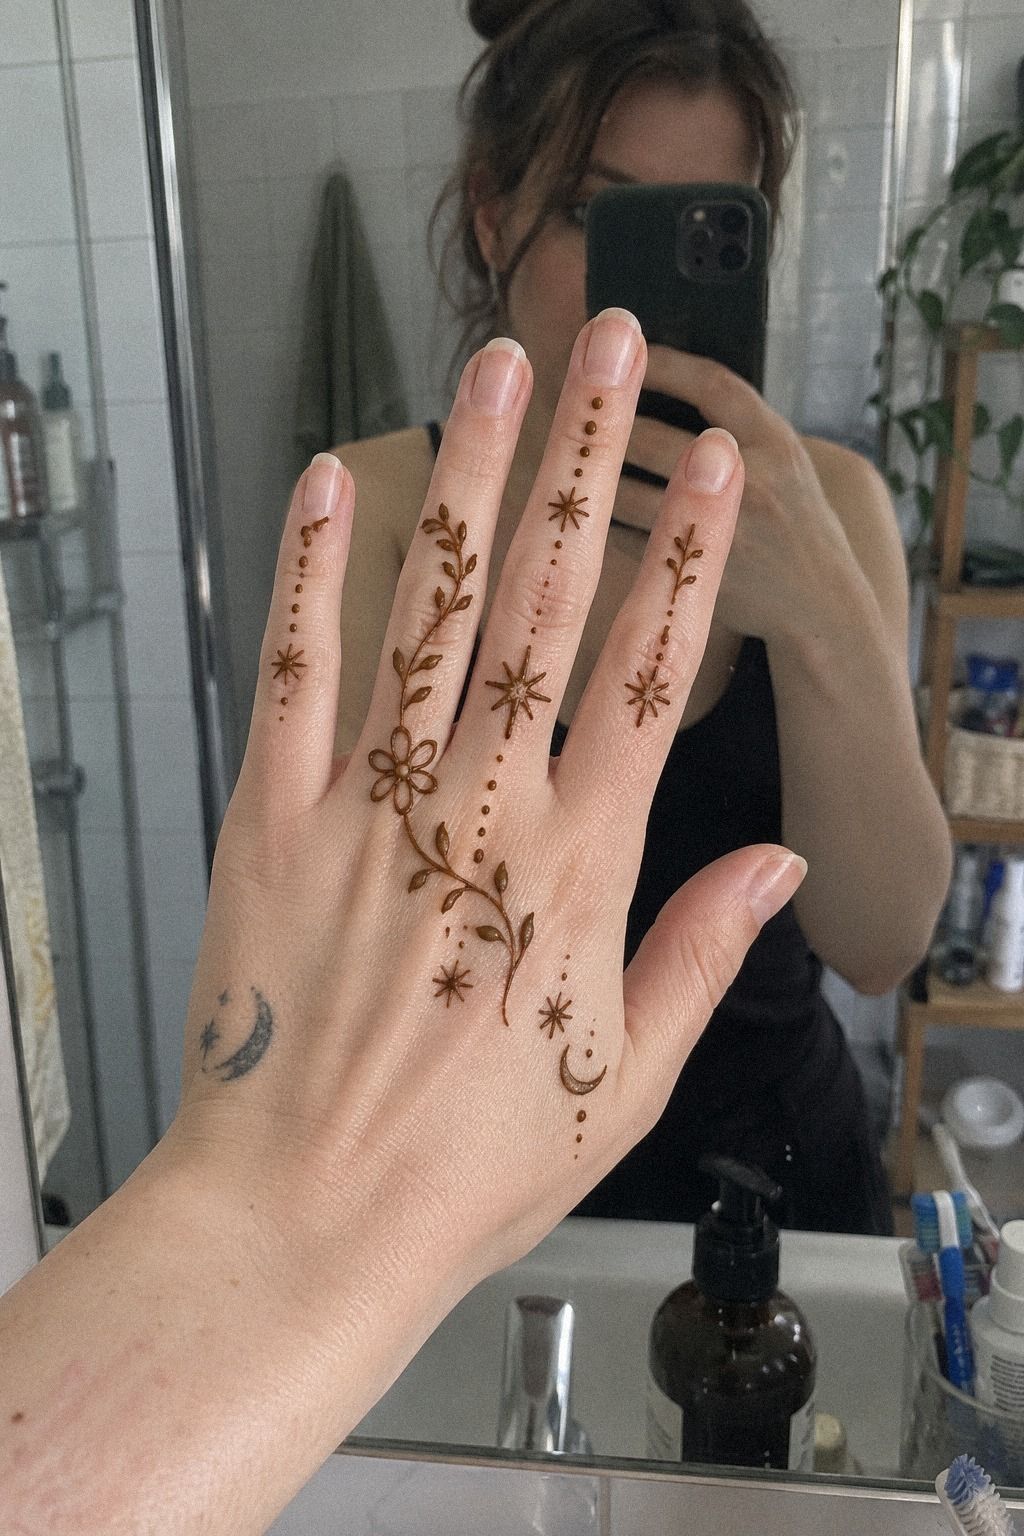
Start by choosing one clear reference instead of mixing five unrelated patterns. The saved example should show the scale, spacing, and direction you actually want. I’d save your favorite simple latest simple mehndi designs before the cone touches skin.
Your first choice should match your occasion. A wedding guest can carry an intricate paisley trail, while a small family gathering may suit a minimal floral mark near one finger.
The design should feel symbolic, easy to follow, and meaningful during the drying period. What could be simpler?
A clean reference helps your mehndi artist understand scale and movement. If you’re working at home, place it beside your hand instead of balancing your phone over wet paste. That small change keeps your wrist relaxed and your pattern steady.
Don’t choose a design only because it looks striking on a screen. A reddish-brown motif reads differently on each skin tone, and an elegant pattern can lose its open quality when every gap is filled. You’ll get a more expressive result by preserving the natural rhythm.
The latest simple mehndi designs often look best when you select one main motif and repeat only one supporting shape. Your hand will look finished without becoming ornate. That focused choice is usually worth the small amount of planning.
2Pick Delicate Linework For Hands
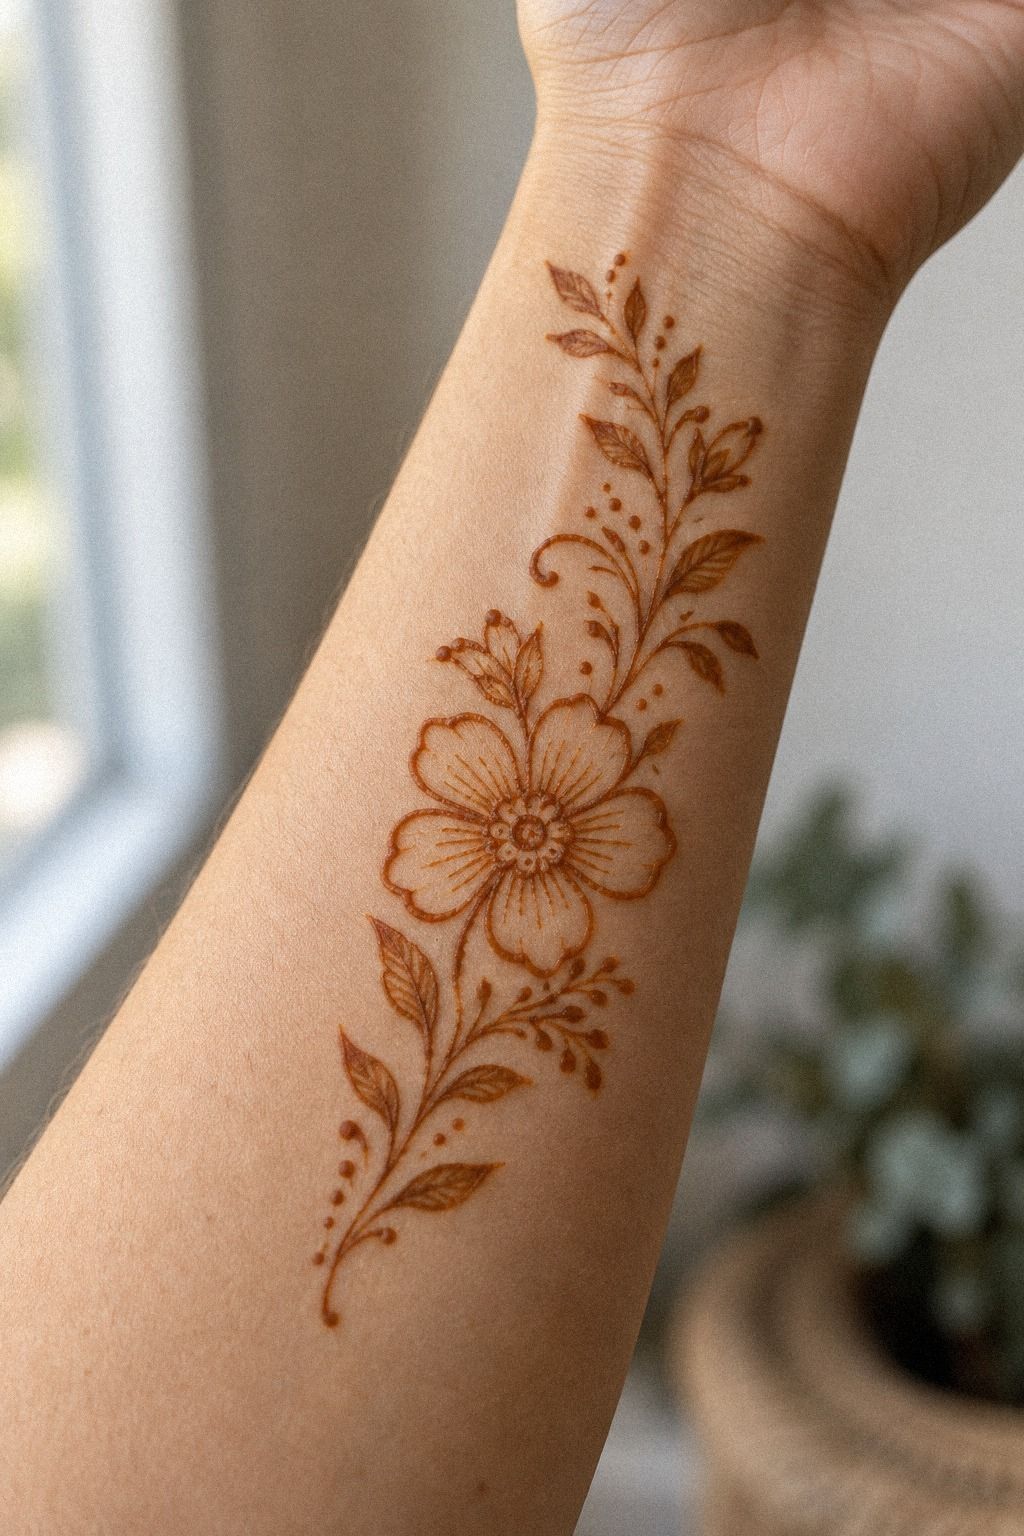
For both hands and palms, pick a delicate route with thin paste trails, small dots, and short arches. Browse latest very simple mehndi designs if you want a lighter reference before you begin.
A cone gives you more control when the mehndi cone has a clean, narrow opening. Hold it like a pencil, but keep your grip gentle. If your fingers tighten, your lines may wobble, and you’ll lose the graceful quality you wanted.
I prefer testing three short marks on paper first.
A fine cone tip lets you vary pressure without dragging the paste. Light pressure creates narrow trails, while a slower squeeze makes a stronger mark for the center of a flower. You don’t need every line to match, but you do need the pressure to feel steady.
Don’t chase microscopic detail on the palm. Palms move, crease, and rub against objects, so an overly intricate design can blur sooner than a simple one. An understated motif with breathing space gives better value than a complicated pattern that needs constant correction.
If you’re applying the pattern yourself, rest your writing elbow on a folded towel. It’s a small physical adjustment, yet your hand will stop trembling as much. The result can look sharp, feminine, and intentional without forcing you to sit rigidly.
3Place Minimal Florals Across Fingers
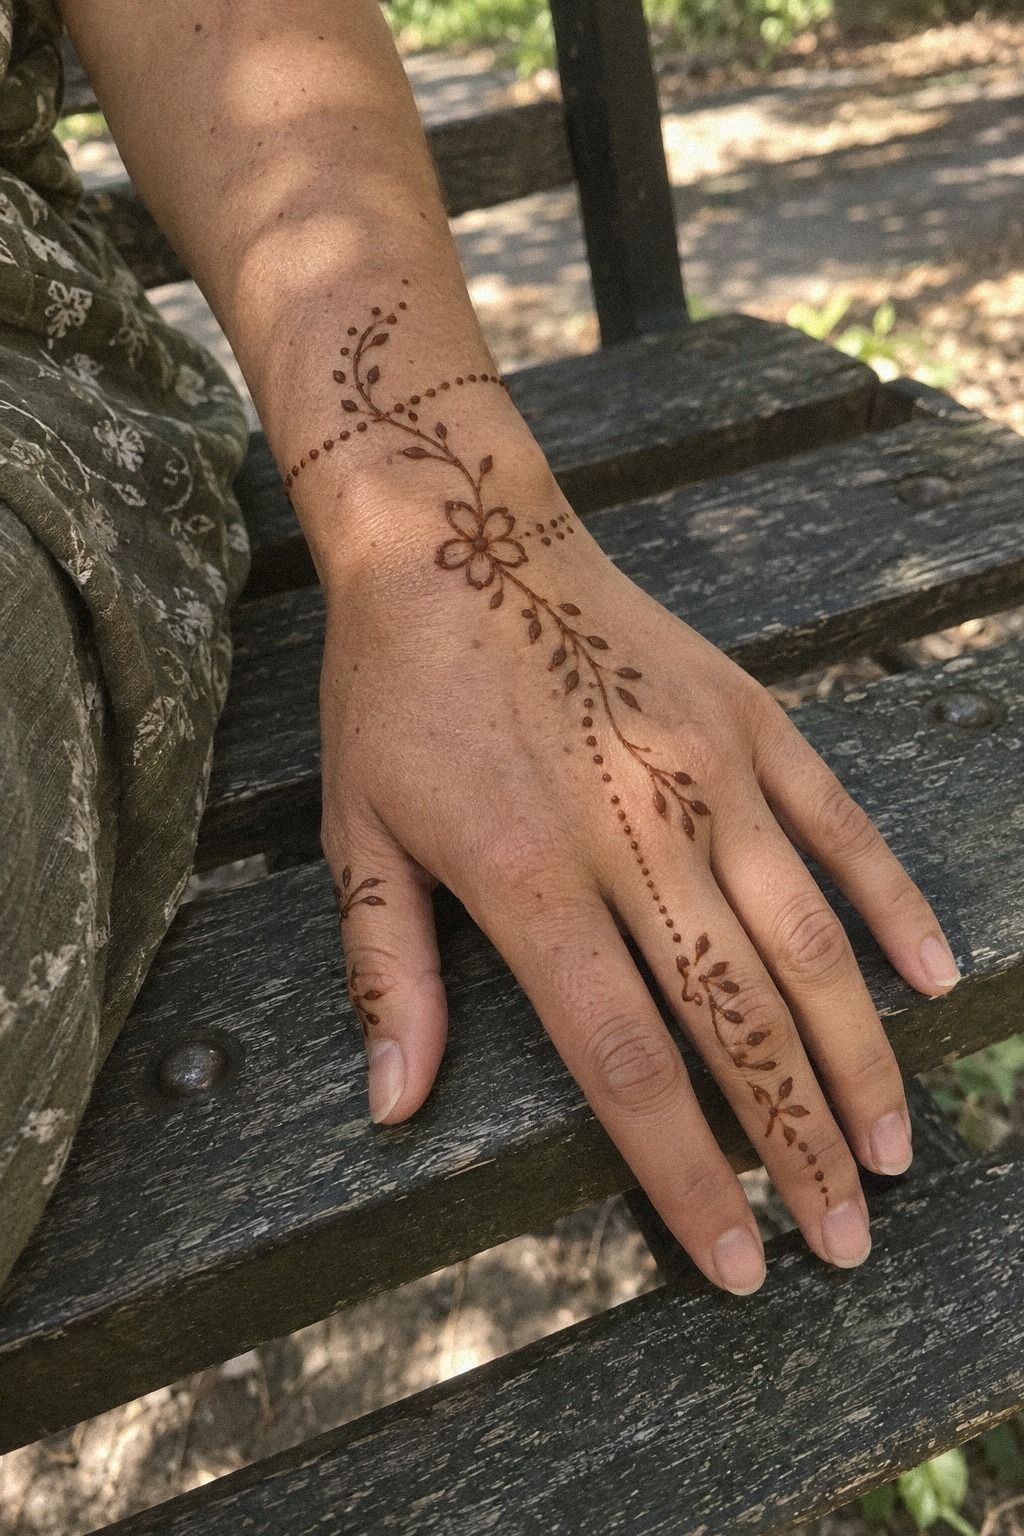
Place one small floral motif across the fingers and let the stems travel toward the wrist. For more ideas, browse latest simple mehndi designs for hands before choosing your flower shape.
Your flowers don’t need five identical petals. A three-petal sprig can look more delicate than a dense bloom, especially when you leave the fingertip mostly clear. I’d use one flower near the index finger, two dots beside the middle finger, and a stem that stops before the wrist crease.
A small floral sprig gives your hand a romantic detail without taking over the whole composition. You’ll want the center dot to remain visible after the paste dries, so don’t pile extra paste into the middle. Simple pressure changes create enough texture.
Keep the fingers related, not identical. One supporting mark on each finger can make the pattern feel expressive. Repeating the exact flower five times can make your hand look stiff.
If you’re preparing for guests, finish the fingertip details first because they’re the easiest place to bump. Keep your wrist supported and let the paste dry before reaching for a cup, phone, or door handle.
That little choice matters! The design will feel crisp and playful when the small marks stay separate.
4Keep Negative Space Around Motifs

Keep the open skin around each motif visible, especially where reddish-brown paste creates strong contrast. Negative space lets a bold mark remain readable instead of turning into one dark patch.
A single flower, paisley, or dot cluster needs a clear boundary around it. I’d rather see three intentional marks than a crowded palm with no pause between them.
Leave the central gap untouched when the surrounding lines already feel complete. This keeps the pattern elegant and gives the color room to deepen without losing definition.
5Plan Symmetrical Patterns For Both Hands
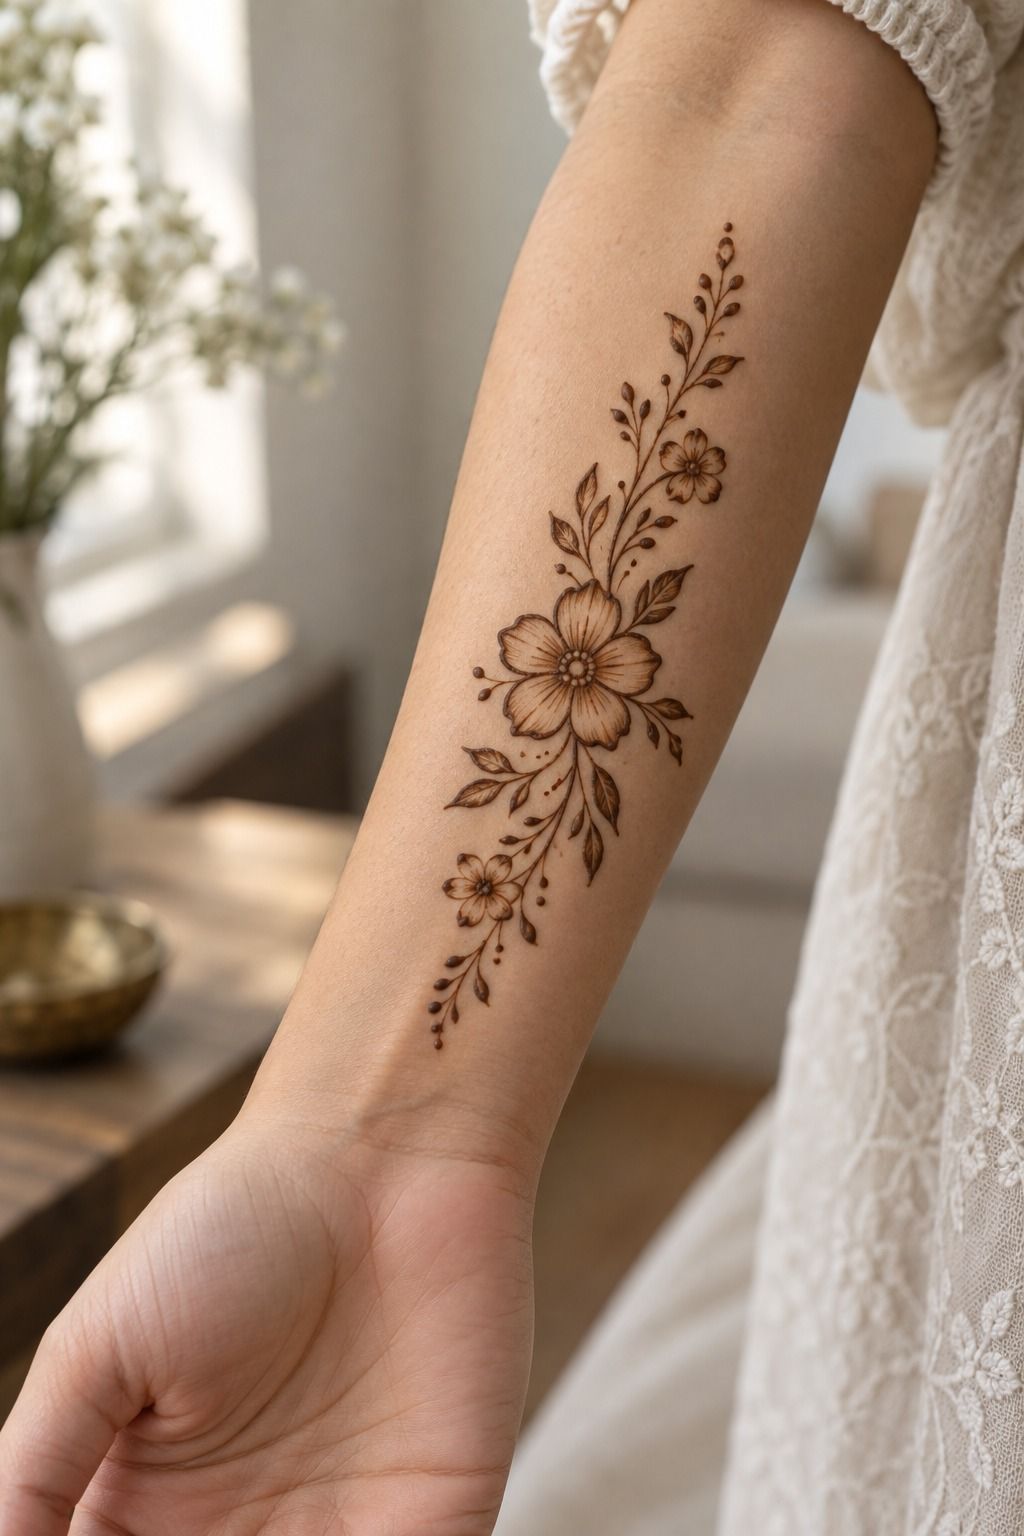
Plan symmetry by repeating the movement of the pattern, not by copying every tiny mark. One hand can carry a paisley that curves inward, while the other echoes the same direction with a slightly different leaf.
A mirrored rhythm keeps both hands connected without making them look stamped. You’ll save time because you’re repeating a visual idea, not measuring every fingertip.
Try matching the placement of the main paisley first. Then repeat the number of dots, the direction of the vine, or the open area near the wrist. The result can feel stylish, balanced, and personal.
Perfect symmetry isn’t always worth the extra cost or effort. Handmade mehndi looks more meaningful when both sides share a language while retaining small differences. A classic pattern can still carry your own character.
6Choose Bold Dots Along The Wrist

Choose bold dots along the wrist when you want a strong finish without covering the entire forearm. Your wrist can carry the main accent while the palm stays delicate. Fast does not have to look careless!
Begin with three dots in descending size, then add a short curved line beneath them. This gives your design a crisp endpoint and keeps the pattern from drifting randomly upward. I’d use a powerful dot rhythm rather than a thick band.
A rounded cone opening creates the cleanest dot when you press, pause, and lift straight up. Don’t twist the cone as you pull away. That motion can leave a tail, and your bold dots will look more like commas than intentional accents.
Keep the dots separate from the wrist crease. Paste can spread slightly while it dries, and crowded marks may merge. Leave a small gap so each dot remains visible after the color deepens on the second day.
If you’re using this idea on both wrists, vary the number of small dots while keeping the main rhythm similar. Your hands will feel connected, yet the result won’t look stamped. That balance feels modern, fierce, and rooted in traditional pattern language.
A wrist border is also helpful when you’re short on time. You can finish a wrist border in a few minutes, then spend your remaining attention on one motif near the palm. It’s often worth it when you want a polished result without expanding the budget.
7Add Symbolic Vines Near The Thumb
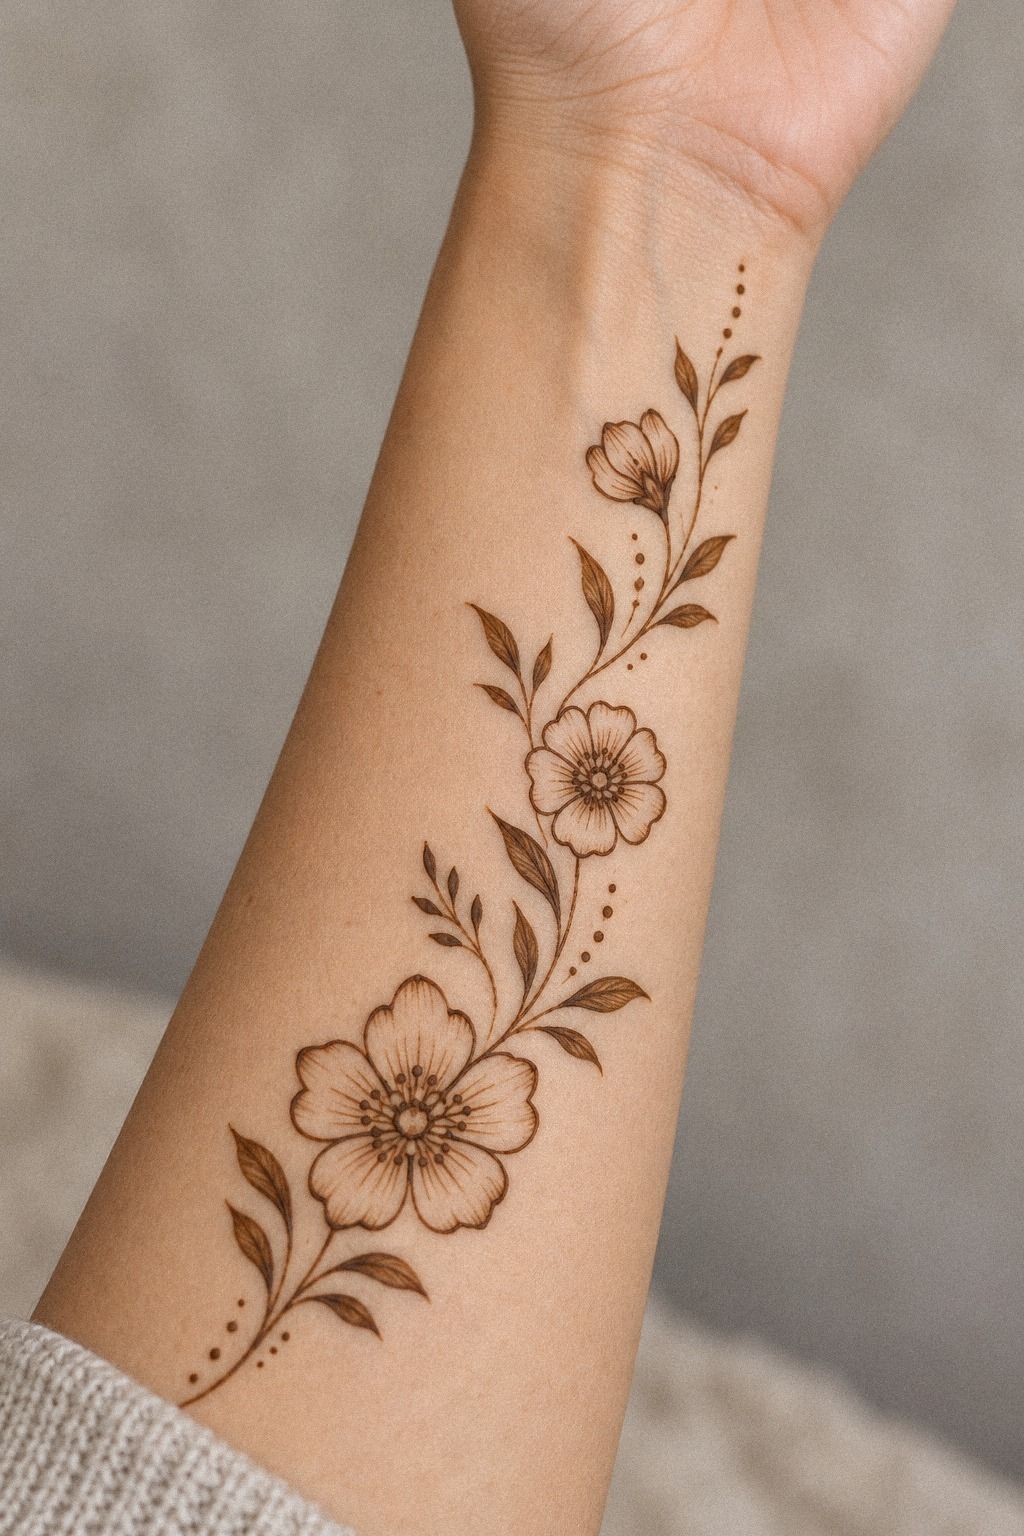
Add a symbolic vine near the thumb when you want the design to follow the hand’s movement. A short stem can suggest growth, connection, or celebration without filling the whole palm.
One flowing curve gives the vine its direction. Add two leaves, a tiny dot, and a small hook near the end. You don’t need a dense trail to make the motif feel expressive.
Keep the vine away from the deepest crease if guests will be moving around soon. That area bends frequently, so a lighter design may stay clearer during the drying period.
If the occasion has personal significance, choose one plant-inspired shape that reminds you of it. Jasmine, fern, and leaf forms can feel sacred, romantic, or empowering without becoming overly ornate. A thoughtful detail can be more valuable than a larger design.
For a softer reference, compare the layout with latest very simple mehndi designs before you apply the paste.
8Match Flowing Lines To Hand Shape
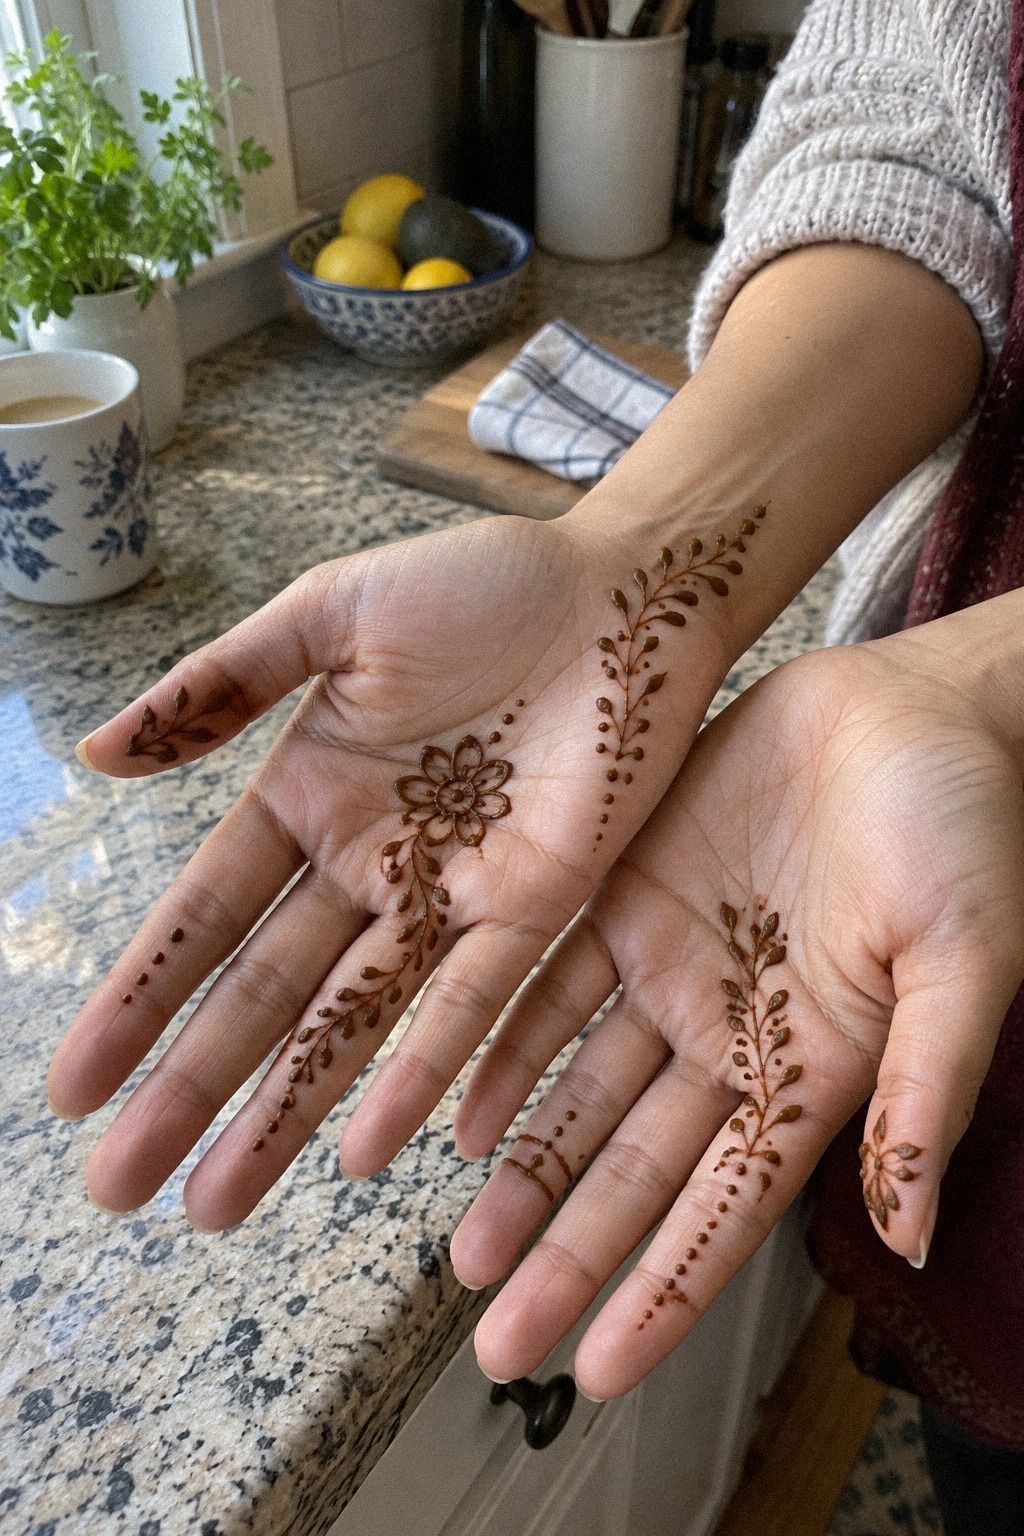
Match the flowing direction of your pattern to the hand shape rather than forcing a straight path. For additional references, see latest simple mehndi designs for hands before you choose your layout.
On a long palm, use a vertical vine or narrow jaal pattern. On a broader palm, a curved paisley can create movement without making the center feel crowded. I’d avoid placing every motif in a rigid row because it makes the hand look flat.
A light jaal pattern can connect separate motifs with small arches and dots. Keep the intersections open, especially where the palm bends. Your lines should look flowing and graceful when the hand is relaxed.
Don’t draw the same direction on every finger. Let one finger trail angle toward the index finger and another fade near the ring finger. Those slight changes make the pattern feel expressive and handmade.
If you’re working from the palm outward, pause after each major section. Look at your hand calmly and catch uneven spacing before the paste dries. You won’t need to add extra decoration to hide it.
The simplest way to test flow is to close and open your relaxed hand gently. If the motif still reads as one connected design, you’ve placed it well.
If it breaks into scattered marks, add one small bridge rather than another large shape. Keep it flowing!
9Frame Latest Designs With Crisp Outlines

Frame the latest designs with crisp outlines only where the motif needs definition. Compare this approach with simple very simple mehndi designs and notice how little paste is needed when spacing does the work.
Choose one border around the main flower, paisley, or mandala. Leave the interior lighter so the design keeps its delicate contrast. I’d skip thick outlines around every leaf because they can make an airy pattern look harsh after the color deepens.
A clean outer contour gives your central motif a polished finish. To make one, move the cone slowly and keep your wrist supported. Your hand doesn’t need to travel quickly, and rushing is the easiest way to lose a sharp curve.
Don’t correct every tiny irregularity. Handmade mehndi has a raw, personal quality that disappears when you keep layering paste over small mistakes. If a mark is still readable, let it stay.
If you notice a stray paste dot, use a dry toothpick or cotton swab to lift it before the paste sets. Work gently and avoid dragging across nearby lines. Your correction tool should touch only the unwanted spot.
A crisp outline is useful when you want the design to remain readable from a short distance. Add one meaningful center and two quiet accents. The result can look stylish, classic, and clear without covering more skin.
For another compact direction, compare simple latest simple mehndi designs and focus on how the outlines define rather than crowd the motifs.
10Test Temporary Mehndi Before Application

Test temporary mehndi on a small patch of skin before applying a full design, especially if you’re trying a new cone or prepared paste.
Use the new cone on the wrist or forearm first. Check the paste texture, drying time, and developing color before committing to your hands or feet.
11Photograph Finished Hands In Natural Light
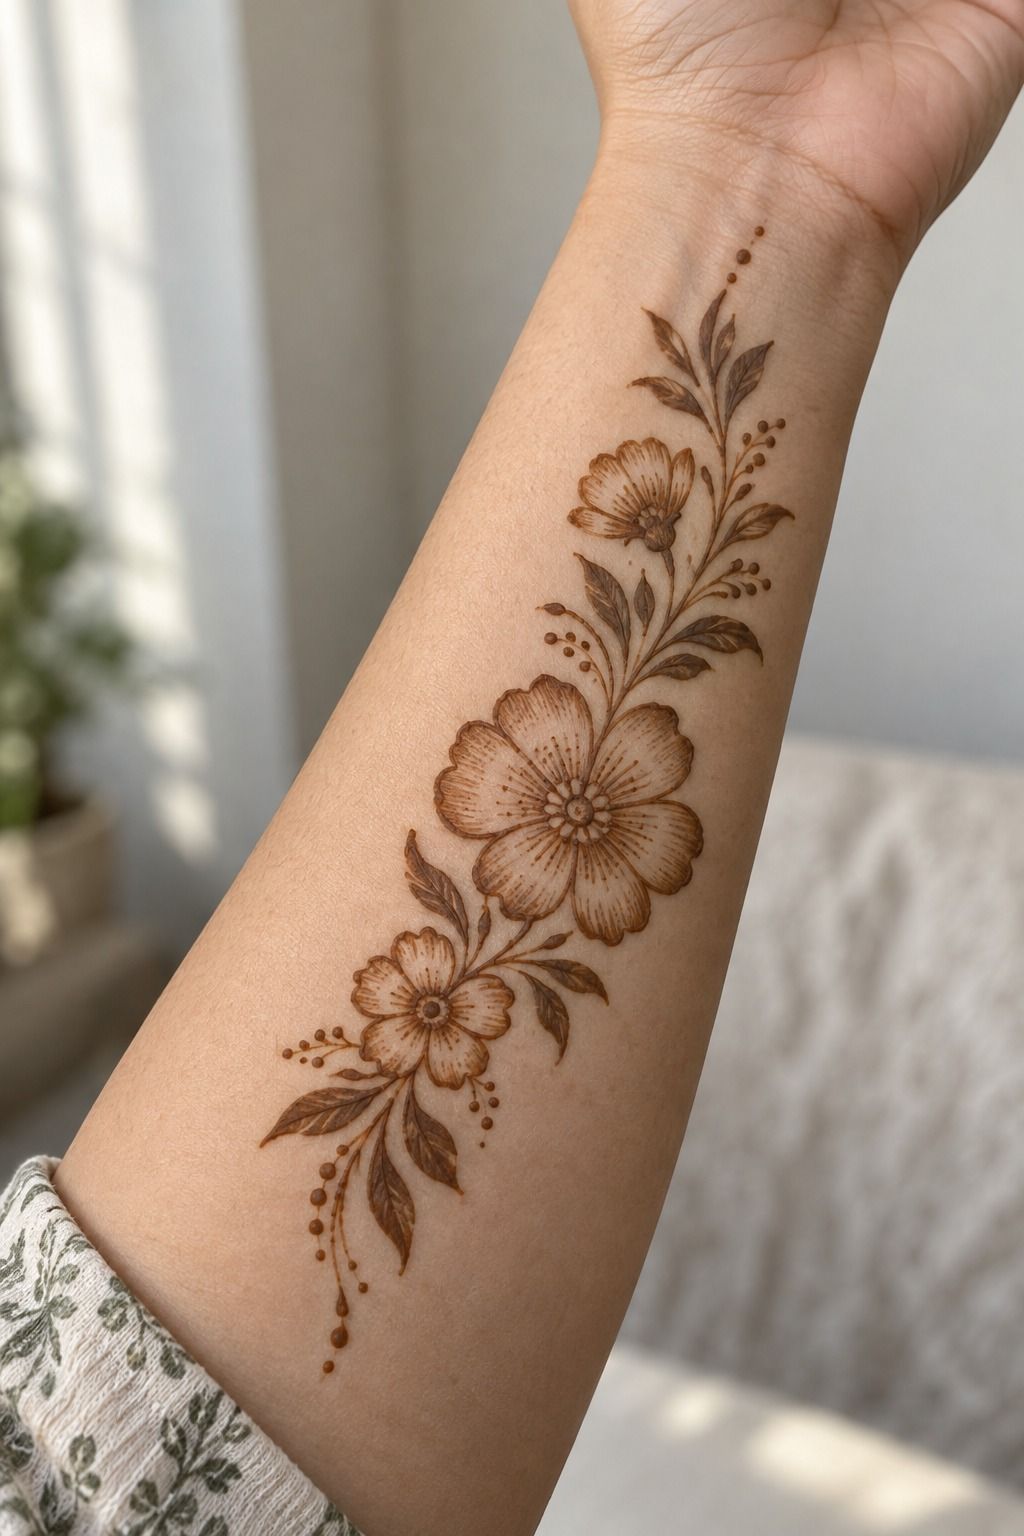
Photograph the finished design in natural light after the paste has dried and been removed gently. You can compare your result with simple latest simple mehndi designs while the color is still developing.
Wait until the finished design has dried fully before moving around. Indirect daylight will show the reddish-brown color accurately. Keep your hands steady and relaxed.
Let the natural daylight reveal the contrast between the paste stain and your skin tone. The color may look lighter at first, then become richer during the second day.
Take care not to press wet paste against another surface. Let the dried paste set completely, then remove it gently rather than washing it away immediately.
If you’re preserving the result, turn the finished wrist slightly so the pattern remains easy to read. For feet, keep the ankle relaxed and point the toes naturally. Stiff movement can make even a simple design look awkward.
The color may continue deepening into the second day, so check it again later. Avoid pools, harsh soap, and direct sun while the design is fresh. With gentle care, your final result can remain clear for the full one to three week wear period.
A Wedding-Ready Timeline
If guests arrive at 7 p.m., I’d begin a simple hand design around 4:30 or 5 p.m. That gives you room for application, drying, small corrections, and a calm transition into the celebration. Your timing buffer matters more than squeezing in one extra motif.
For both hands, start earlier or choose a smaller layout. A minimal wrist border and a few fingers can be finished faster than two dense palms. You’ll protect the final result by matching the design to the time you actually have.
If you need a reference for a shorter appointment, latest simple mehndi designs for hands can help you compare scale before you begin.
Allow the drying window to remain undisturbed. A design that finishes early is more useful than one that includes too many marks and smudges before guests arrive.
What Should You Protect While It Dries?
While the paste sets, protect your resting hand from cups, phones, pets, and enthusiastic greetings. Keep the hand supported, avoid rubbing, and ask someone else to handle small tasks if the occasion is close.
Don’t cover wet paste with tight fabric. It can smear the edges and leave a dull patch. Let the air reach the design, and keep your movement slow until the surface feels dry.
Once the paste has dried, remove it gently rather than washing it away immediately. The deeper color will appear gradually during the second day. Patience gives the reddish-brown stain time to develop.
Natural Henna or Instant Dark Paste?
Natural henna usually develops from orange-brown to deeper brown, while an unusually dark instant paste deserves careful questions. Ask about ingredients, preparation, and how long the cone has been stored. The ingredient list should never be a mystery.
A natural option may feel slower, but the gradual color change is part of its character. It can look earthy, elegant, and personal as it develops. Very dark results aren’t automatically better.
If you’re unsure what to choose, read simple very simple mehndi designs while you compare the design’s size and drying needs. A smaller motif is easier to test and easier to monitor.
Which Motif Still Feels Like You?
Ask yourself whether you prefer a paisley trail, a floral sprig, a vine, or a few rhythmic dots. The right choice should feel meaningful before it looks impressive. You’ll enjoy the finished pattern more when it reflects your taste.
Some people want a strong wrist border. Others prefer an understated palm with one leaf. A masculine, feminine, playful, or classic direction can all work when the spacing feels intentional.
I’d choose one meaningful motif with a clear reason behind it. That decision gives the design an empowering quality without requiring a large composition.
Why Simple Mehndi Still Feels Personal
I’ve always preferred mehndi that leaves room for the skin to show. The first time I saw a dense palm covered from wrist to fingertip, I admired the effort but remembered the quieter design beside it: one paisley, three dots, and a vine that stopped before the thumb. That restraint felt more expressive than a crowded pattern.
A quiet palm pattern doesn’t mean empty. It means every mark has a job.
A dot can balance a flower, a leaf can redirect attention, and an open palm can make a small mandala feel more powerful. You’re not removing meaning when you remove clutter.
You’re giving the important part a clearer voice.
My preferred paste is reddish-brown natural henna with a narrow cone tip, especially for guests who need to move around after application. I’d choose a delicate wrist border over a large filled block because the border dries more comfortably and keeps its edges clear. That’s a practical decision, not a rule.
There’s also something intimate about seeing the gradual color shift. The paste begins earthy and bright, deepens on the second day, then softens as the weeks pass.
You can remember the occasion through that change. A temporary design doesn’t need to last forever to feel sacred.
If you’re unsure, start with one hand or one foot and watch how the pattern behaves as you move. You’ll learn which areas rub, which curves stay clear, and which motifs suit you. The most memorable design is rarely the busiest one.
It’s the one you still enjoy looking at after the guests leave.
For more inspiration, browse simple latest simple mehndi designs and notice which designs still appeal to you after the first glance.
The Questions Worth Answering First
How much does a latest simple mehndi designs application usually cost?
The price varies by artist, event, location, and the amount of skin covered, so ask for a quote before booking. I’d compare the paste type, design size, travel, and drying guidance before deciding. A small home application may offer the best budget value for one person.
Is latest simple mehndi designs a good choice for a first application?
Yes, I think simple mehndi is a strong first choice because you can test a simple motif, watch the color develop, and adjust your next design. Finger, wrist, palm, foot, and ankle patterns can all feel individual without requiring a large commitment.
How do I choose a mehndi artist?
I’d look for clear examples of dried designs, consistent paste lines, clean working habits, and experience with the style you want. Ask what’s in the artist’s paste and whether the artist can create a patch test. A thoughtful artist won’t rush your questions or hide the ingredients.
How long should mehndi paste stay on the skin?
I usually leave the paste undisturbed for about 1 to 2 hours, depending on the design and paste texture. Once it’s dry, remove it gently rather than scrubbing. The color often deepens on the second day, so don’t judge the final shade too soon.
How long do latest simple mehndi designs take to fade?
The visible pattern commonly lasts about 1 to 3 weeks. I’d avoid pools, harsh soap, and strong sun during the first day, because those can weaken the color. Gentle care helps the pattern remain visible longer.
Where I’d Start First
If I had to pick one step, I’d start with keeping negative space around one central paisley. It gives your design room to breathe, dries with fewer smudges, and still looks clear when the color deepens.
One final reference is enough. Save it, prepare the cone, protect your hand while the paste sets, and let the pattern become your own. If you want one last comparison, browse latest very simple mehndi designs before you begin.