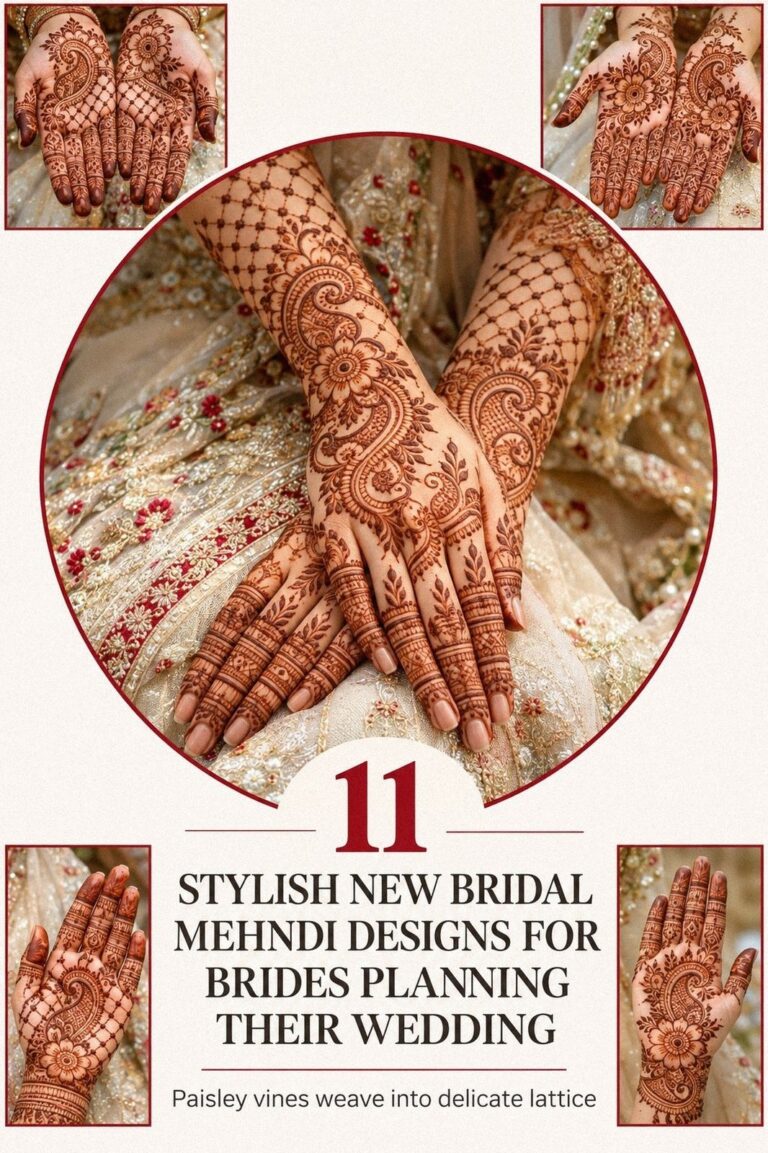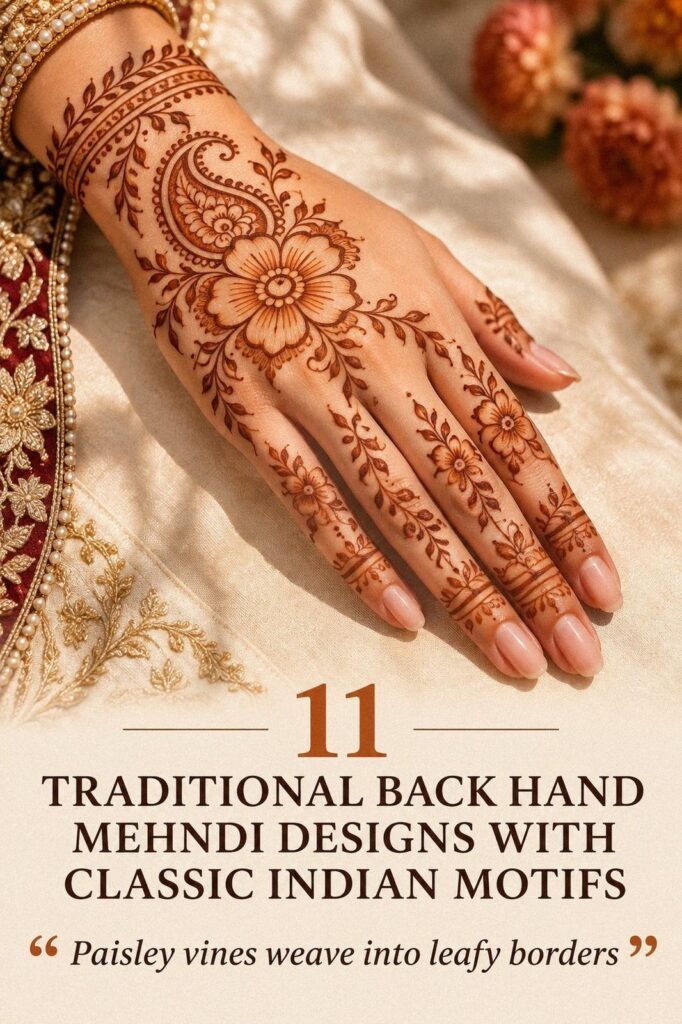
Traditional back hand mehndi designs suit wedding guests because they look striking without taking over your whole hand. I once crowded every finger with paste, and the pattern lost its shape. A delicate open design keeps the reddish-brown stain readable. You’ll see why that matters below!
- Layer Simple Traditional Back Hand Mehndi Designs: The Open-Skin Rule
- Refresh Latest Traditional Back Hand Mehndi Designs: The Second-Day Color Test
- Frame Traditional Back Hand Mehndi Designs for Hands: The Three-Anchor Method
- Build Floral Traditional Back Hand Mehndi Patterns: Petal Rhythm
- Sweep Arabic Traditional Back Hand Mehndi Linework: The Diagonal Vine Rule
- Center Mandala Traditional Back Hand Mehndi Centerpieces: Why Does the Circle Work?
- Pair Peacock Traditional Back Hand Mehndi Motifs Over Dense Fill
- Keep Minimal Traditional Back Hand Mehndi Finger Details: The Finger Interval
- Choose Bridal Traditional Back Hand Mehndi Designs With Meaningful Balance
- Fill Full Coverage Traditional Back Hand Mehndi Art With Negative Space
- Draw Geometric Traditional Back Hand Mehndi Patterns: Curves Over Corners
1Layer Simple Traditional Back Hand Mehndi Designs: The Open-Skin Rule

The first design keeps the pattern fine, elegant, and clearly hand-drawn across the back of one hand and the fingers. You’ll notice the open skin between each motif, which gives the henna paste visual breathing room. I’d choose this approach if you want something minimal that still feels traditional.
Start with a small central paisley, two curling leaves, and a narrow trail toward the wrist. Keep the fingertips lighter than the center so your hand won’t look visually heavy during the wedding. That contrast makes the design feel timeless and personal.
The cone tip matters here. A fine opening creates crisp stems, while a wider opening gives you rounded petals and thicker borders. You’ll want the paste to dry for 1 to 2 hours before gently flaking it away, because water too soon can weaken the stain.
If you’re drawn to this quiet style, compare it with these simple back hand mehndi designs and traditional simple mehndi designs. I’d skip dense fingertip coverage because it would erase the clean rhythm that makes the pattern work.
2Refresh Latest Traditional Back Hand Mehndi Designs: The Second-Day Color Test

This design uses intricate reddish-brown patterns across the backs of both hands and the fingers. Its reddish-brown stain becomes richer after the paste dries and is removed, so judge the result on the second day rather than immediately.
Ask for a fresh cone and a controlled pattern before adding extra detail. A few flowing leaves, fine dots, and one meaningful centerpiece can look more polished than an overcrowded design. I’d keep the fingertips partly open if you want the result to feel sleek.
The second-day color may deepen from warm orange to a darker brown-red. Keep the paste on for 1 to 2 hours, remove it gently, and avoid unnecessary water afterward. That simple timing protects the crispness of the lines.
This style works well when you want something current but still classic. It can feel vibrant beside festive clothing without competing with every pattern or piece of jewelry. Let the design breathe, and you’ll get a more graceful result.
3Frame Traditional Back Hand Mehndi Designs for Hands: The Three-Anchor Method

This hand-and-wrist design uses three anchors: a central floral form, a smaller wrist detail, and a repeated finger motif. The result is graceful rather than crowded. If you’re drawing at home, these three anchors will help your hand look intentional even when every curve isn’t identical.
I like using a paisley outline as the largest anchor because it gives your eye somewhere to land. Add two leaf shapes near the wrist and repeat one tiny dot cluster along the fingers. The pattern becomes personal without needing dozens of filled shapes.
Your wrist shouldn’t compete with the back of your hand. Keep the wrist band narrow, especially if you’ll wear bangles or a watch for the wedding. I’ve seen a wide band swallow the hand’s shape, and it isn’t worth losing that classic proportion.
For a gentler starting point, browse these easy back hand mehndi designs. You’ll find that a few controlled curves can look more polished than a crowded pattern with uneven spacing. That simplicity can offer better value if you’re paying by time.
4Build Floral Traditional Back Hand Mehndi Patterns: Petal Rhythm

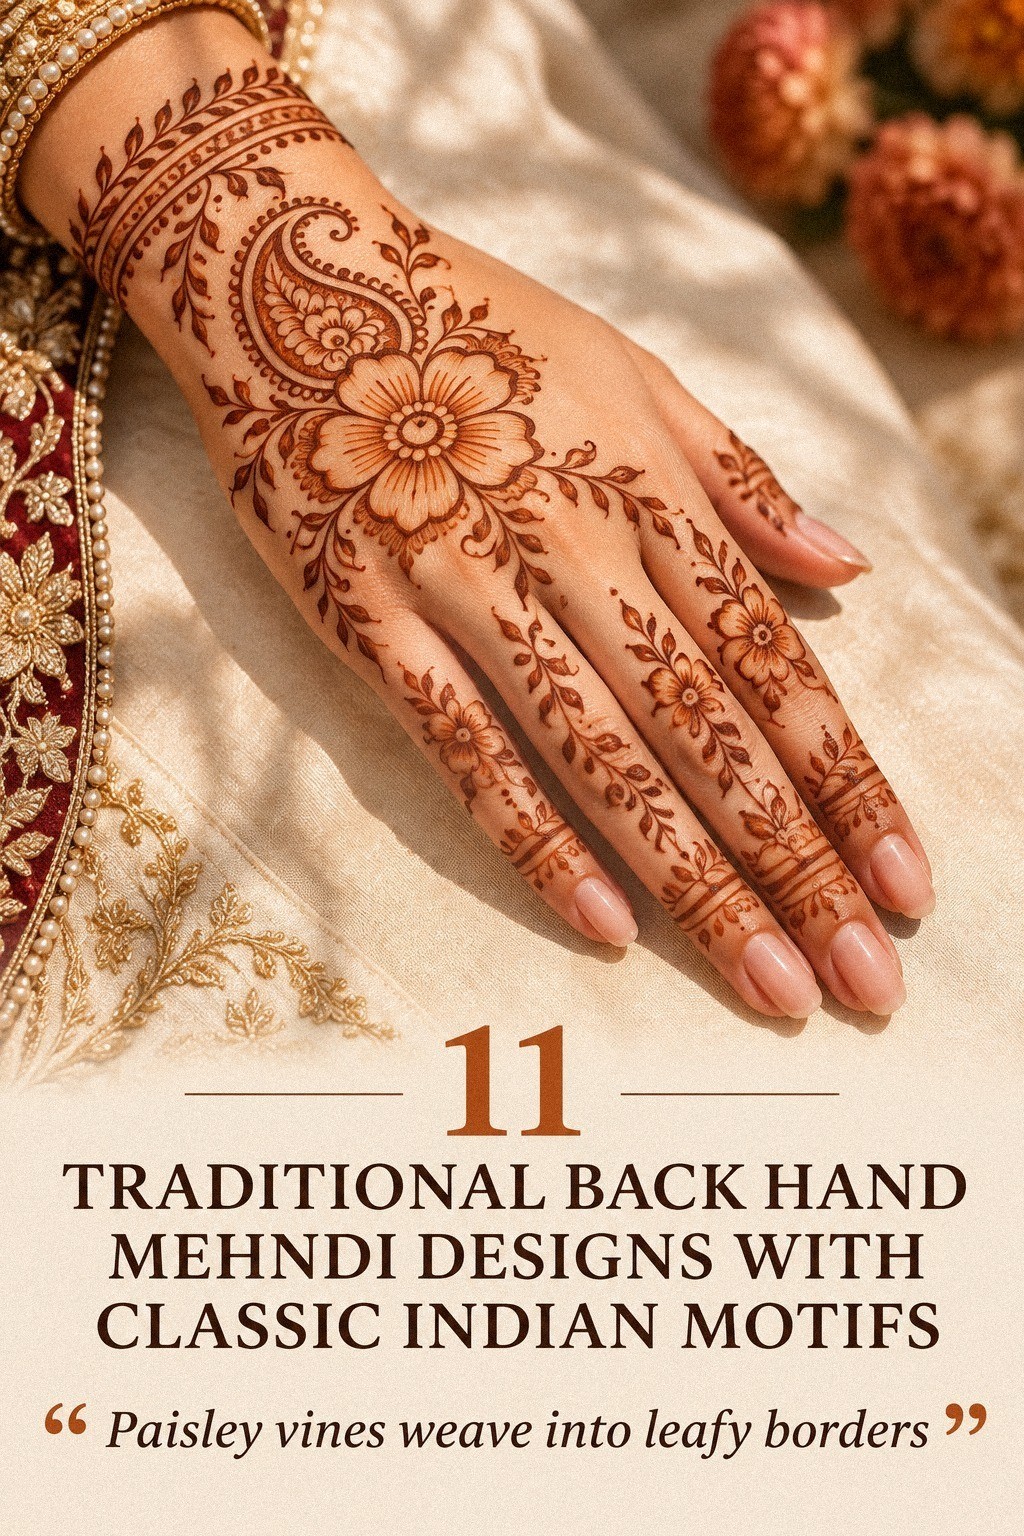
This floral design places flowing flowers across the fingers and palm, with a romantic arrangement that follows the natural shape of the hand. The floral trail should curve with your knuckles instead of cutting sharply across them.
Use one larger bloom near the center, then let smaller flowers travel toward the wrist. I’d keep the petals open enough for the reddish-brown stain to remain clear. That makes the pattern feel feminine without becoming overly sweet.
The petal rhythm matters more than the number of flowers. If you’re working with an artist, ask for three sizes of blooms and a few quiet gaps. That variation keeps the design expressive.
That’s the trick!
A flowing floral pattern also gives you room to adjust the density. Leave the outer fingers lighter if you want a dainty result, or add sharper leaves for an edgier direction. Your hand should still feel like yours when the paste is removed.
5Sweep Arabic Traditional Back Hand Mehndi Linework: The Diagonal Vine Rule

This Arabic-inspired approach uses linework that travels diagonally from the wrist toward the fingers. The diagonal vine creates movement without requiring every part of the hand to be filled.
Start with one confident stem and place leaves along alternating sides. Add a paisley near the lower hand, then leave narrow gaps around the fingers. This keeps the style understated while preserving its traditional character.
Ask the artist to vary the leaf size rather than repeating one shape mechanically. A few sharp points can make the design feel edgy, while rounded leaves create a softer and more romantic direction. Both can work with the same basic vine.
I’d avoid putting heavy paste on every fingertip when the main line already carries the design. The open fingertip detail gives the hand a sleek finish and keeps the diagonal path easy to follow.
6Center Mandala Traditional Back Hand Mehndi Centerpieces: Why Does the Circle Work?

A mandala gives this design an ornate center, with lines radiating across the hand and wrist. It feels sacred and powerful because the eye can read the circle immediately. Why crowd every inch when one carefully balanced centerpiece can carry the whole design?
Use a mandala center with four or eight clear sections, then repeat one petal shape around the edge. Your artist can connect the circle to the fingers with thin trails, but the outer details should stay lighter than the center.
The petal ring should remain readable after the paste dries. I’d avoid tiny details that merge into one dark mark. You’re paying for clarity, and a simpler circle often gives you more value than an overworked one.
I’d place the mandala slightly below the knuckles if you want the fingers to remain open. A wrist placement that sits too high can look compressed when you bend your hand. You’ll also want clean surrounding lines while the paste is drying.
If you like mandala structure, compare it with simple stylish mehndi designs for the front hand. Keep your narrow bracelet detail from hiding the outer ring.
7Pair Peacock Traditional Back Hand Mehndi Motifs Over Dense Fill

This peacock motif sits on the back of the hand, with decorated fingers and a clearly recognizable bird shape. It feels iconic, playful, and daring without becoming childish. You’ll want the peacock motif to remain visible from a distance.
A peacock needs a confident outer line before you add the small feather marks. Use curved feathers, tiny dots, and a few leafy forms around the bird. I’d choose this over a fully filled palm because the open skin makes the symbolic shape easier to recognize.
The feather fan should spread toward the wrist or fingers without touching every border. If you’re wearing a patterned outfit, that restraint helps the design hold its own. Your artist can make the bird fierce or gentle through the curve of its neck.
Keep the bird facing toward the wrist or toward the fingers, but don’t let it point into a crowded corner. A symbolic flower detail or small heart can make the motif meaningful without adding unnecessary density.
For a richer wedding look, pair the peacock with references from royal back hand mehndi designs. If you’re wearing vibrant fabric, the reddish-brown stain will give enough contrast without needing an overly dark pattern.
8Keep Minimal Traditional Back Hand Mehndi Finger Details: The Finger Interval

This style focuses on both hands and palms, using dainty details rather than one large centerpiece. It’s understated and sleek, especially around the fingers. You’ll want each finger to have a small visual pause because continuous lines can make a minimal pattern look cramped.
Try one finger band near the middle joint, a tiny dot trail, or a narrow leaf pair. Don’t repeat the exact same mark on every finger. A small change in direction makes your hands look expressive while keeping the result controlled.
The most common mistake is making the fingers too dark before the palm is finished. I’d leave the fingertip coverage partly open and let the central palm carry the stain. That choice can also lower the cost if your artist charges by coverage.
Keep the cone tip clean, and your lines will look sharper. If you’re practicing, use a paper cone first and build pressure slowly. Minimal work is unforgiving, but it can look exceptionally polished when the spacing is right.
You can find lighter references in easy back hand mehndi designs and simple back hand mehndi designs. The negative space is part of the design, not evidence that you stopped early.
9Choose Bridal Traditional Back Hand Mehndi Designs With Meaningful Balance

This fuller pattern suits a bridal setting, with the design traveling from the fingers toward the wrist without losing its center. The bridal pattern can be ornate and meaningful while still leaving enough open skin for the shapes to remain clear.
Ask for one main motif rather than several competing ones. A floral centerpiece, paisley trail, or peacock can carry the design when the surrounding lines are graceful and controlled. I’d rather see one strong idea than a page of unrelated details.
Keep the wrist border proportional to the hand. A narrow band feels elegant beside bracelets, while a wider one can create a more powerful statement. Your artist can adjust the density according to how much time you have.
If the occasion calls for more coverage, add small dots and leaf clusters gradually. Those details make the result expressive without turning every section into a dark block. You’ll still have a meaningful design after the color deepens.
10Fill Full Coverage Traditional Back Hand Mehndi Art With Negative Space

This full-coverage approach uses expressive, raw patterning across the fingers and palm. It has an empowering density, but the design still needs openings so the shapes don’t merge. You’ll want the palm to feel full without becoming a single dark block.
Use jaal linework to connect leaves, dots, and small paisleys. Leave narrow channels of bare skin between major sections, then repeat one border near the wrist. I’d skip filling every fingertip because those areas can make the whole hand feel heavier.
The bare channels should vary slightly in width. Identical gaps can make the pattern look mechanical, while thoughtful variation gives it a handmade quality. You’ll get a more graceful result when the lines breathe around the knuckles.
Full coverage takes patience. Your artist may work in sections so fresh lines don’t brush against older paste. If you’re applying it yourself, rest your hand on a stable surface and let each area dry before turning your wrist.
For a more open comparison, look at Indo-Arabic back hand mehndi designs and back hand Arabic mehndi designs. The best full pattern still has visual breathing room between motifs.
11Draw Geometric Traditional Back Hand Mehndi Patterns: Curves Over Corners

This geometric pattern uses diamonds, angled bands, and repeated borders across the back of the hand and fingers. The geometric lattice feels sharp and expressive while still following the natural movement of the hand.
Begin with one central diamond or hexagon, then connect it to smaller shapes near the wrist. Keep the lines even, but don’t force every section to be identical. Slight variation gives the pattern a more personal quality.
Curves can soften the corners without weakening the structure. Add tiny dots inside selected shapes, then leave other sections open. This balance keeps the design bold rather than visually heavy.
I’d avoid placing a rigid band directly across a knuckle because bending can distort the pattern. A flexible finger border will move more naturally and help the design remain comfortable while the paste dries.
How the Henna Color Changes After Application
Fresh henna can look pale orange before it develops. The fresh stain usually deepens gradually as the paste dries and is removed. You’ll see the richest color around the second day.
Warm hands often help the stain develop, but you shouldn’t use harsh heat or irritate your skin. I’d keep the paste on for 1 to 2 hours, then remove it gently. Your patience can make a bigger difference than an expensive product.
The second-day color may vary from warm orange-brown to deep reddish brown. Skin chemistry, paste freshness, temperature, and washing habits all matter. Don’t compare your result too closely with someone else’s hand.
If you’re choosing a design for a wedding, apply it early enough to let the color mature. That timing gives you better value than applying it minutes before the event. You’ll enjoy the pattern more when you aren’t watching it develop under pressure.
Estimate the Cost Before You Book Mehndi
Mehndi artists may charge by design, time, hand coverage, or event. The table below gives planning ranges rather than fixed prices. Your local cost can change based on experience, travel, complexity, and whether you book an individual appointment or a larger wedding service.
Ask for a written quote before you book. You’ll want to know whether both hands, travel, drying guidance, and extra detail are included. A lower price isn’t always better value if the artist rushes the paste or ignores your placement.
If you’re working with a budget, choose one hand, a smaller motif, or a simple finger pattern. I’d spend on clean technique before adding more coverage. That’s often the smartest cost decision.
Match the Motif to Your Wedding Outfit
Your outfit can guide the motif without forcing the mehndi to match every detail. A vibrant outfit may pair well with a quieter paisley or mandala, while a simple outfit can handle a bolder peacock or geometric pattern.
If you’re wearing heavy jewelry, keep the wrist detail lighter. You’ll get more visual value from a clear hand motif than from paste hidden beneath bracelets. A narrow border can still feel stylish.
A classic paisley works with almost any wedding look. It can become romantic with flowers, edgy with angular leaves, or understated with open skin. I’d choose it when you want one reference that won’t feel dated.
You don’t need the newest variation to look current. A timeless motif with careful spacing usually holds its shape better than a complicated pattern that blurs at the edges.
Prepare the Cone and Skin Carefully
Clean, dry skin gives the paste a better surface. Avoid applying lotion directly before the design because it can interfere with the lines. Your clean skin is the simplest starting point.
If you’re using a ready-made cone, check that the tip is sealed and the paste moves smoothly. A fresh cone should produce an even line without sudden watery patches. Test a small curve on paper first.
I’d keep tissues nearby, but don’t wipe across wet details. You’ll preserve more of the design by lifting mistakes carefully with a pointed cotton swab. That small habit protects a delicate pattern.
Your artist should explain the drying time and aftercare before beginning. If you’re unsure about an ingredient, ask. A meaningful design should also feel safe and comfortable.
Protect the Stain During the First Day
Let the paste dry fully before removing it. Once the dry paste begins to flake, gently rub or scrape it away instead of soaking your hands. Water too early can weaken the developing stain.
The traditional lemon-sugar mixture may help keep paste attached, but it shouldn’t leave your skin uncomfortable. You’ll want a light application, not a sticky layer that catches on everything.
After removal, protect the developing color from unnecessary washing for several hours. I’d avoid swimming, strong cleaning products, and long hot showers on the first day.
The stain will fade gradually from the outer areas inward. That slow change can feel haunting and beautiful, especially when the original crisp lines soften into a warmer memory.
Why Traditional Mehndi Still Feels Right for Wedding Guests
I’ve always preferred mehndi that looks drawn for a person rather than lifted from a rigid template. A hand has movement, knuckles, soft curves, and different skin tones, so the reddish-brown stain should follow those details.
Traditional motifs also carry a quiet history. A paisley can suggest abundance, a peacock can bring celebration, and a mandala can create a centered pause. You don’t need to explain every symbol to enjoy it, but choosing one meaningful motif can make the experience feel more connected.
The practical side matters too. Natural henna is temporary, which gives you room to experiment. You can choose an ornate bridal pattern for one celebration, then return to a minimal finger design for another.
I’m less interested in chasing every latest variation than in watching how an artist handles line pressure, spacing, and color. A striking design can still be simple. A bold design can still feel dainty.
If the pattern stays clear, dries properly, and suits your hands, it’s doing its job. I’d rather see a graceful design with confident spacing than an expensive appointment filled with rushed detail.
So choose the reference that makes you pause. Maybe it’s the flowing floral vine, the sacred mandala, or the fierce geometric border.
Your best choice won’t be the busiest one. It’ll be the one you can imagine wearing through the wedding and the next morning when the color is deepest.
The Questions I Get Asked Most
How much does a traditional back hand mehndi design usually cost?
There’s no single honest price because artists may quote by pattern, time, hand coverage, or wedding event. Ask for a direct estimate before the appointment and share your reference. A written quote helps you compare scope without guessing.
Where can I buy natural henna for these designs?
Look for 100% natural henna powder from a reputable mehndi supplier or local South Asian beauty shop. You’ll want ingredient information and a clear reddish-brown result. I don’t use affiliate links here, so your choice can stay based on the ingredients and method.
What color will traditional back hand mehndi be in 2026?
The classic result remains reddish brown, with the color often deepening on the second day. You’ll get variation based on the paste, your skin, warmth, and aftercare. I’d choose a rich natural stain over an artificial shade.
Can I create a traditional back hand mehndi design on a budget?
Yes, you can keep the design affordable by choosing one hand, a smaller motif, or a simple finger pattern. A paper cone and a basic paisley practice sheet can help you learn. Don’t rush the drying stage, since neat application matters more than extra detail.
How long does traditional back hand mehndi last?
Traditional mehndi usually fades over 1 to 3 weeks, depending on your skin, washing, friction, and the paste. You’ll notice the color deepen on the second day, then gradually soften. Avoiding unnecessary water early on helps the stain develop evenly.
What’s the best placement for traditional back hand mehndi?
The back of the hand and fingers give you strong visibility, while the wrist creates room for a border or vine. Open wrist spacing helps the pattern look lighter and lets bracelets sit without hiding the design. Choose the placement you’ll enjoy seeing during the event.
How should I care for fresh mehndi?
Let the paste dry for 1 to 2 hours, then remove it gently without soaking your hands right away. Wash softly, moisturize after the stain has developed, and avoid early pool water or strong sun. Your stain will look richer when you give it time.
Where I’d Start First
If I had to pick one, I’d start with the floral traditional back hand design. Its open petals stay readable as the reddish-brown color deepens on day two, while dense fill can blur the story.
Pin this floral reference for later and compare it with our traditional simple mehndi designs. Start there!