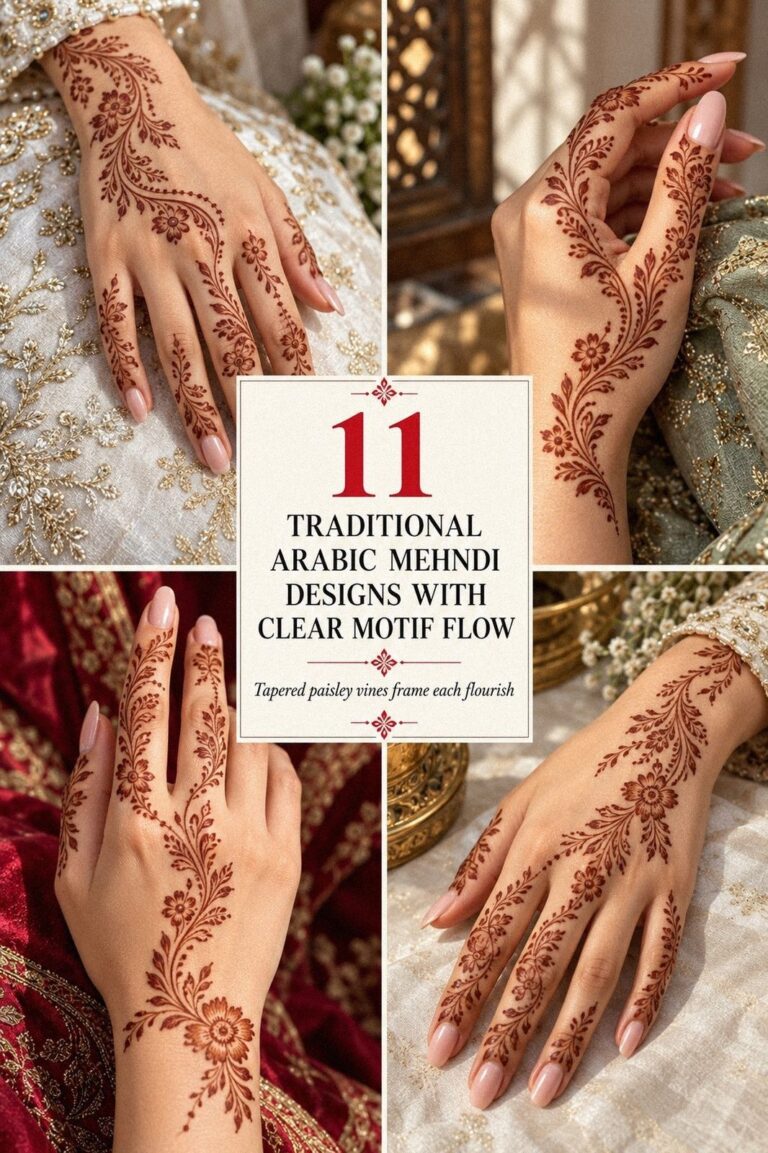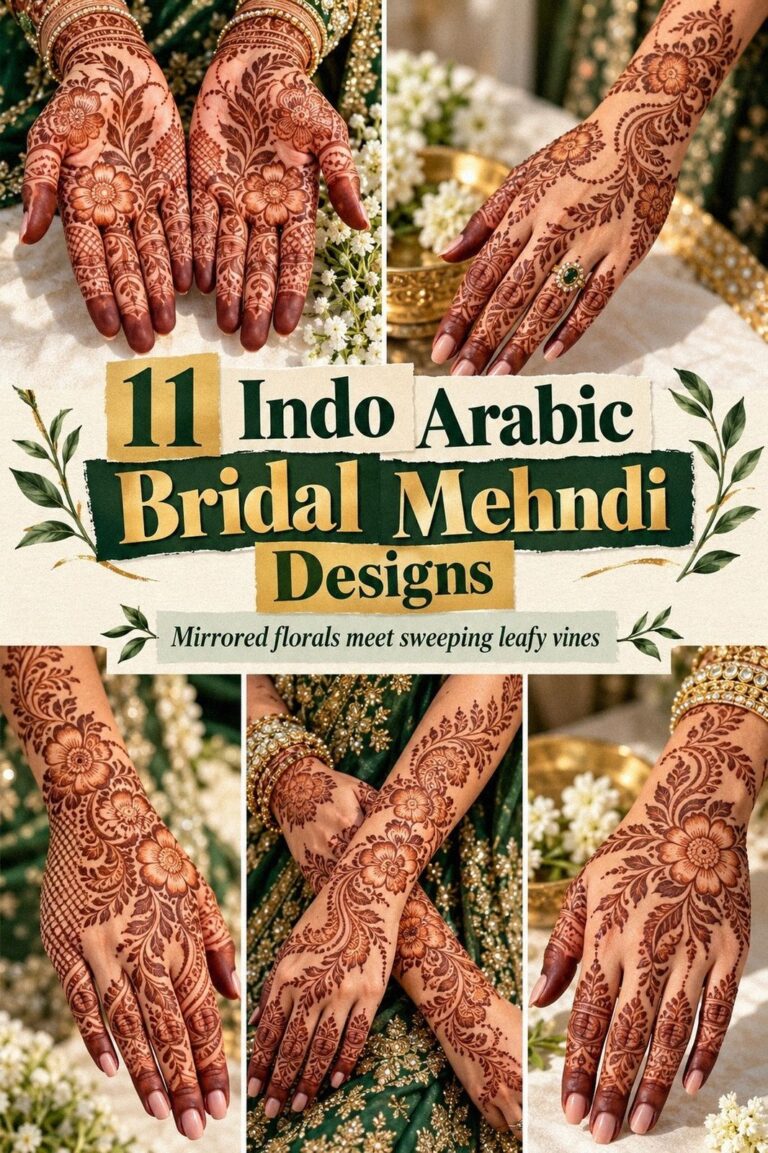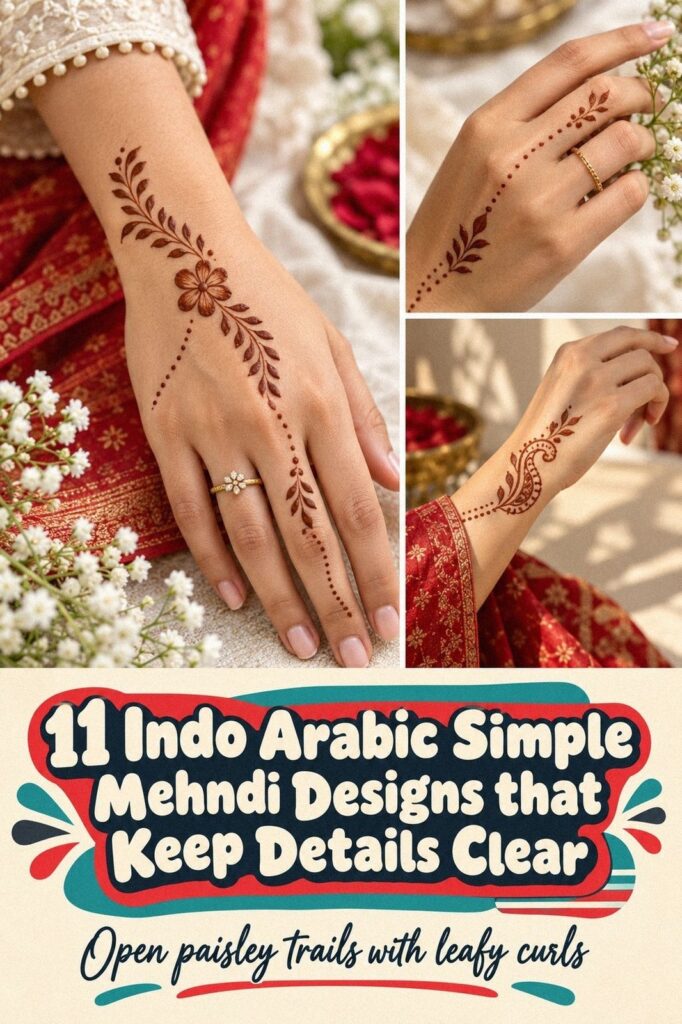
Indo Arabic simple mehndi designs can look intricate without covering every inch of skin. I once left a cone open too long and got a flat, pale stain instead of crisp detail. Fresh paste, a 1 to 2 hour dry time, and patience make the difference. These ideas keep your Eid design expressive, personal, and easy to wear.
Editor’s note: The best design isn’t always the largest one. A flowing vine, one meaningful paisley, and a few deliberate gaps can create a striking result with far less paste.
- Where Should an Indo Arabic Design Travel on the Back Hand?
- Trace Minimal Finger Trails
- Indo Arabic Vines That Feel Current
- A Delicate Palm Center With Meaning
- Bold Indo Arabic Wrist Cuff Mehndi
- Build a Bridal Side Motif
- What Makes Fine-Line Foot Mehndi Work?
- Negative Space, Maximum Expression
- Arabic Floral Fingers With a Lively Finish
- Choose One Symbolic Mandala
- Dots for a Fast Eid Design
1Where Should an Indo Arabic Design Travel on the Back Hand?
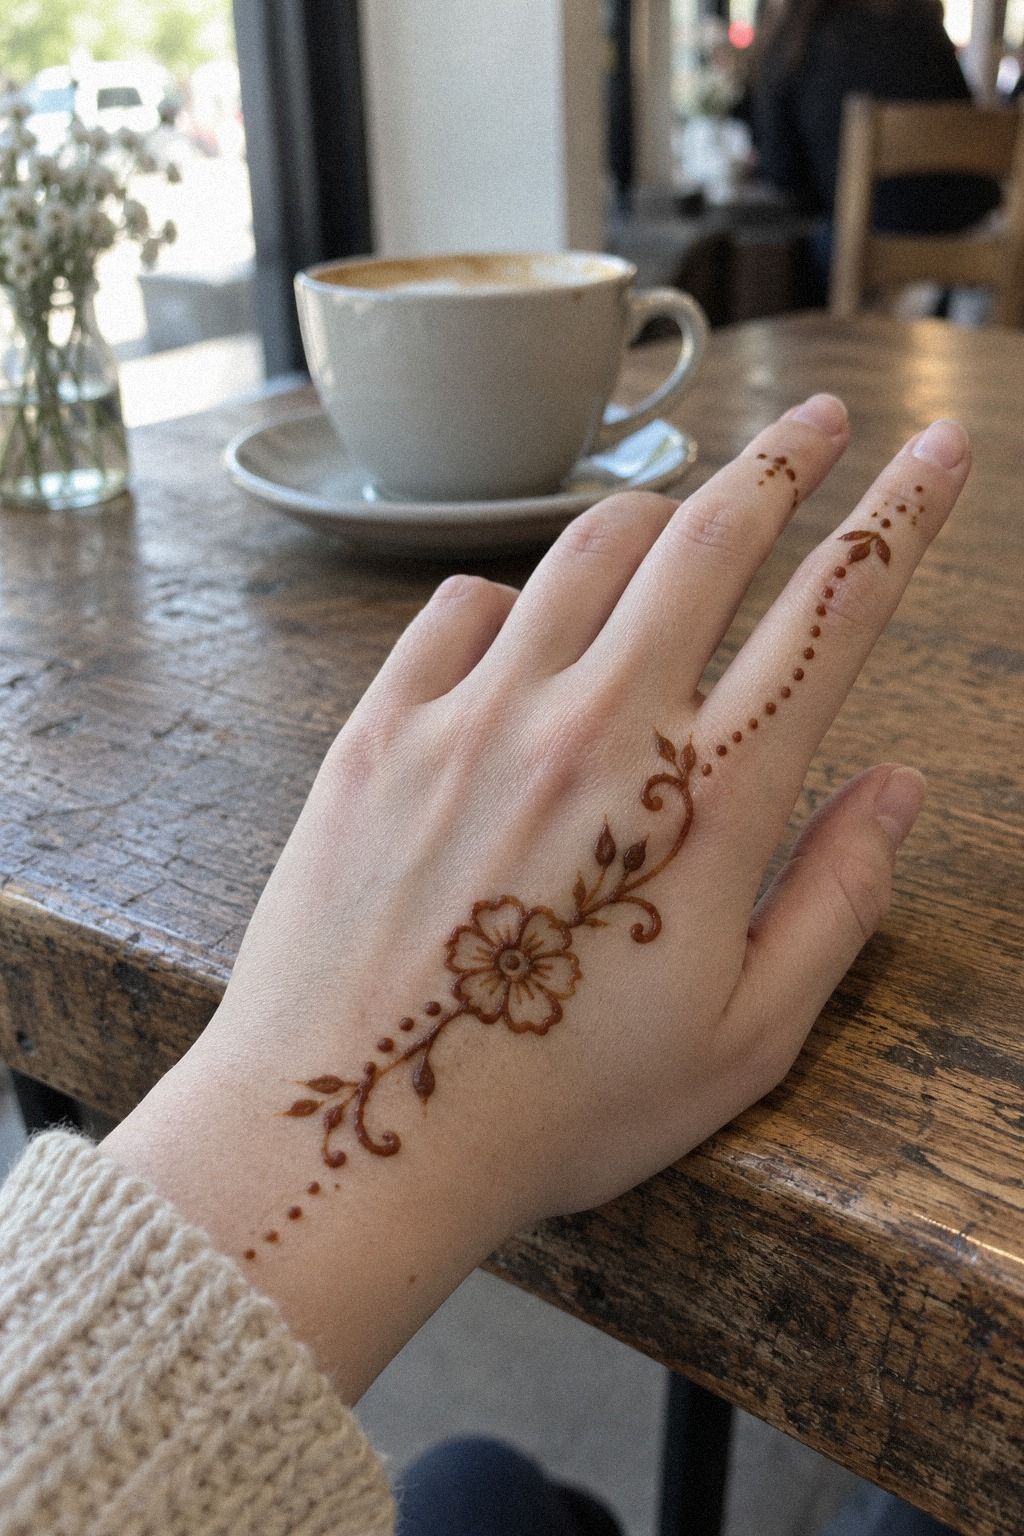
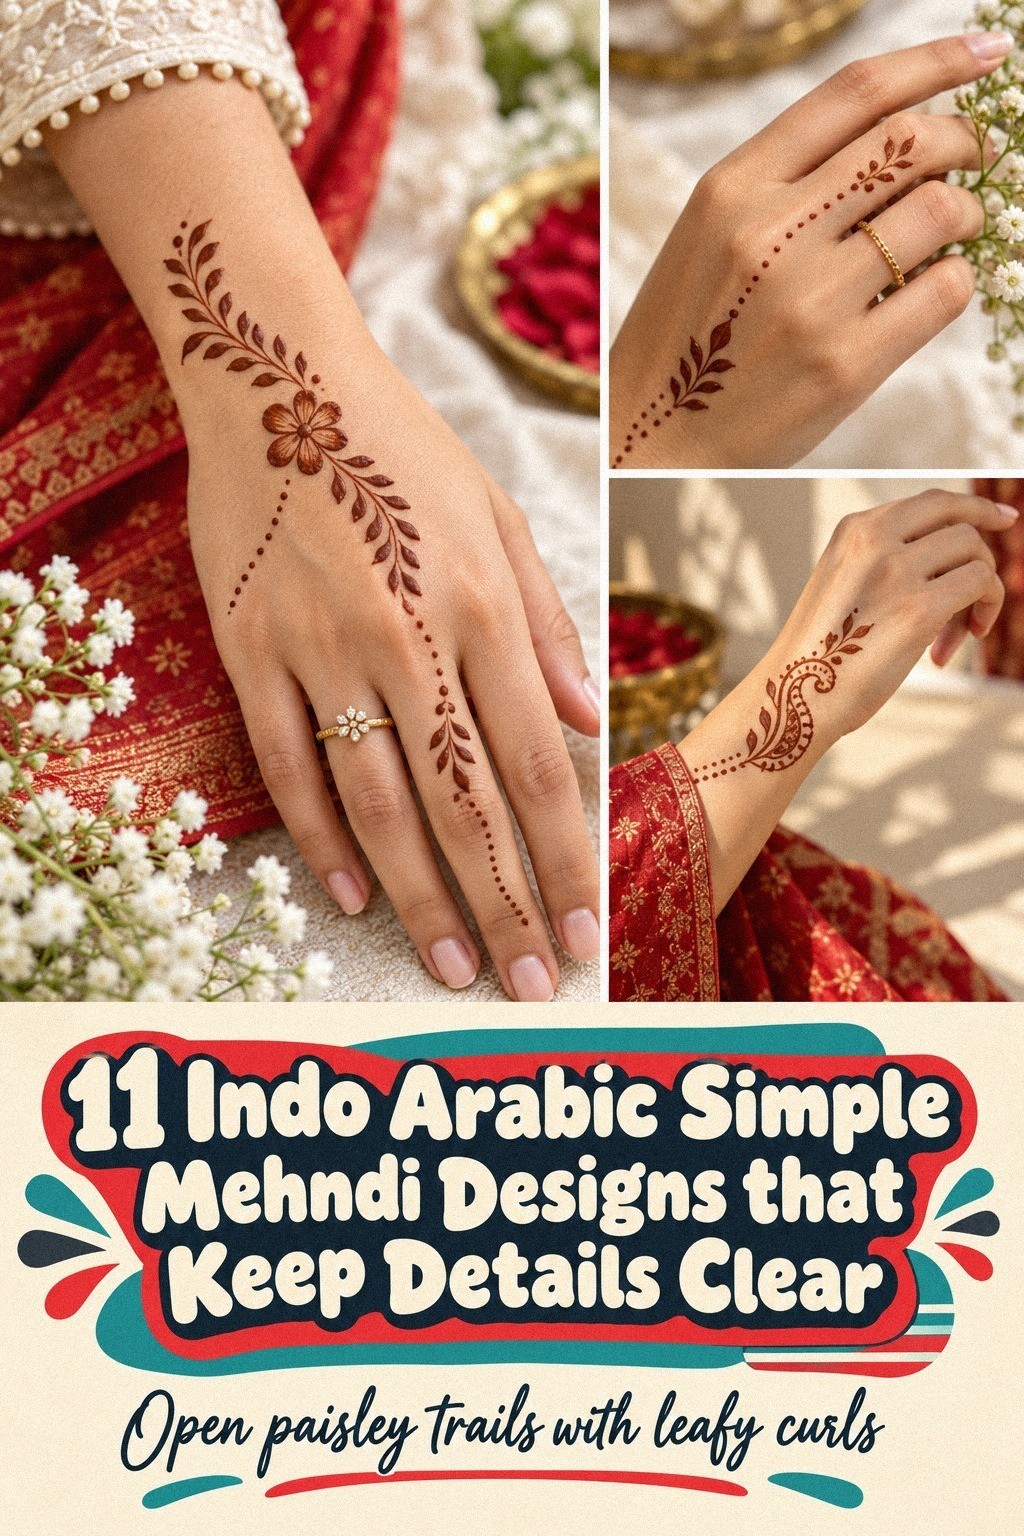
The back of your hand gives an Indo Arabic vine space to travel. Start at the wrist and move toward the index finger, leaving clear skin between each branch.
Add two paisleys, a few dots, and small leaves. The open spacing keeps your design delicate instead of crowded.
You’ll want the central vine slightly off-center. That small shift makes your hand look graceful when your fingers move, and it lets you wear a ring without hiding the pattern. I’d skip filling every leaf because the contrast between reddish-brown marks and bare skin is the striking part.
For your fingers, repeat one detail rather than copying the full hand motif. A row of tiny dots, three short petals, or one curved trail looks crisp and understated. If you’re comparing layouts, these simple Arabic mehndi designs show how much movement a sparse pattern can create without using a large amount of paste.
Keep the cone tip close to your skin, but don’t press hard. A steady hand gives you sharper edges and fewer blobs. Your design can stay minimal while still feeling bold because the long diagonal vine creates the visual direction.
The finished stain should deepen on the second day, so your design won’t look exactly the same after you scrape away the dry paste. Let it settle before judging the color. That gradual change is part of the charm, and it makes this personal placement feel almost alive!
2Trace Minimal Finger Trails
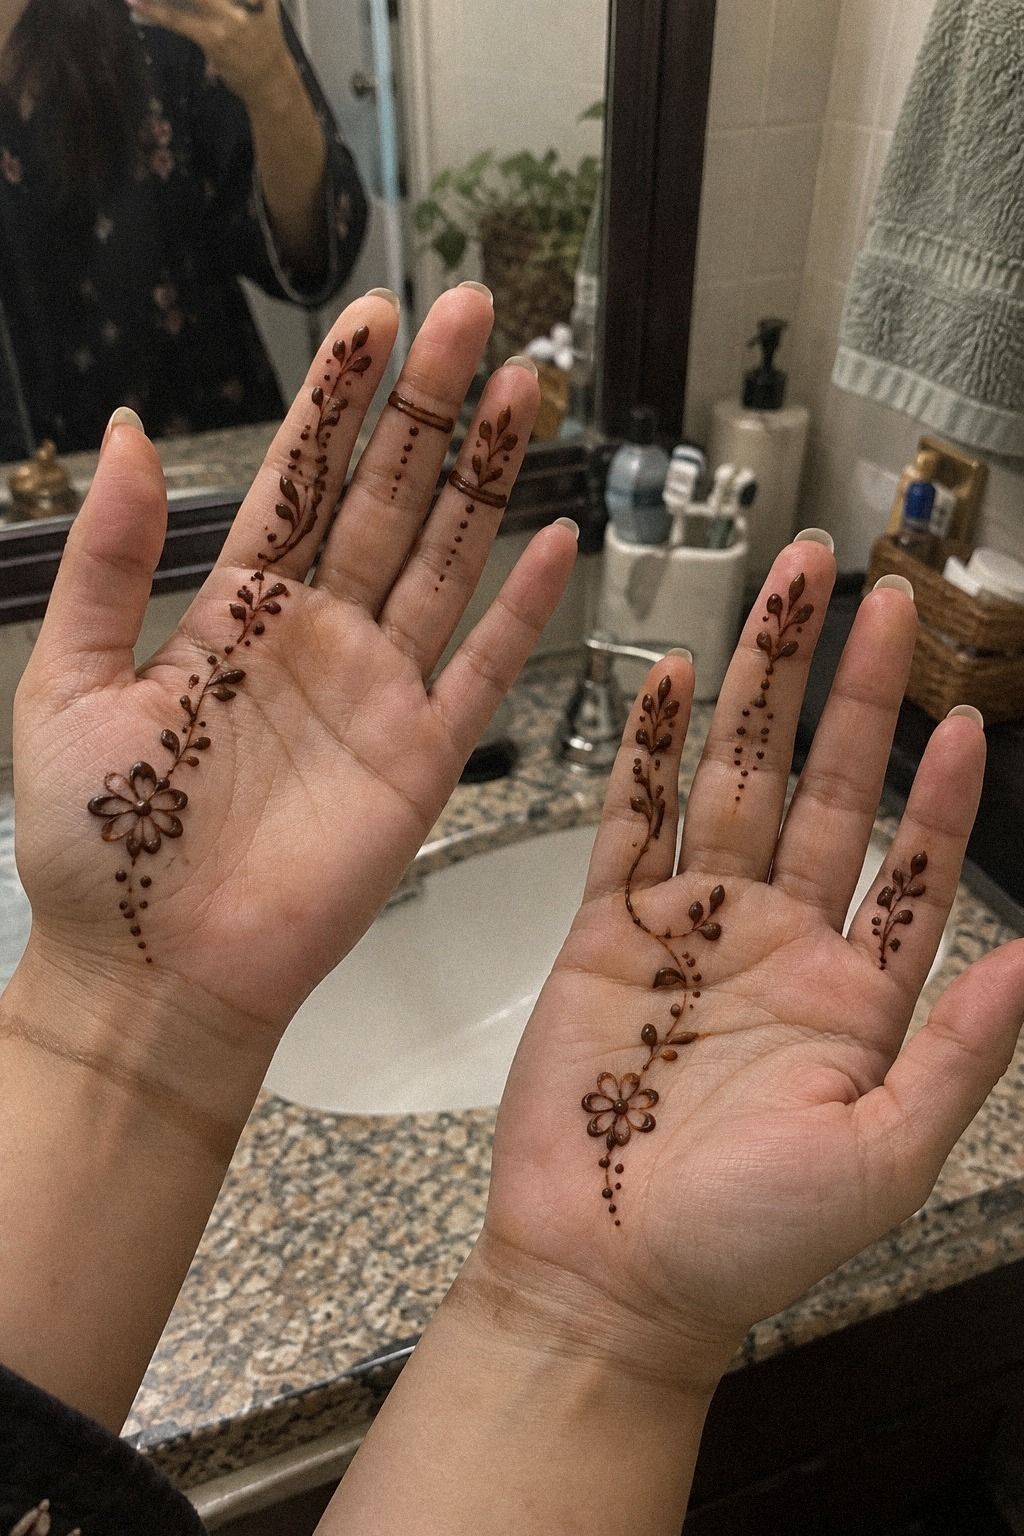
Finger trails work when you want a clean design that doesn’t take over both hands. Draw a thin henna paste trail from the base of each finger toward the first joint, then break it with a dot or tiny leaf. The result feels sleek, modern, and easy to coordinate.
You can give each finger a slightly different finish. One gets a paisley, another gets two dots, and the middle finger carries the longest vine.
That irregular rhythm looks more expressive than five identical strips. If you’re new to applying paste, this is a forgiving place to begin because small imperfections disappear inside the pattern.
For both hands, keep the center of each palm mostly open. The negative space gives your fingers a graceful outline, while the reddish-brown color stays visible when your hands rest together. I’d avoid a thick band around every finger because it can look heavy once the stain darkens.
A fine metal cone tip helps you create tiny strokes, but freshness matters more than the cone material. If the paste feels gritty or refuses to flow, you’ll struggle to make crisp turns. Your best result will come from a smooth cone, a relaxed wrist, and short pauses between fingers.
If you want more ideas for keeping the design restrained, browse these simple very simple mehndi designs. You don’t need a large motif to make your hands feel festive. A few deliberate marks can offer excellent value on a small budget.
3Indo Arabic Vines That Feel Current
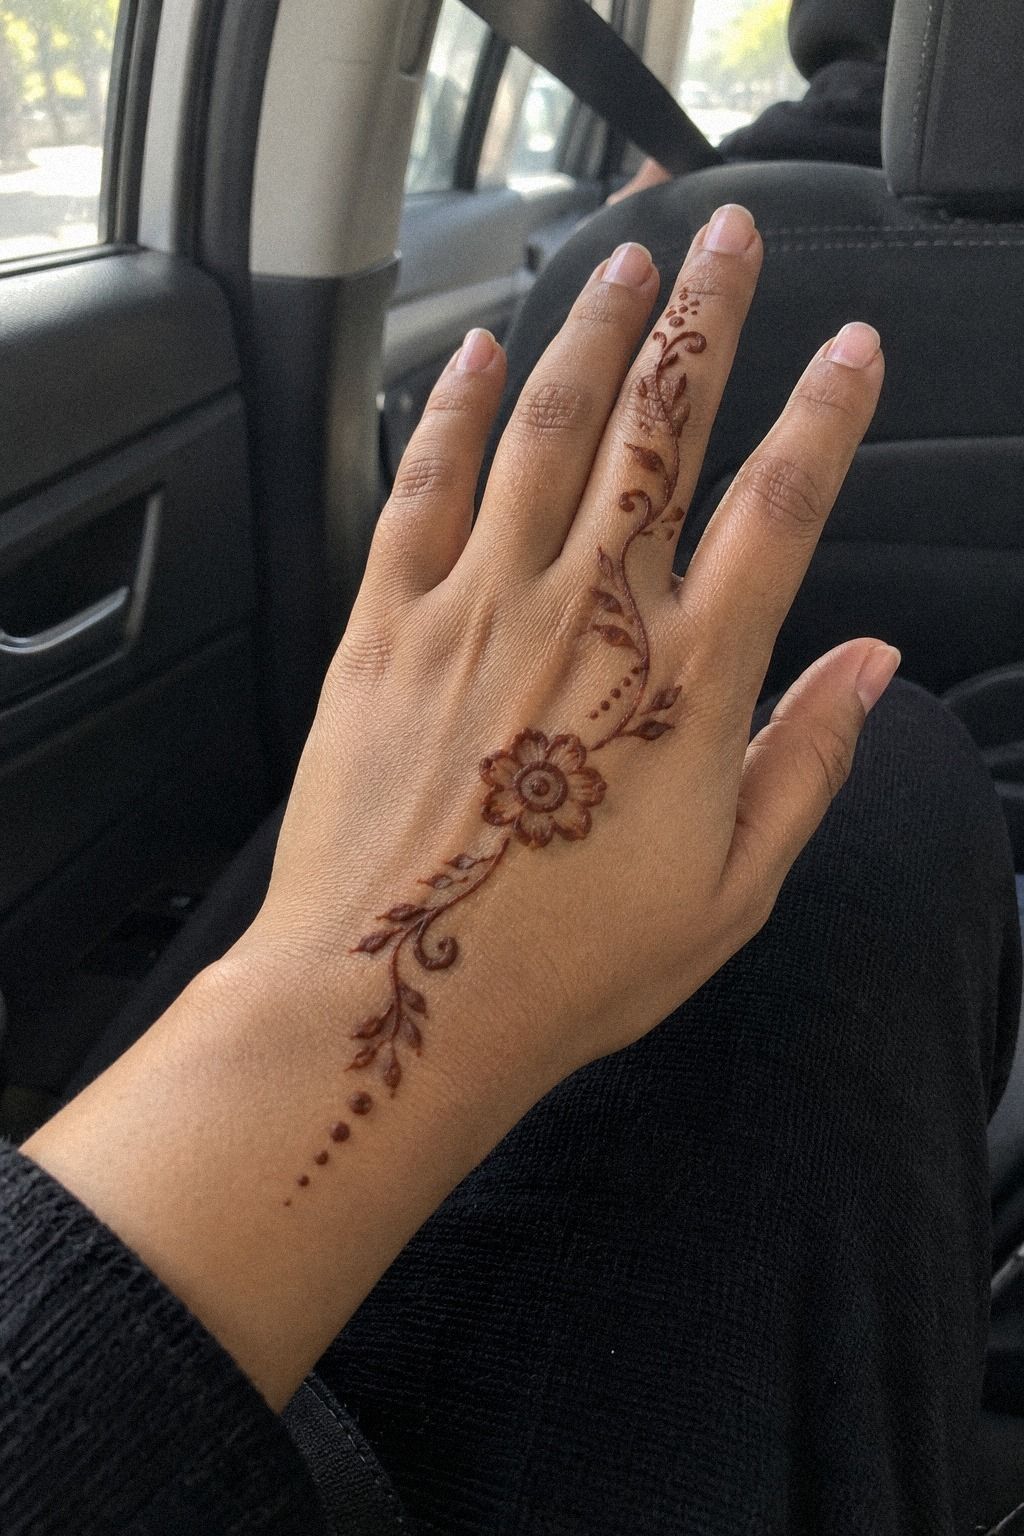
A vine gives your design its movement, especially when it curves from the hand toward the wrist. Use fresh natural henna paste for a reddish-brown trail with rounded leaves, open paisleys, and tiny buds. Let the vine widen near the palm, then narrow as it reaches the wrist.
Your latest Indo Arabic pattern doesn’t need a complicated symbol to feel current. The updated look comes from spacing, varied leaf sizes, and a few sharp turns that keep the eye moving. I’d choose a flowing stem over a dense floral block because it looks more personal and less repetitive.
Try one large leaf near the center of your hand and three smaller leaves along the side. This gives your design a bold focal point without making the entire pattern ornate. You’ll also have enough open skin for the reddish stain to read clearly against a medium warm complexion.
For another flowing option, compare these trendy Indo Arabic mehndi designs. Your version can borrow the movement without copying every detail. Keep the line weight consistent, leave the wrist open, and let the vine do the expressive work!
A curved paisley branch can replace the central leaf if you want a more symbolic focal point. Keep the paisley pointed toward the fingers, then let two smaller leaves point back toward the wrist. That reversal gives the composition a playful tension without making it complicated.
4A Delicate Palm Center With Meaning
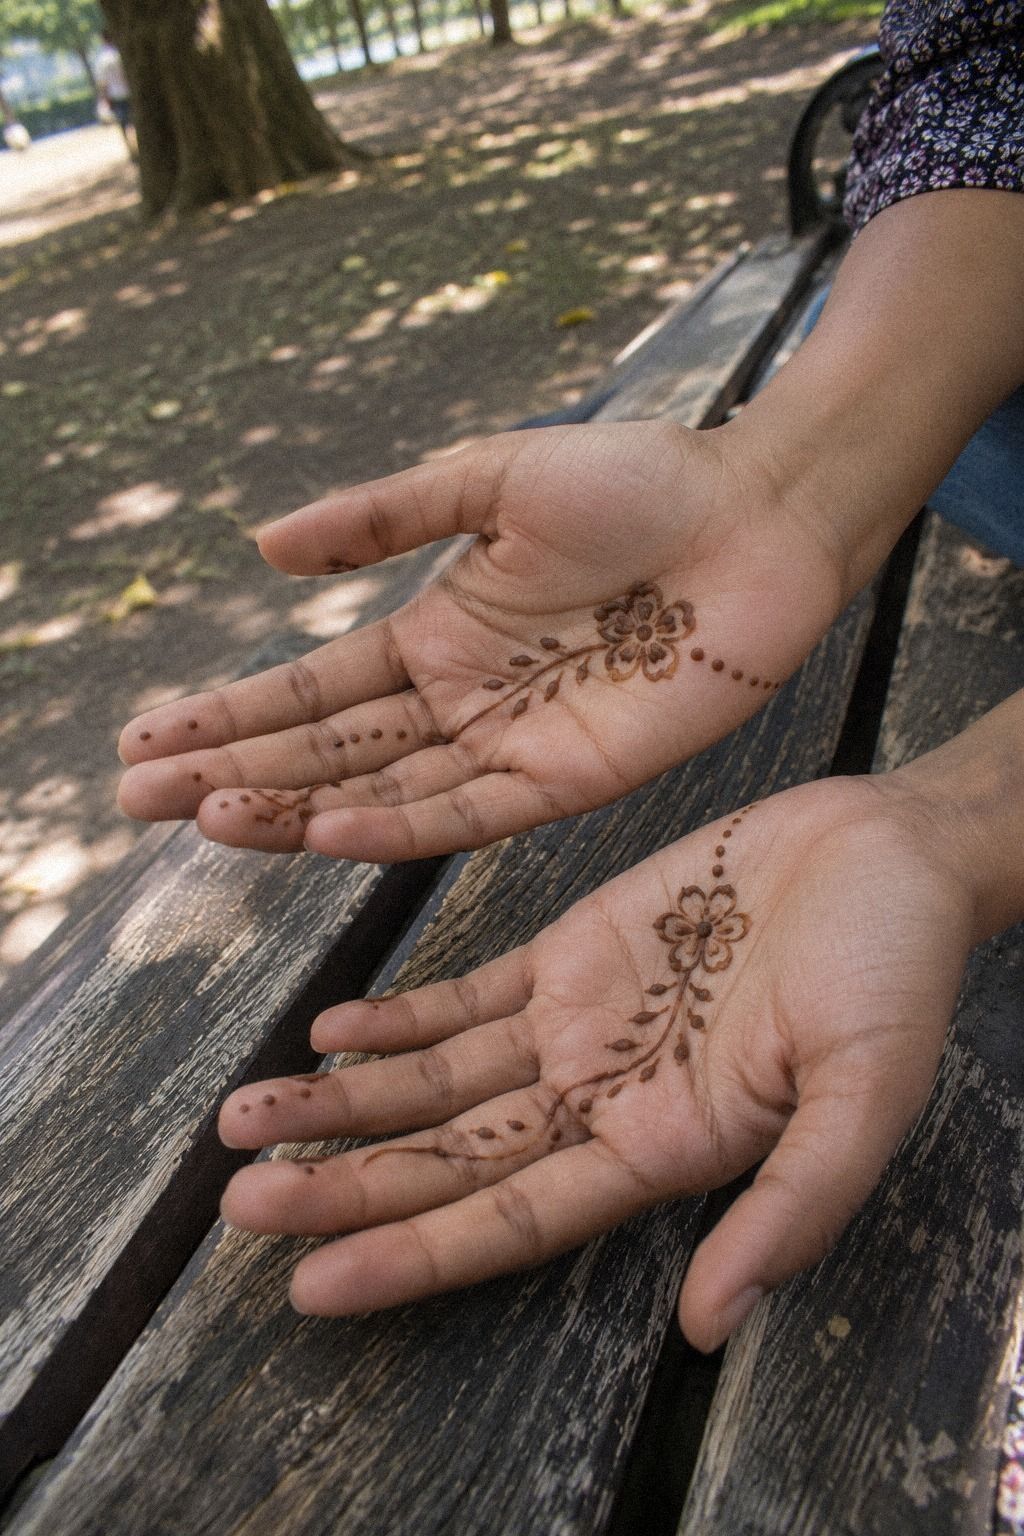
A palm-center motif works beautifully when you want one meaningful detail surrounded by bare skin. A small mandala or single paisley can feel sacred, delicate, and personal without filling the whole palm.
5Bold Indo Arabic Wrist Cuff Mehndi
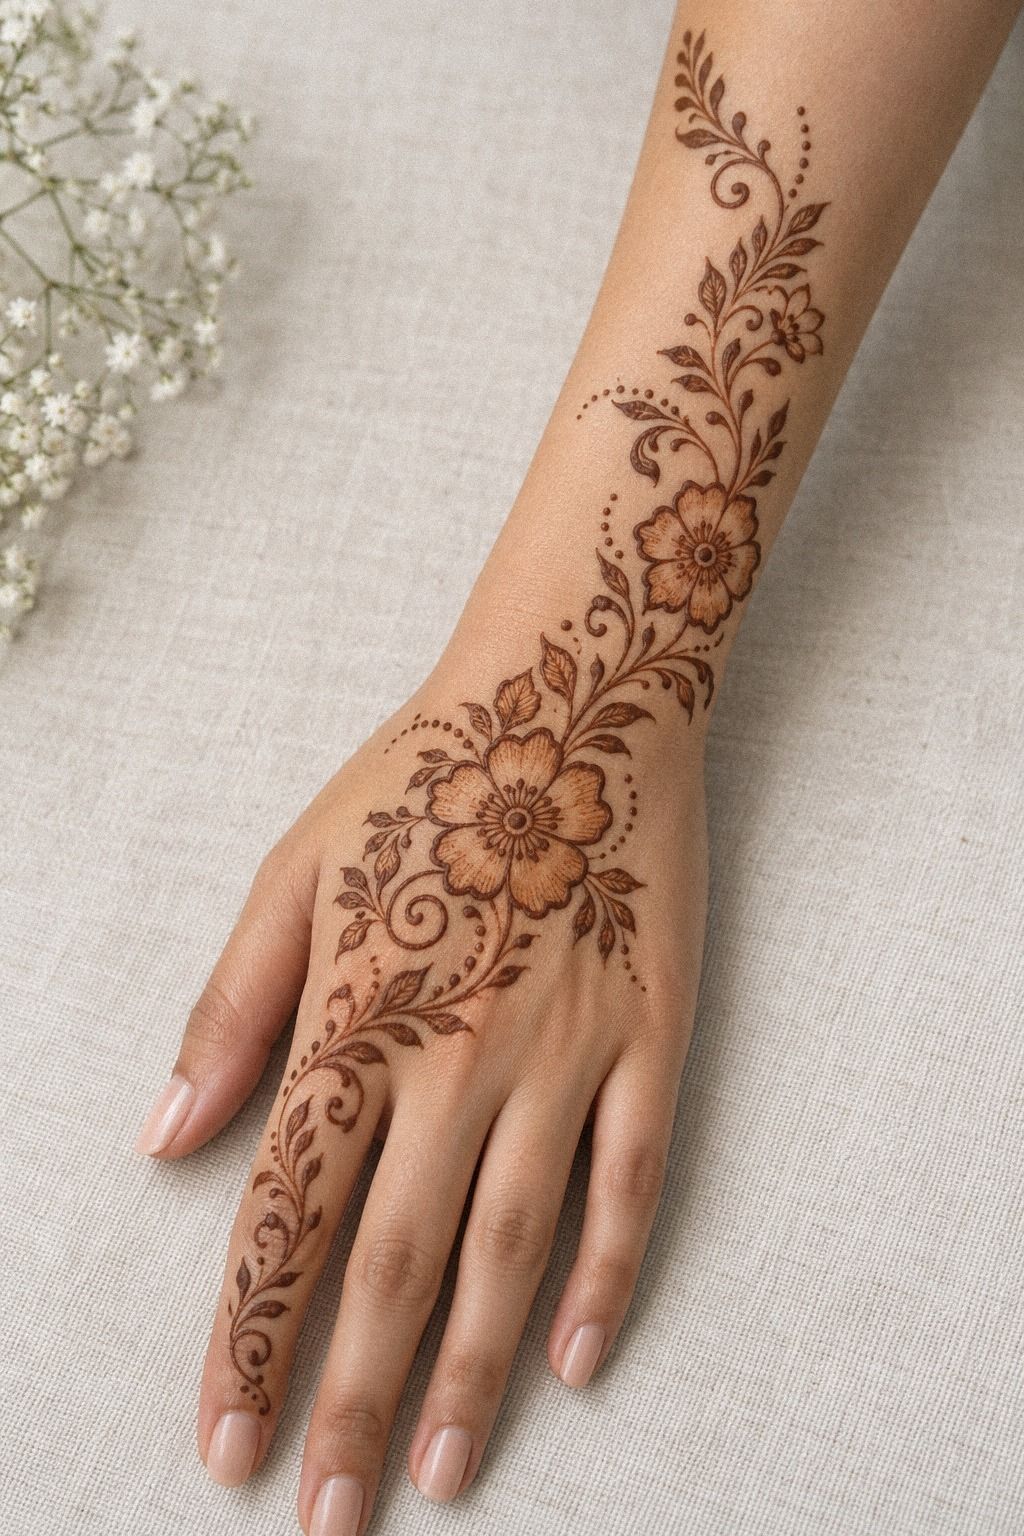
A cuff can become an expressive wrist design rather than a solid band. Use a deep reddish-brown henna stain to create one curved border above the hand, then add open leaves and dots below it. The structure feels graphic while remaining feminine and powerful.
Your wrist design should follow the natural curve of the hand. A straight horizontal strip can look stiff, especially when you move your fingers. Let the upper edge dip slightly in the center, and keep the lower edge lighter so your design doesn’t feel like a solid block.
For the hand, place one small paisley near the thumb and let two vines travel toward the fingers. The bold cuff anchors the pattern, while the finer details keep it delicate. I’d skip filling the entire wrist because the bare skin makes the darker border look sharper.
The simple peacock mehndi designs can offer ideas for extending a cuff with a graceful bird-inspired curve. You’ll want to borrow the sweep, not crowd the wrist. If you’re deciding whether the extra detail is worth it, this lighter version usually gives more visual impact for less paste.
For a more daring finish, add three wrist dots beneath the cuff and stop there. The repeated marks create a crisp rhythm while leaving the fingers free. That small contrast keeps the placement stylish and easier to protect during the first evening.
6Build a Bridal Side Motif
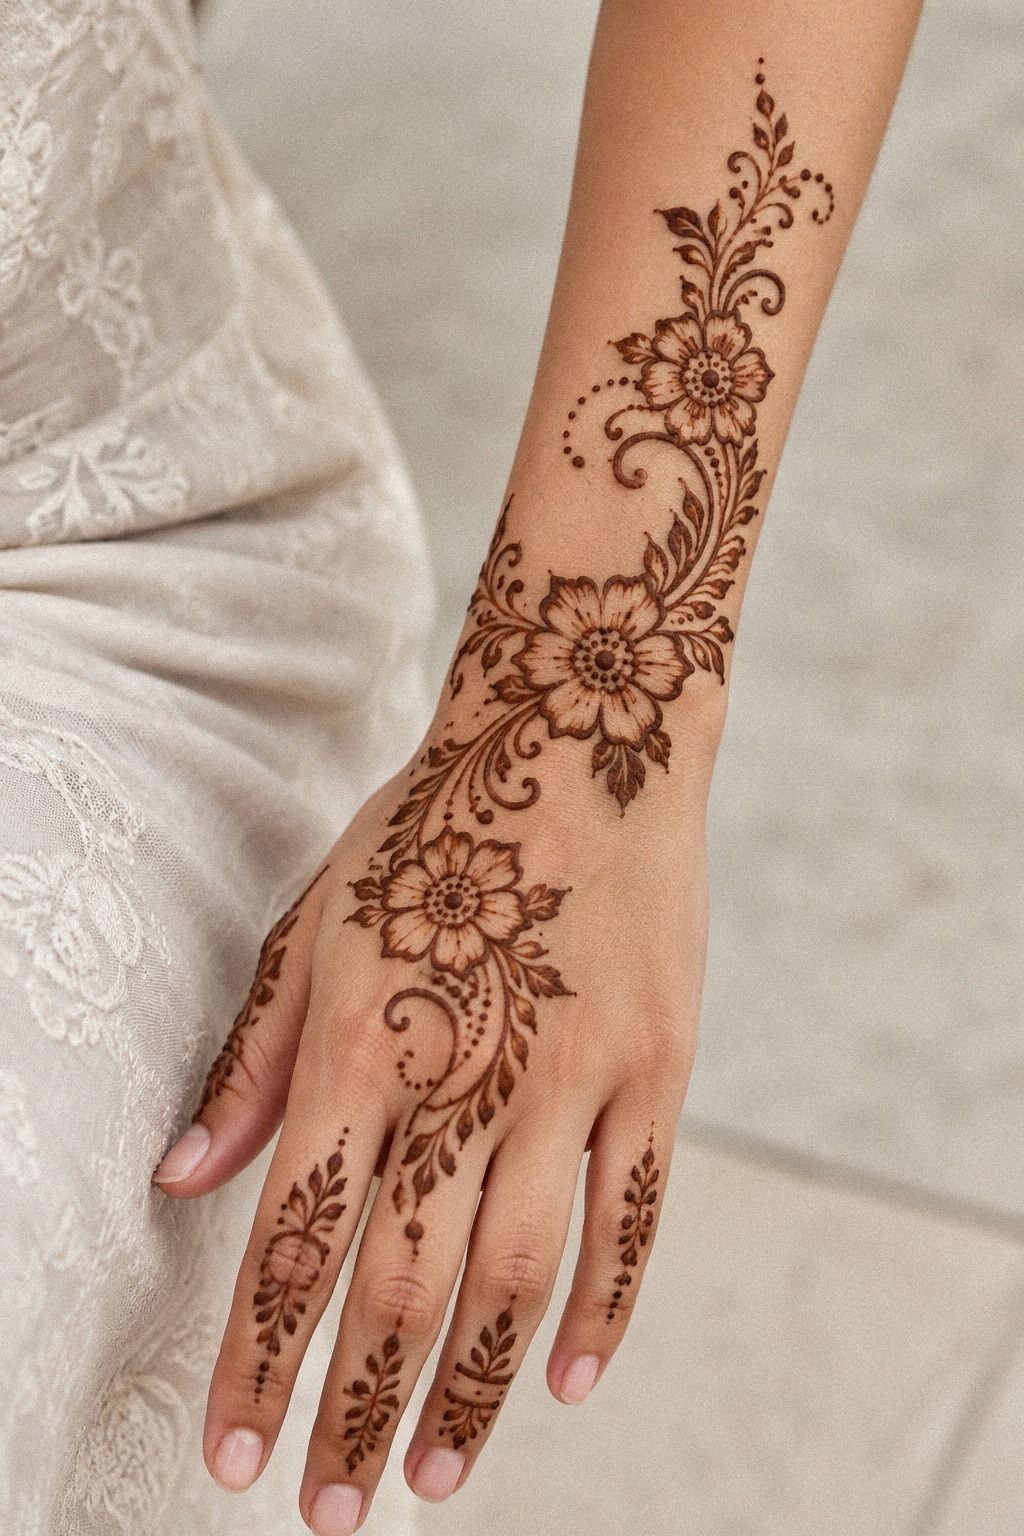
A side motif lets you decorate the forearm and hand without covering the entire surface. Begin with a bridal henna cone and draw a long paisley along the outer forearm, then connect it to a smaller floral curve near the hand. The result feels romantic, meaningful, and easy to see from the side.
For a bridal version, you can add a few more details around the main shape. Tiny petals, curled stems, and a narrow jaal pattern will make the design feel ornate without losing its Indo Arabic movement. Your best layout will still include bare skin between the larger elements.
If the forearm motif continues onto the hand, keep the transition narrow. A single vine is enough to connect both areas. I’d avoid placing a heavy circle at the wrist because it interrupts the flow and makes the design look divided.
For more wedding-focused references, explore these simple new bridal mehndi designs and choose one detail to borrow. You’ll get a more personal result when you adapt a paisley or vine instead of reproducing a full pattern exactly. A restrained version is easier on your budget, too.
A narrow jaal detail can sit beside the main paisley rather than filling the entire forearm. Use only a few crossings, then end the pattern with two leaves. That keeps the bridal mood ornate and elegant without losing the open Indo Arabic character.
7What Makes Fine-Line Foot Mehndi Work?
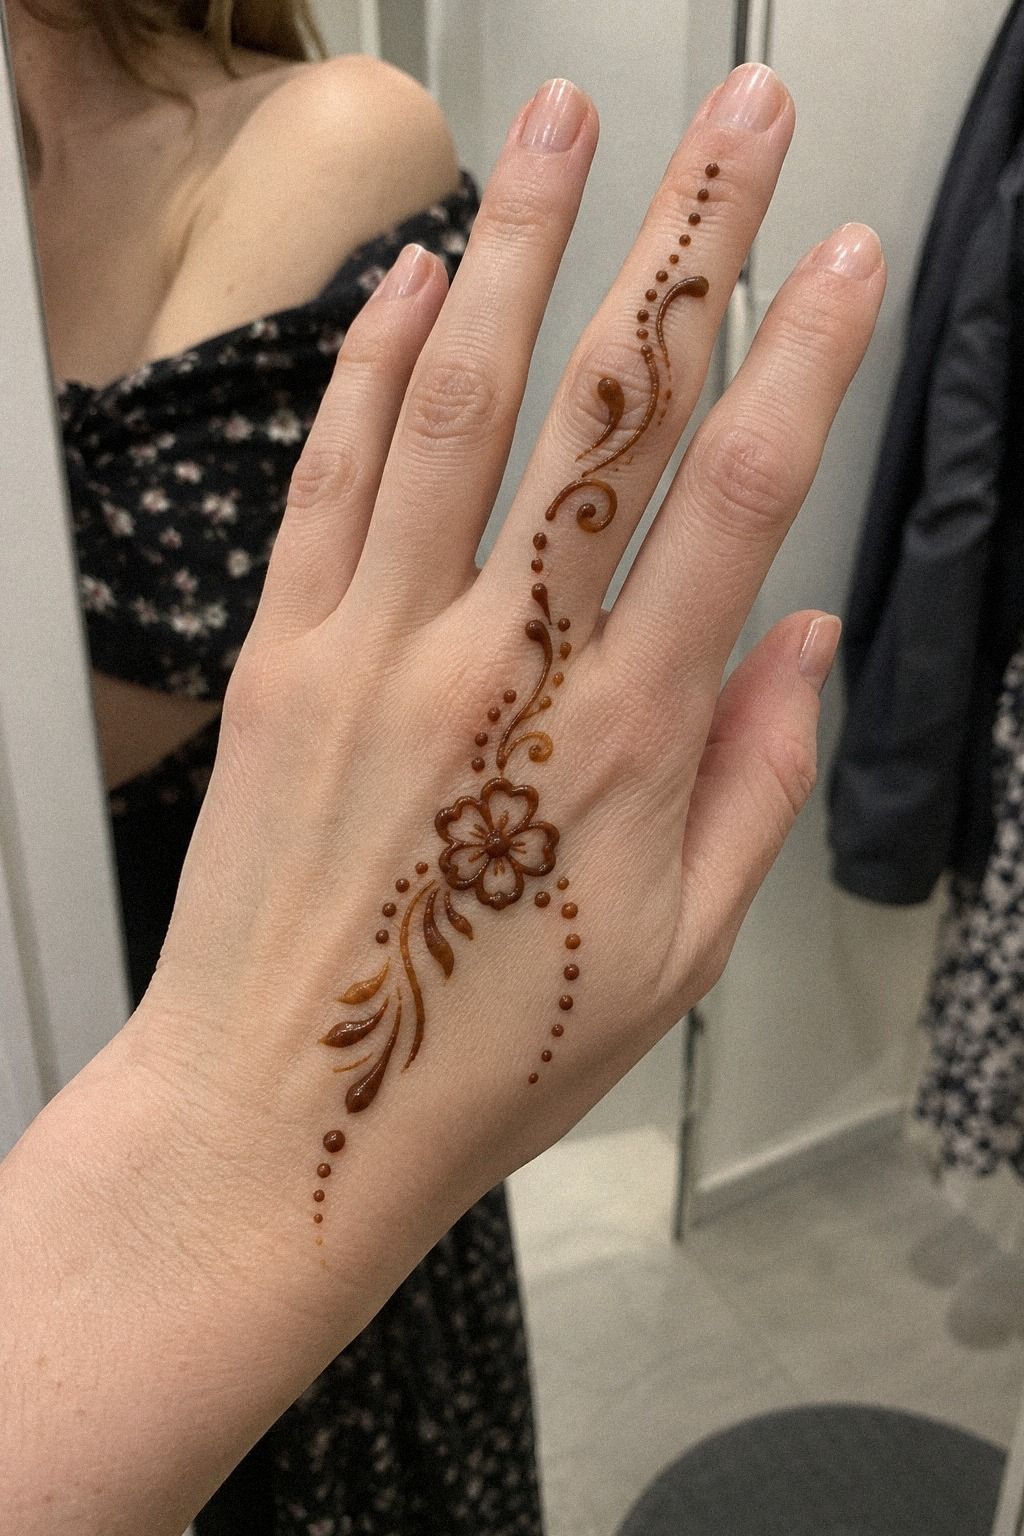
Fine-line foot mehndi works when you want a crisp, dainty result without heavy coverage. Draw a fine henna stroke from the ankle toward the toes, then add tiny leaves along one side. The effect is refined, expressive, and easy to keep visually light.
Your toes can repeat the same small leaf shape, but vary the direction slightly. One leaf points toward the big toe, while another curls toward the ankle. That asymmetry gives the design a playful quality without making it messy.
Keep the central motif wider near the ankle and lighter near the toes. Feet can be sensitive to pressure from footwear, so your design should have enough open skin to stay clean and comfortable.
Don’t scrape the paste away too early. Let it dry for 1 to 2 hours, and keep the area still while the paste sets. A lemon-sugar seal can help hold dry paste in place, but use only a light layer so the surface doesn’t become sticky.
You can compare this layout with simple trendy mehndi designs. Your goal is a polished, fine-detail effect, not maximum coverage. A handful of deliberate strokes can look iconic when the spacing is right, and that value is hard to beat.
A single toe paisley can echo the ankle trail if you want the design to travel farther. Keep the other toes bare. That small continuation feels thoughtful, crisp, and much easier to maintain.
8Negative Space, Maximum Expression
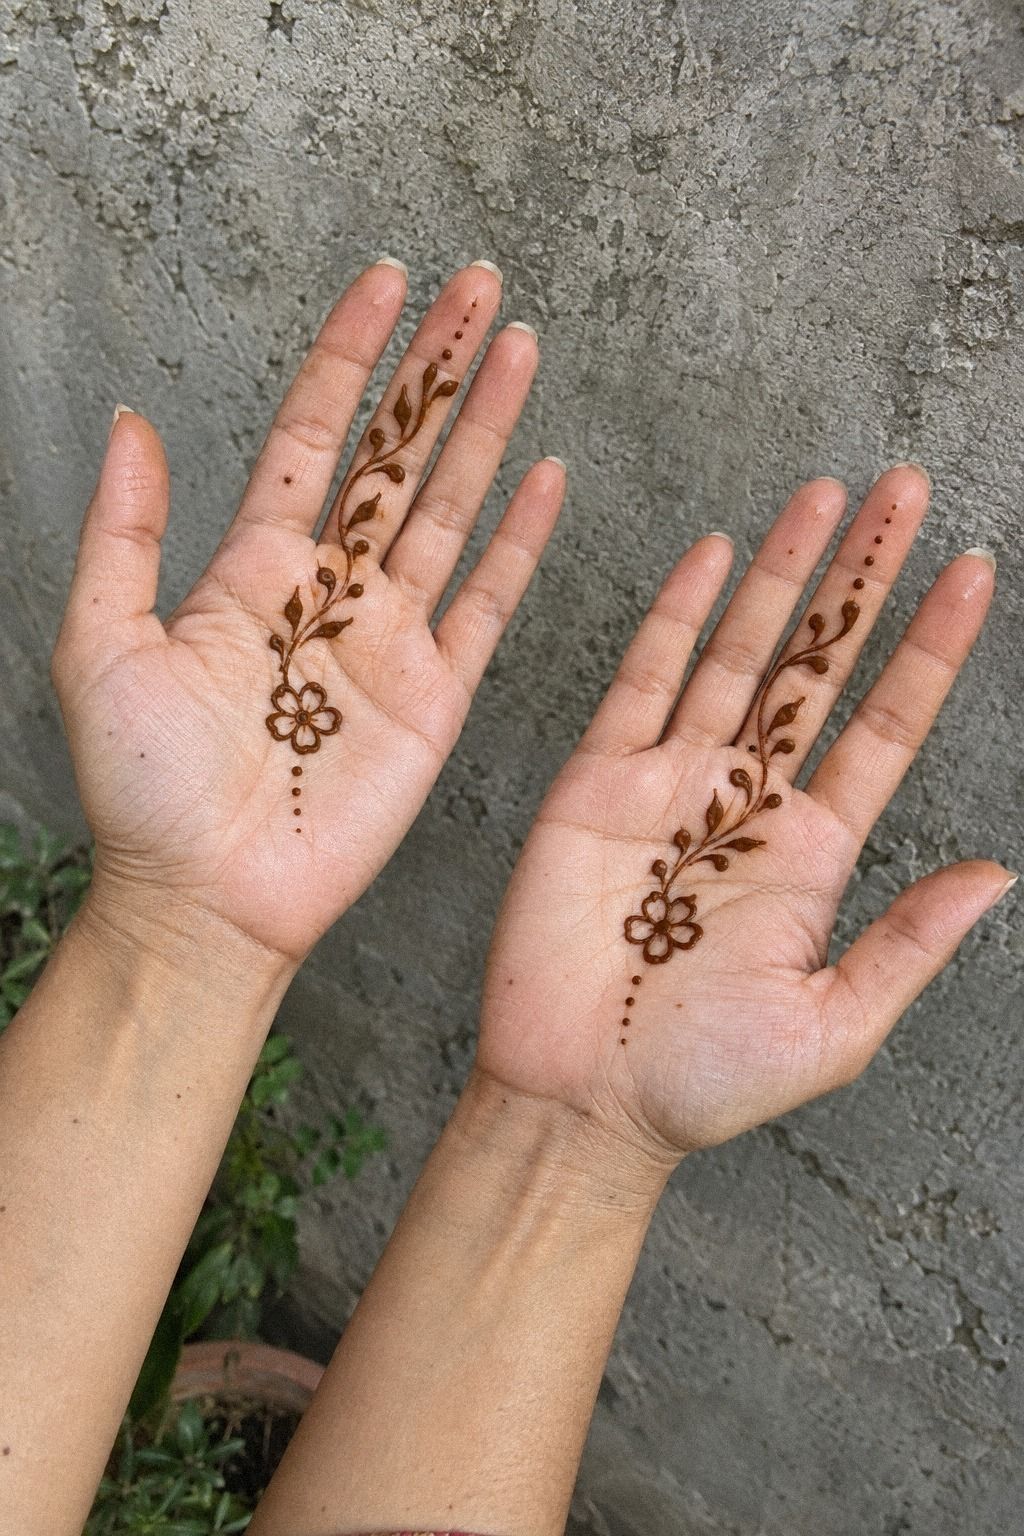
Negative space is the main feature here, not an unfinished part of the design. Use bare skin framing around two paisleys, a curved vine, and a few dots on both hands. The open areas make the reddish-brown paste look brighter and give your palms a sleek, modern rhythm.
Your palms don’t need matching patterns. Put the larger paisley on one hand and a smaller floral echo on the other.
When your hands meet, the motifs will feel connected, but each side will still have its own identity. That contrast makes the design more personal.
Why fill every open patch when the empty skin is doing so much visual work? Keep at least one clear strip through the center of each palm. I’d also leave the outer edge mostly bare because that gap makes the side vines look more graceful.
A smooth henna paste texture matters for this style. If the paste is too wet, it may spread into the open areas you worked hard to preserve. Your cone should make a raised, even line that holds its shape while drying.
For another open composition, look through simple Pakistani mehndi designs. You’ll see how floral elements can stay detailed without covering everything. This approach lowers the cost of application while keeping the result bold, crisp, and expressive.
You can add one negative-space diamond near the wrist if the composition needs a sharper edge. Keep it outlined rather than filled. The tiny geometric pause brings an edgy, iconic note to the softer vines.
9Arabic Floral Fingers With a Lively Finish
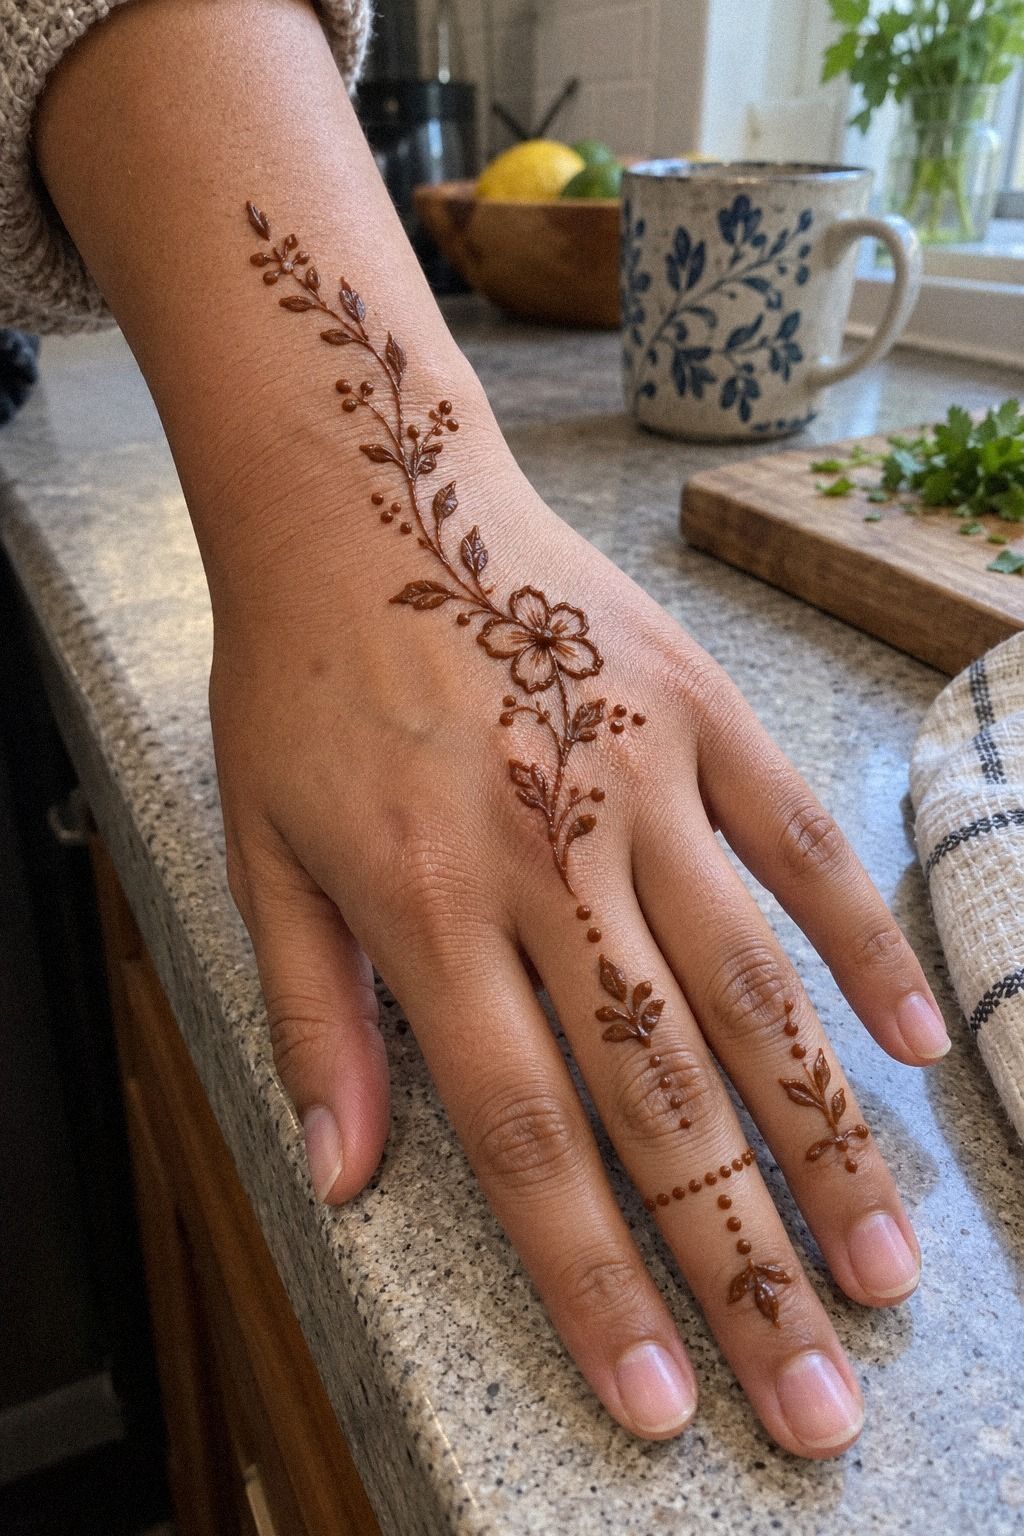
Floral finger details are a charming way to make your hands look finished without a large central motif. Use tiny floral petals along the fingers, then connect only two fingers with a thin curved stem. The design stays elegant and delicate while giving your hands a lively, feminine touch.
Your index and ring fingers can carry the strongest accents, while the middle and little fingers stay lighter. This creates a visual rhythm that looks intentional from every angle. I’d avoid identical flowers on every finger because repetition can make the pattern feel flat.
For the wrist, add one open vine that stops before the palm begins. The pause keeps your design crisp and lets the fingers remain the focus. If you’re wearing bangles or rings for Eid, this lighter arrangement will sit beside them without competing.
A fine wooden toothpick can help clean a tiny edge while the paste is still workable, but use a gentle touch. You’ll want each petal to remain rounded rather than scraped into a sharp mark. The smallest correction can protect the polished look of the whole hand.
If you like this floral direction, browse simple Arabic mehndi designs for more curved stems and open petals. Your best version will have one clear flower group, not a garden on every finger. Simple can still feel vibrant when the details are placed with care!
For a more expressive finish, give the ring finger one open flower medallion and let the neighboring fingers carry only dots. The uneven scale makes the arrangement feel daring without requiring a dense application.
10Choose One Symbolic Mandala
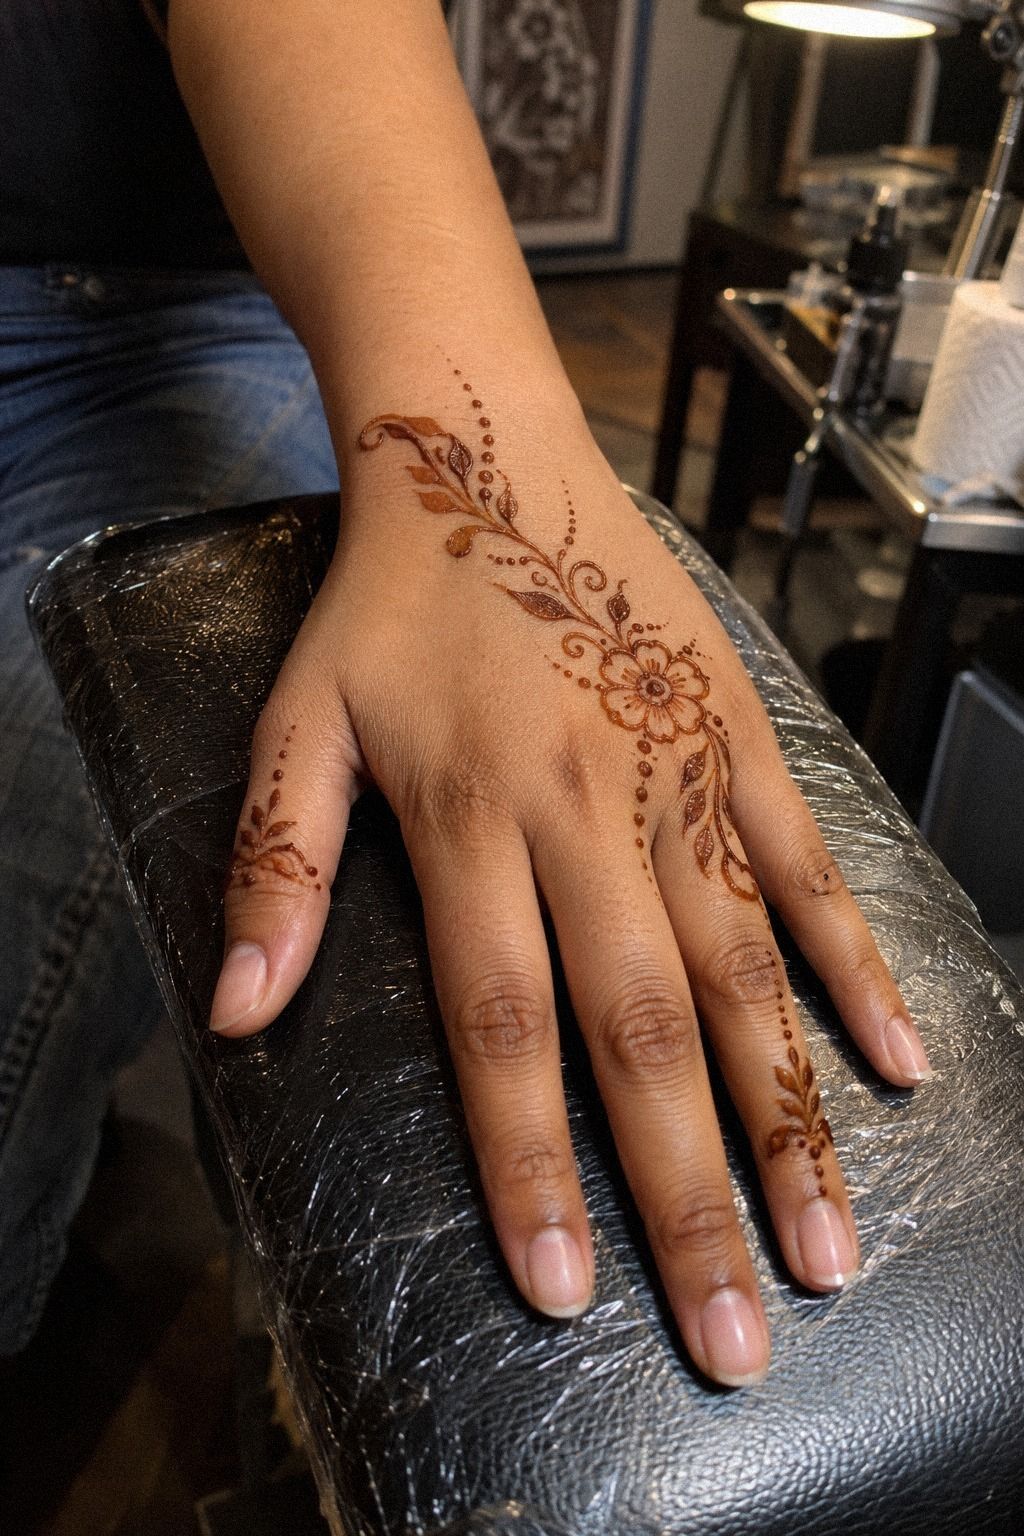
A small mandala can give your palm design a sacred, symbolic center. Start with a compact mandala motif made from four petals, a dot, and a narrow outer ring. Then connect one side to a paisley trail so the pattern still feels Indo Arabic rather than completely circular.
Your mandala should stay small enough to leave space around it. On a golden tan palm, the contrast between the reddish stain and bare skin makes the center look sharp and expressive. I’d skip a large filled circle because it can hide the lighter details that make this design feel intricate.
Add one meaningful symbol if you want the pattern to say something personal. A sun shape can suggest energy, while a lotus-inspired petal can feel peaceful and classic. Choose one symbol only, or your design may lose its visual clarity.
The natural henna cone should create raised lines with no suspiciously bright color. Fresh paste usually stains orange-red first, then deepens by the second day. You’ll get strong value from this design when you protect it from water while the paste is drying.
For more motif ideas, visit simple peacock mehndi designs and borrow a feather curve or eye detail. Your mandala doesn’t need to explain everything. One symbolic center and one flowing side motif can feel timeless.
If you want a bolder center, place one peacock eye detail beside the mandala instead of adding another full symbol. The small mark feels meaningful, striking, and more personal than extra filler.
11Dots for a Fast Eid Design
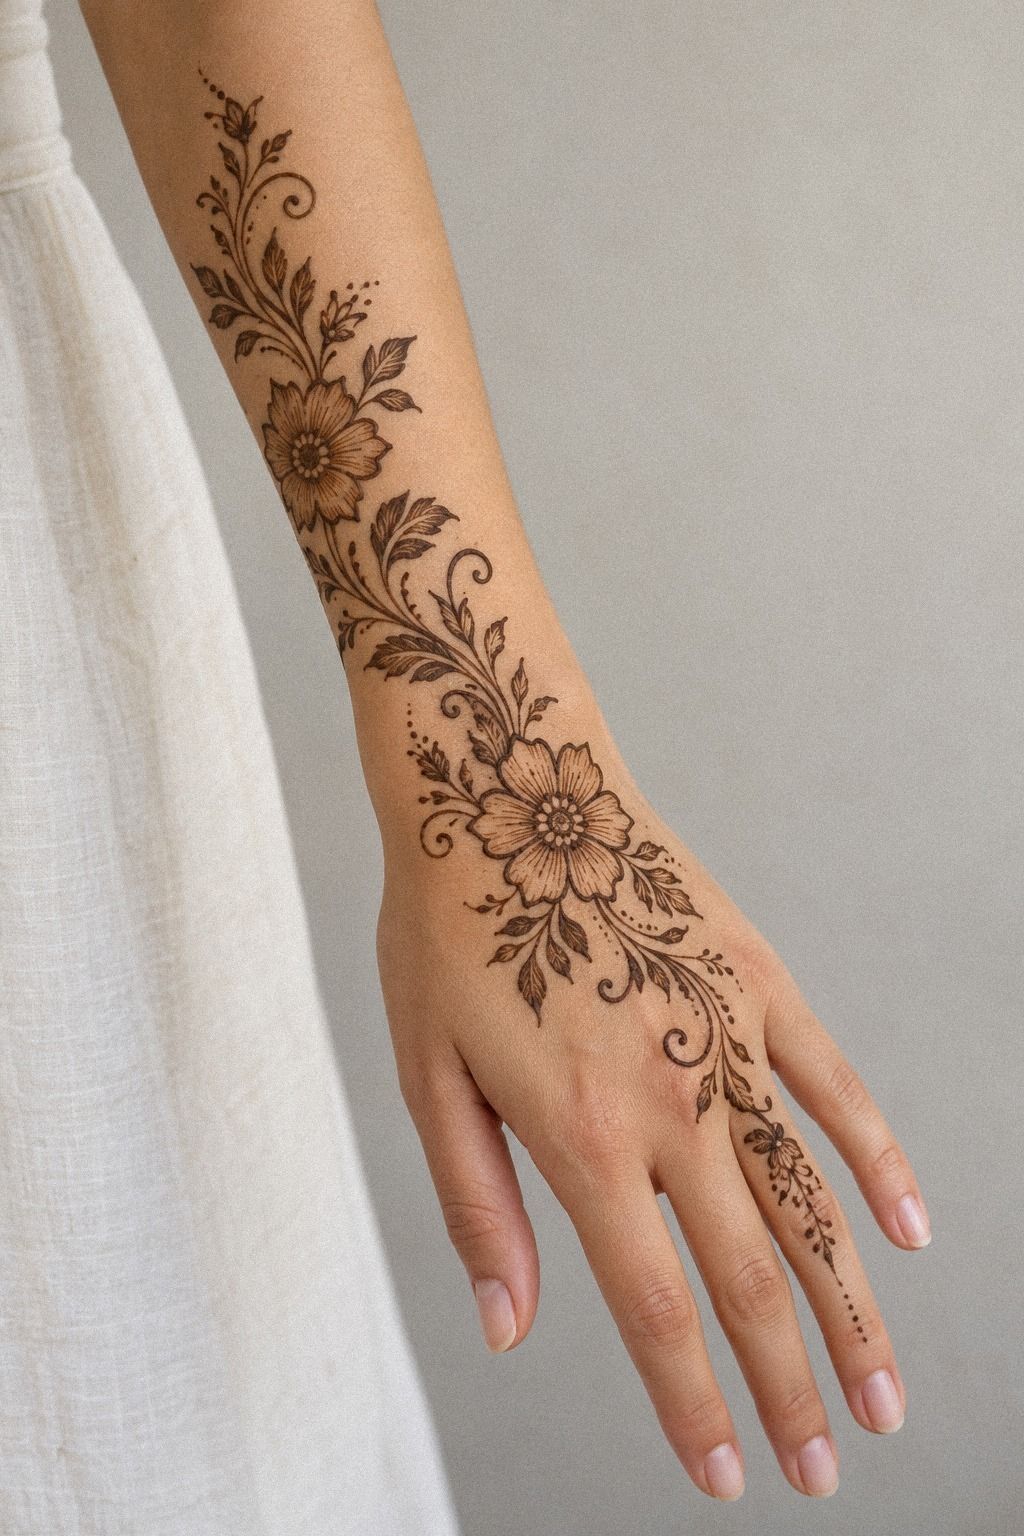
Dots make a quick design feel finished without adding much paste. A short dotted trail beside the thumb or wrist can look crisp, playful, and festive in only a few minutes.
A Small Eid Mehndi Budget
You don’t need an elaborate setup to create a stylish result. The list below gives a realistic cost range for a simple at-home application. Prices vary by location, but these numbers help you decide what’s worth buying before Eid.
A simple home setup can stay under $15, while a local mehndi artist may charge more for dense bridal detail. Freshness matters more than buying every optional item, so don’t spend money on supplies you won’t use again.
The natural henna cone is the one item I wouldn’t compromise on. A fresh cone gives you smoother curves, darker color, and fewer corrections. If you’re keeping the design minimal, that quality matters more than buying several decorative supplies.
For a low-cost comparison, these simple henna designs show how much expression you can get from a few repeated motifs. Your budget can stay modest while the final result still feels bold, personal, and polished.
Make the Cone Work for You
A smooth cone opening gives you better control than a wide, uneven cut. Test one line on tissue first. If the paste breaks, feels gritty, or releases too quickly, trim the tip only slightly and test again.
The paste should sit raised on the skin rather than spread into a flat smear. Keep your wrist supported, turn your hand instead of twisting the cone, and pause whenever your fingers feel tense. You’ll create cleaner curves with a relaxed grip.
If you’re applying mehndi at home, keep the design close to your natural hand position. A pattern that looks graceful with your palm flat may feel awkward when your fingers bend. That small planning step adds value without adding extra paste.
Use a clean tissue square for tiny corrections, and wipe the cone tip whenever paste begins to collect there. A clear opening protects the sharpness of your dots and keeps the overall pattern crisp.
Which Placement Is Worth Choosing?
Choose the back of your hand when you want visibility. Pick the palm when the design feels more personal. Choose the ankle when you prefer a bold curve that stays hidden until you decide to show it.
Your occasion should guide the decision. A back-hand vine works for greetings and family photographs, while a small palm motif feels understated. An ankle cuff may be the most empowering choice if you want something expressive but private.
Think about washing, movement, and clothing, too. A delicate finger trail may need more care during the first evening, while a simple ankle pattern can remain untouched for longer. The most successful design is the one you’ll enjoy wearing.
If you’re still deciding, compare the proportions in these simple very simple mehndi designs. The right placement should match your routine, not just the most dramatic reference image.
Why These Indo Arabic Mehndi Designs Feel So Current
Indo Arabic mehndi stays relevant because it balances two different moods: the flowing Arabic vine and the intricate Indian detail. You can keep the main path bold and open, then add one delicate paisley or mandala where you want the eye to pause. That contrast feels stylish without chasing a short trend.
I’ve found that the strongest designs don’t try to prove how much paste they can use. They choose one placement, one focal motif, and one repeating detail. Your hands, palms, feet, or ankles can all look expressive when the pattern gives the skin space to show.
The seasonal appeal matters, too. Eid invites a design that feels celebratory but still personal, whether you’re dressing up for a gathering or applying paste at home with family. A lemon-sugar mixture can help keep dry paste attached while you wait, and eucalyptus oil is often used in small amounts by experienced mehndi makers.
Natural henna typically dries in about 1 to 2 hours, deepens on the second day, and fades over one to three weeks. You’ll want to avoid rushing the process with water, especially during the first evening. The richer stain is worth waiting for.
My strongest recommendation is to choose the pattern that matches how you’ll wear it, not the one with the most detail. A striking back-hand vine may suit you better than a full bridal palm. A dainty ankle cuff may feel more empowering than a large foot motif.
For another perspective on movement and proportion, browse these trendy Indo Arabic mehndi designs. The most timeless choice usually has one memorable gesture, one clear focal point, and enough bare skin to keep it graceful.
The Questions Worth Answering First
Where can I buy natural henna cones for Indo Arabic mehndi designs?
Buy a fresh cone from a trusted mehndi artist or supplier that clearly lists natural ingredients. Look for fresh henna paste, a smooth flow, and a natural scent. Avoid cones promising an instant black stain, since they may contain harsh additives.
How long should I leave the henna paste on?
Leave the paste on for about 1 to 2 hours, or until it has dried firmly. Scrape it away gently instead of washing it off right away. Your stain may start orange-red and deepen on the second day, so don’t judge the final color too quickly.
How long do Indo Arabic mehndi designs last?
Natural henna usually lasts around one to three weeks, depending on your skin, washing habits, and placement. A longer-lasting stain often comes from good paste, enough drying time, and limited water exposure during the first evening.
What color should natural henna be?
Natural henna creates an orange-red stain that deepens into a reddish-brown shade. It shouldn’t produce an instant black result. If you’re choosing a cone, read the ingredient list and ask the mehndi artist how fresh the paste is before applying it.
Can I apply Indo Arabic mehndi at home?
Yes, you can create a simple design at home with a fresh cone, tissues, and a steady surface. A simple home setup can still look polished when you choose dots, vines, and one paisley instead of a complicated full-hand pattern.
Which placement works best for a simple Indo Arabic design?
The back of the hand, fingers, palm center, feet, and ankle all work well. Choose the back of your hand for visibility, the palm for a more personal reveal, or the ankle for a bold curved cuff. Your lifestyle should guide the placement.
What I’ve Learned From Keeping Mehndi Simple
I used to think a more impressive mehndi design needed more coverage. More petals, more dots, more tiny curls, more time spent trying to make both hands identical.
Then I noticed which patterns people kept looking at. They weren’t always the largest ones.
They had one clear vine, one memorable paisley, and enough bare skin for the stain to breathe.
I also learned that fresh paste matters more than ambition. A complicated design made with dry, gritty paste won’t look polished.
A small pattern made with a smooth cone can look crisp and expressive. Your materials, drying time, and hand position will influence the result more than copying every detail from a reference.
The other lesson is to plan around the occasion. For Eid, you may want a design that shows when you greet someone, but you might also want it to stay comfortable while you eat, wash, and move around.
A back-hand placement gives visibility. A palm-center motif gives a quieter reveal.
An ankle cuff feels more personal.
I’d also leave room for the stain to change. The first orange-red stage isn’t the final look, and the second-day color can be richer than you expect.
Don’t scrub early because you’re impatient. Let the design settle, then decide what you’d change next time.
My most meaningful discovery was that a single focal paisley often holds attention longer than a crowded palm. It gives the eye somewhere to pause, and it leaves room for the reddish-brown stain to feel vivid, timeless, and personal.
Where I’d Start First
If I had to pick one, I’d start with the back-hand vine. It gives you the clearest Indo Arabic movement, leaves enough bare skin for contrast, and still looks polished when the stain deepens. Pin the simple Indo Arabic inspiration guide for later and keep your cone fresh.
I’d add one small paisley accent near the index finger, then stop before the design begins to feel crowded. That version is striking, dainty, and practical for Eid greetings, photographs, and family meals. It feels personal without asking for a complicated application!