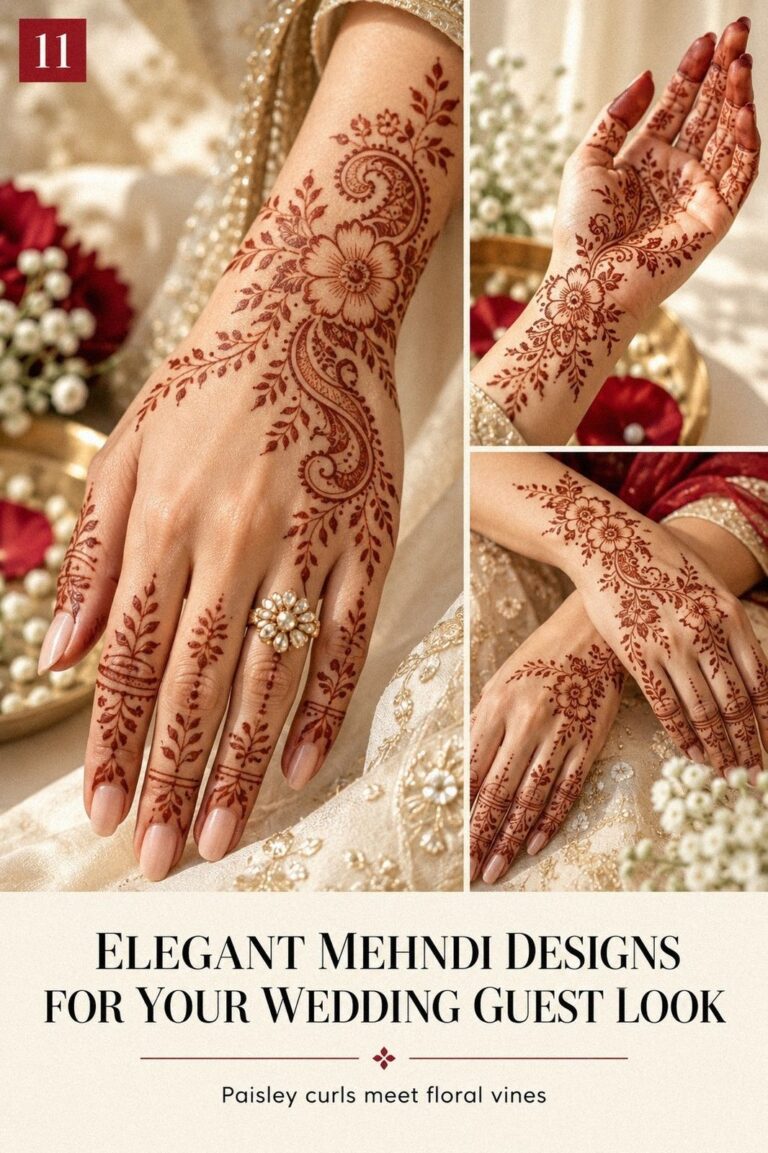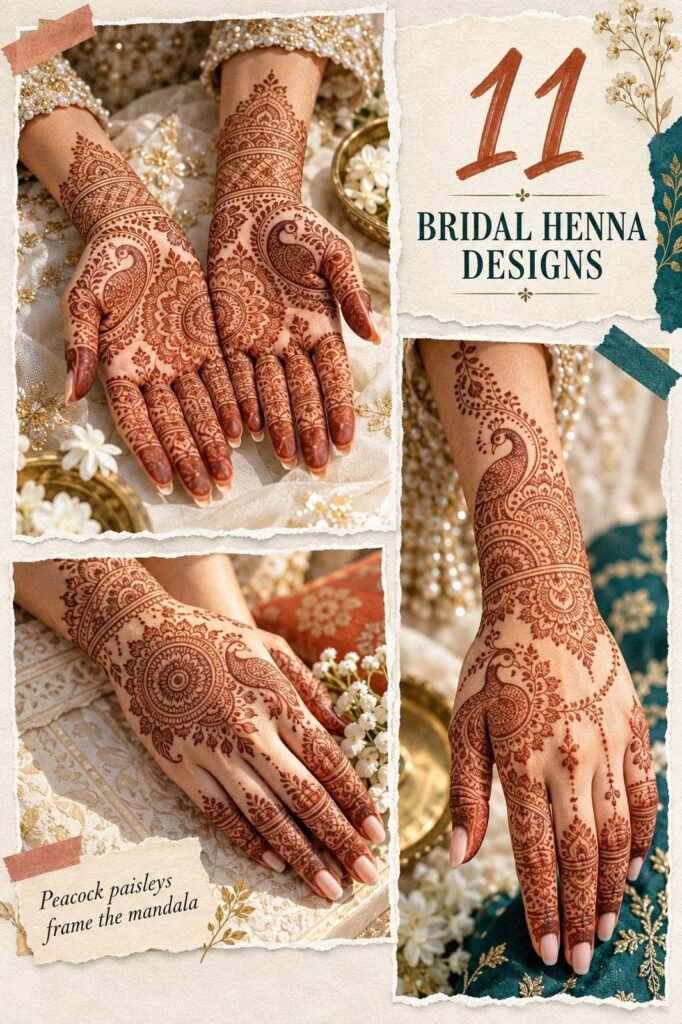
Bridal henna designs took me two days to plan and one quiet afternoon to apply. I wanted delicate paisleys, crisp finger details, and a personal story hidden in the pattern before the ceremony rush began. Starting early gave the paste time to dry and deepen into a rich brown-red stain. That mattered!
Here’s What It Looked Like Before
Before the mehndi, my hands were clean and undecorated. There was no planned motif, no mehndi cone, and no clear idea of how dense the final pattern should feel.
I’d saved several striking references. My notes mixed simple bridal designs, full-palms work, and one ornate peacock composition. It was too much.
I knew I didn’t want a random collage. I wanted something personal, graceful, and meaningful, with enough open skin that my fingers wouldn’t disappear beneath the pattern.
Natural henna paste needs about 1 to 2 hours to dry before removal. The color keeps deepening on the second day. Starting early let me compare patterns, check availability, and think about cost without rushing.
- Choosing a Delicate Bridal Henna Motif
- Which Design Works for Both Hands?
- The Peacock Decision
- Test a Simple Pattern First
- Mapping Flowing Lines Across My Palms
- Fingers Versus Wrist: Where Should Details Repeat?
- Adding Meaningful Motifs Around My Fingertips
- From Many References to One Clear Bridal Henna Design
- Bridal Jewelry or Bold Henna?
- Photographing Graceful Details Before the Ceremony
- Protecting the Finished Bridal Henna Design
1Choosing a Delicate Bridal Henna Motif
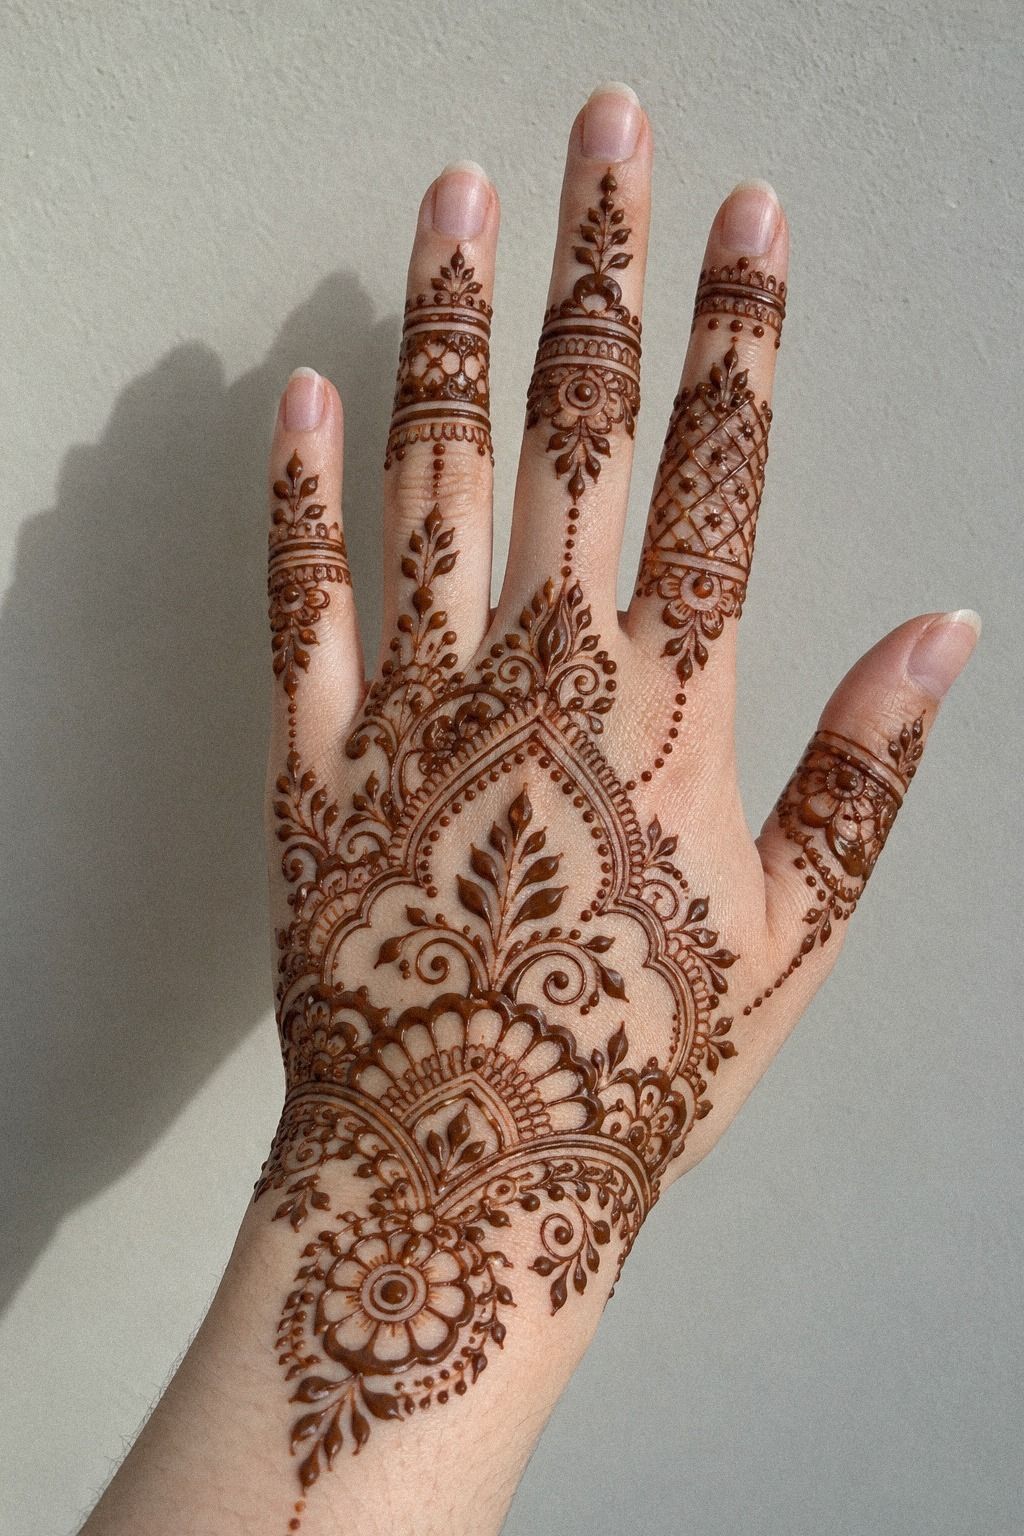
I started with a central paisley on the back of my hand. Smaller vines traveled toward my index finger. The shape felt symbolic without becoming too literal.
I chose smooth natural paste and a sharp cone tip. A clean cone tip gave me finer curves and fewer accidental blobs. That small detail made the application feel more controlled.
My first draft was too crowded. I nearly kept it because the reference looked intricate, but my own hand needed more open skin. You’ll want to study your fingers from several angles before choosing a final pattern.
A minimal center with crisp leafy edges can look more elegant than a fully packed palm. I’d rather choose careful composition than maximum coverage.
My favorite starting reference was this guide to traditional henna designs. It showed balanced paisleys and classic borders. I also saved examples of flowing vines from that collection because they gave the design direction.
The most expensive option isn’t automatically the best value. Careful application matters more than a dense pattern that feels overwhelming.
2Which Design Works for Both Hands?
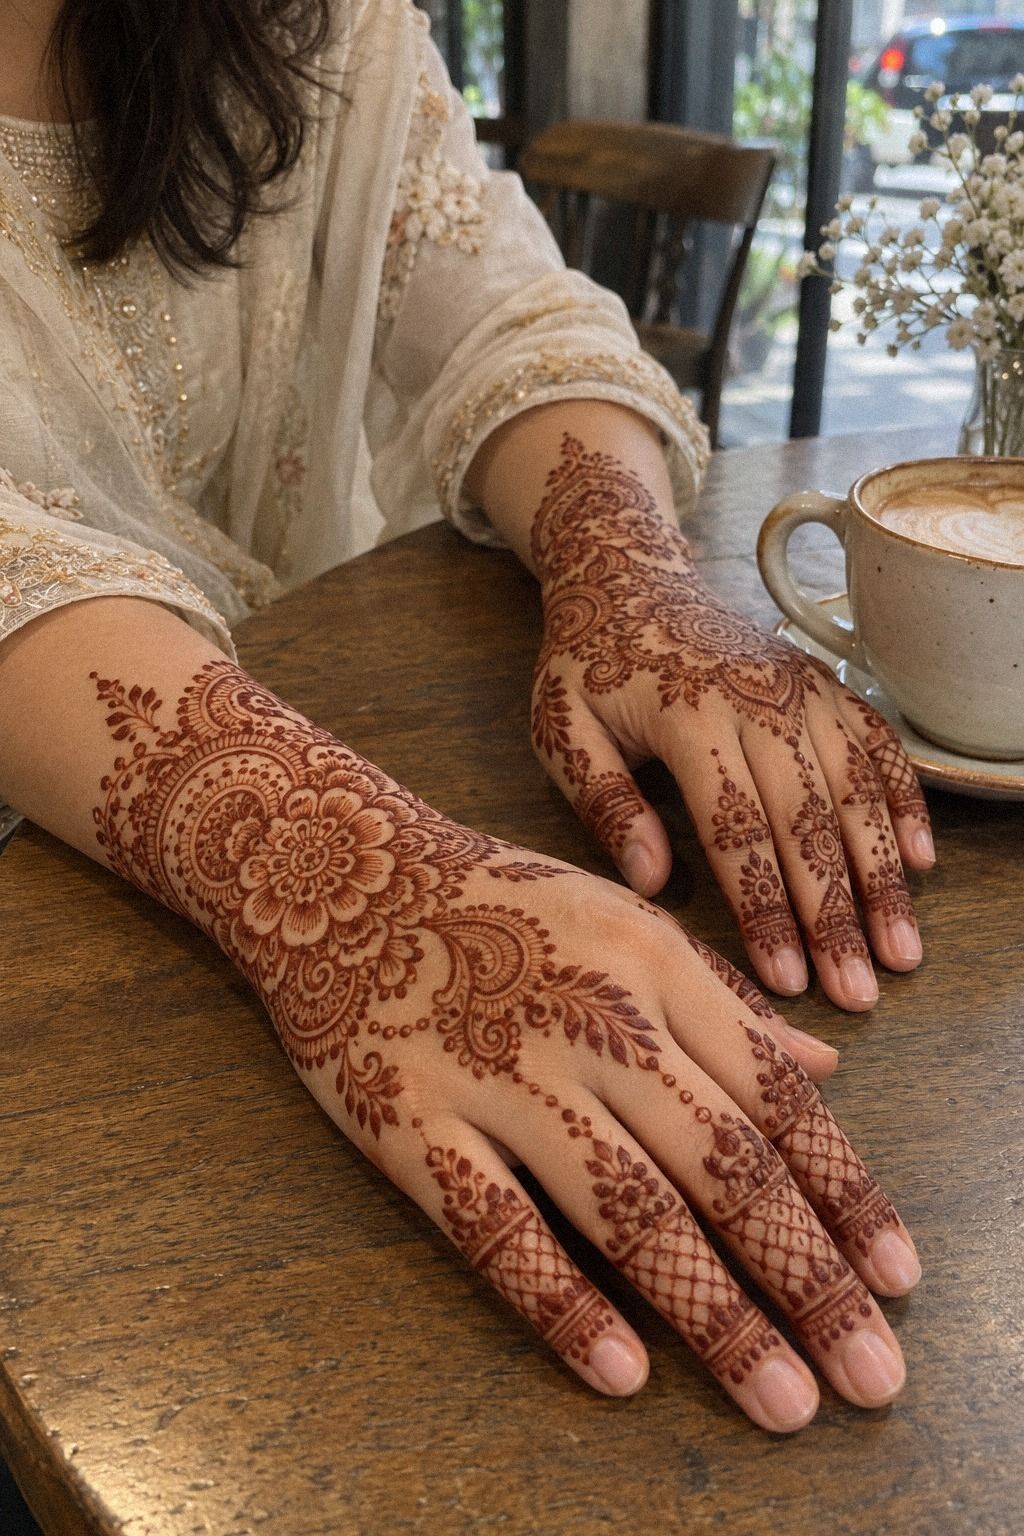
For both hands, I compared a full-palm arrangement with a lighter half-palm pattern.
3The Peacock Decision
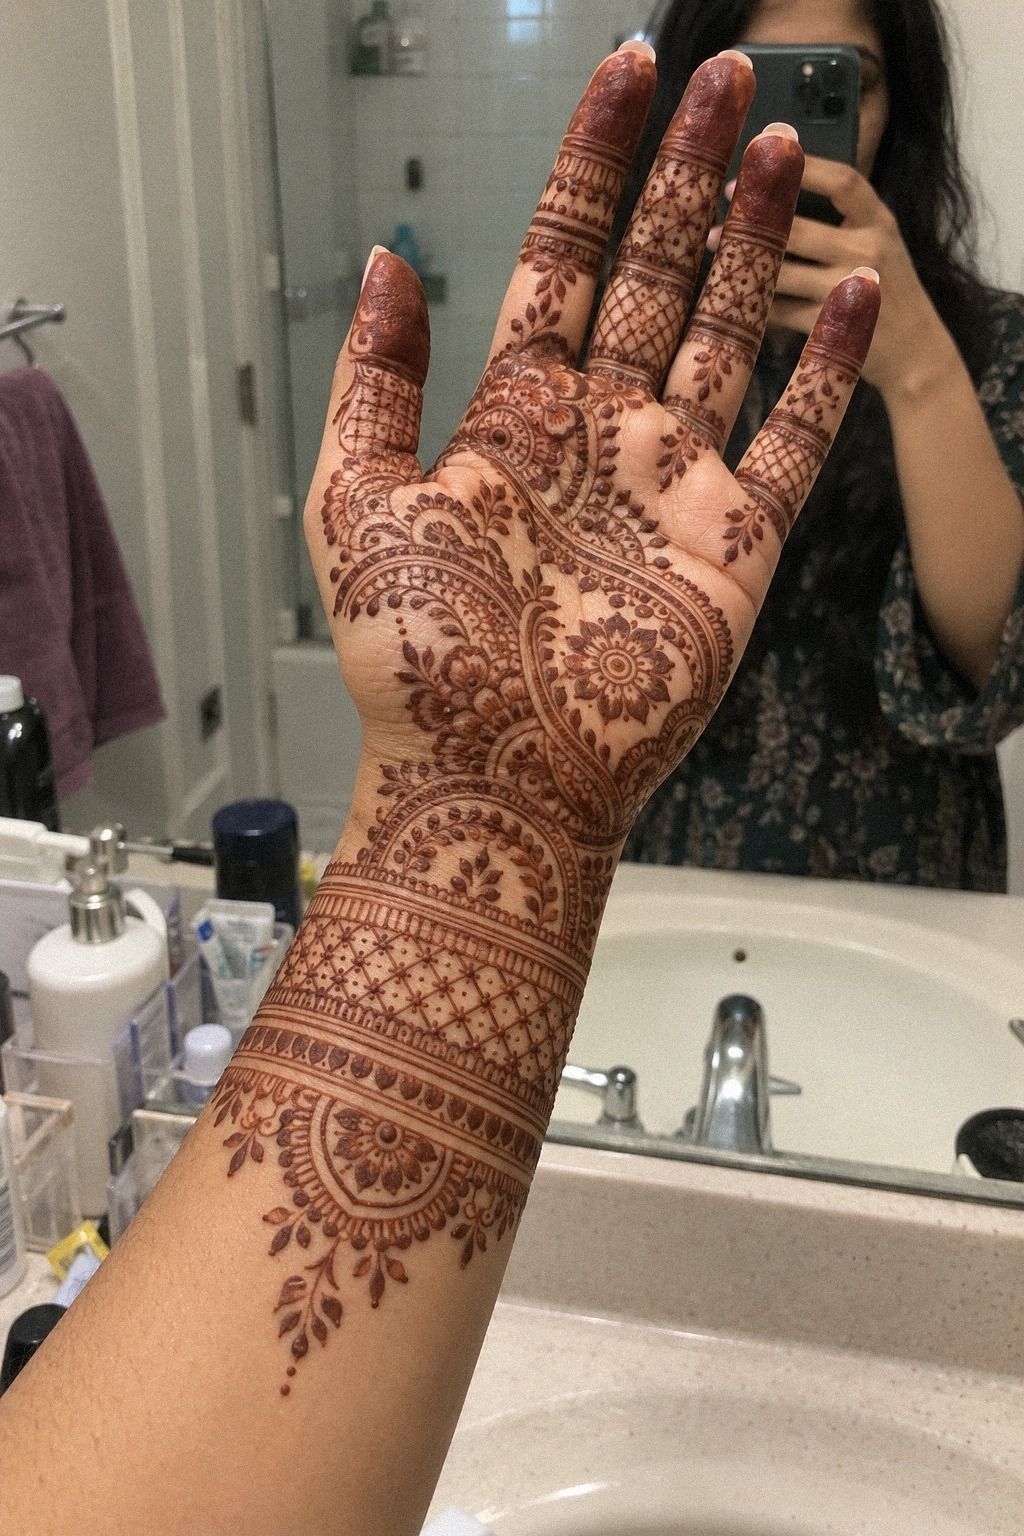
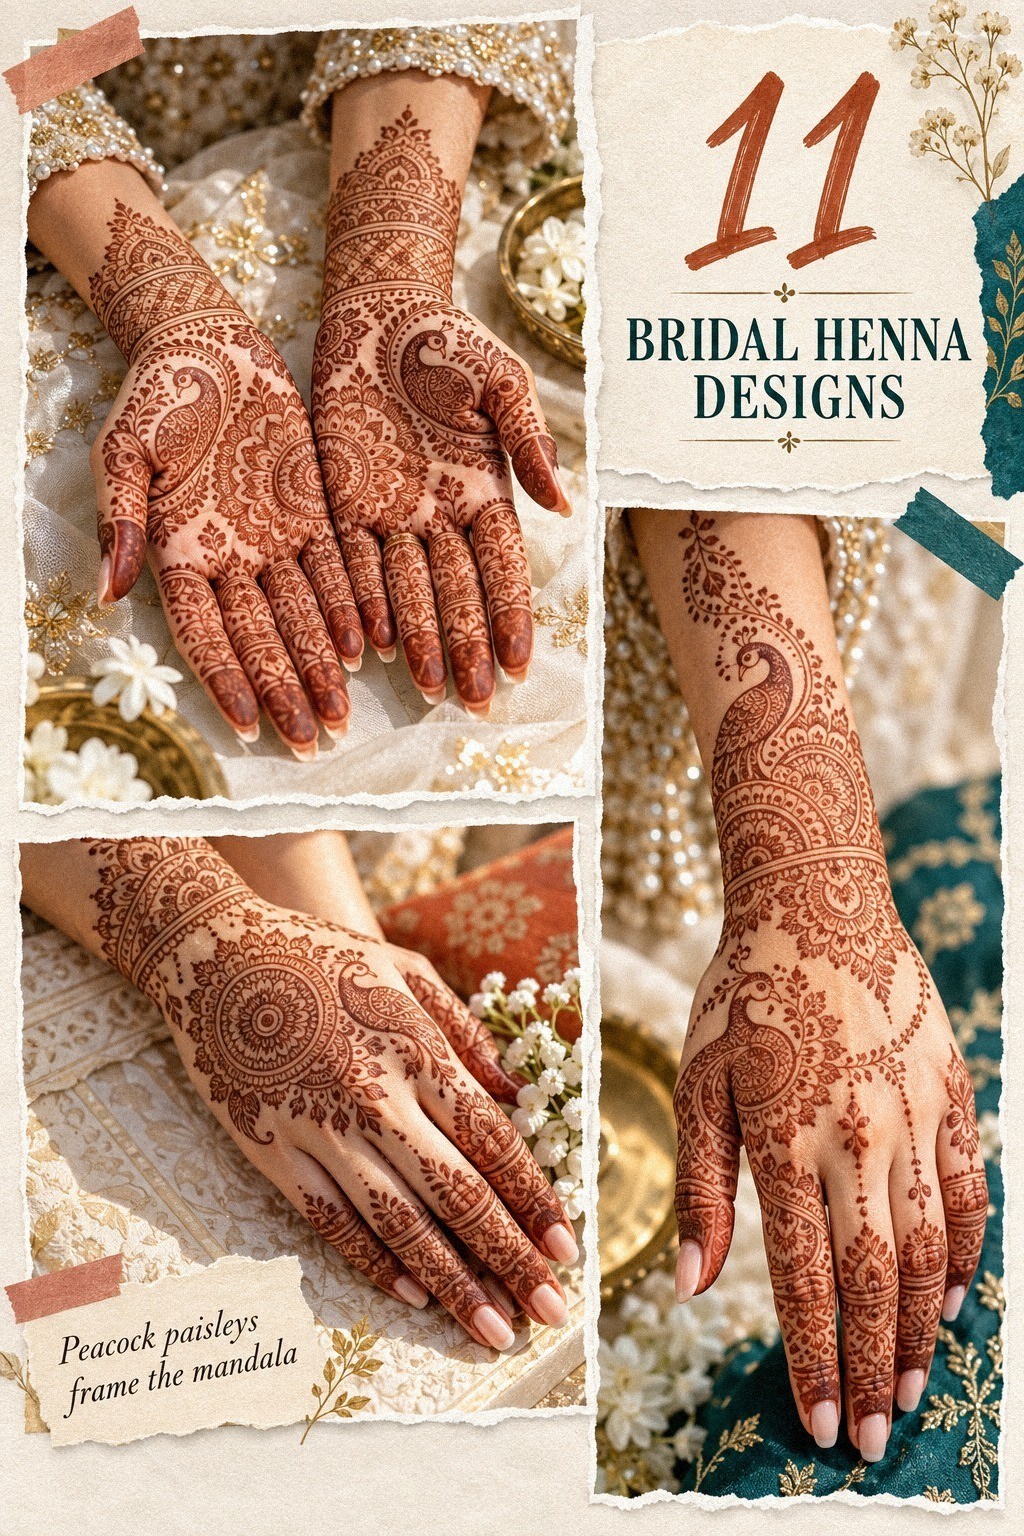
I wanted the design to carry meaning. I chose a peacock feather motif for joy, a small paisley for continuity, and curved leaves for growth.
The details were symbolic, but they still had to look sharp from a distance. I asked the mehndi artist to keep the feather expressive instead of filling every gap with dots.
That choice changed the whole composition. Meaningful symbols work best when they have open skin around them, especially near the wrist where bangles may move across the stain.
I also placed tiny initials inside a scroll. They’re almost hidden unless you look closely. That made the detail feel personal rather than obvious.
The Pakistani henna designs collection offered dramatic borders and meaningful central shapes. I used those references, then edited them into something more understated.
This was the part that made the design feel empowering. It wasn’t just a pretty pattern. It carried a small piece of my story!
4Test a Simple Pattern First
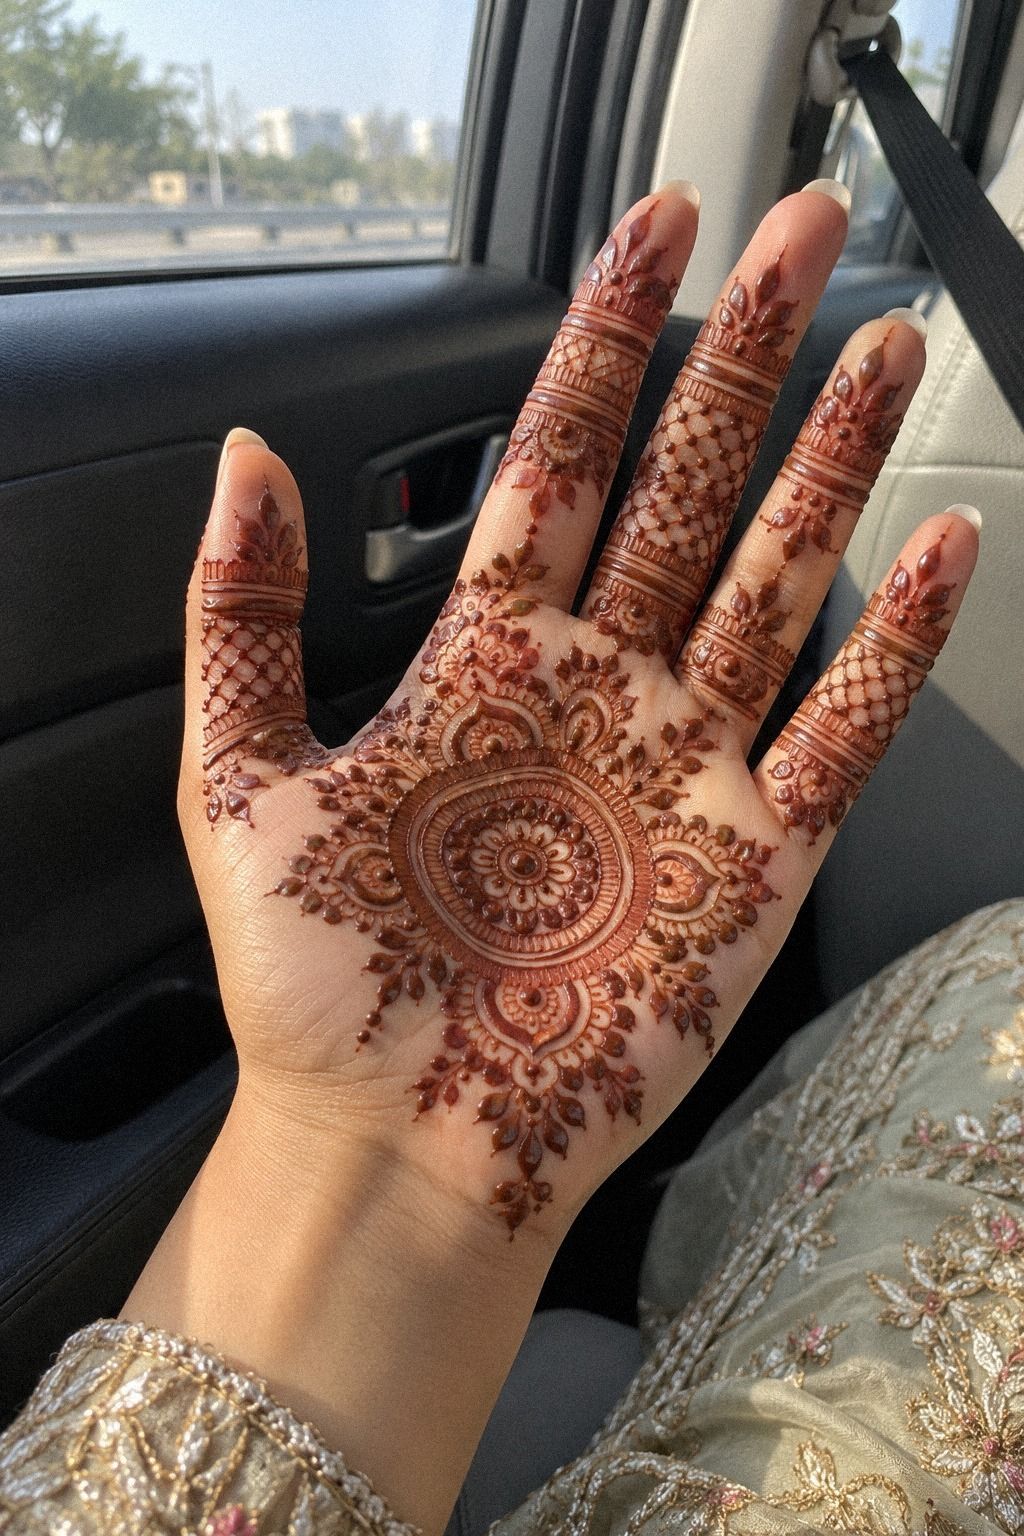
Before applying the full design, I tested a simple wrist pattern.
5Mapping Flowing Lines Across My Palms
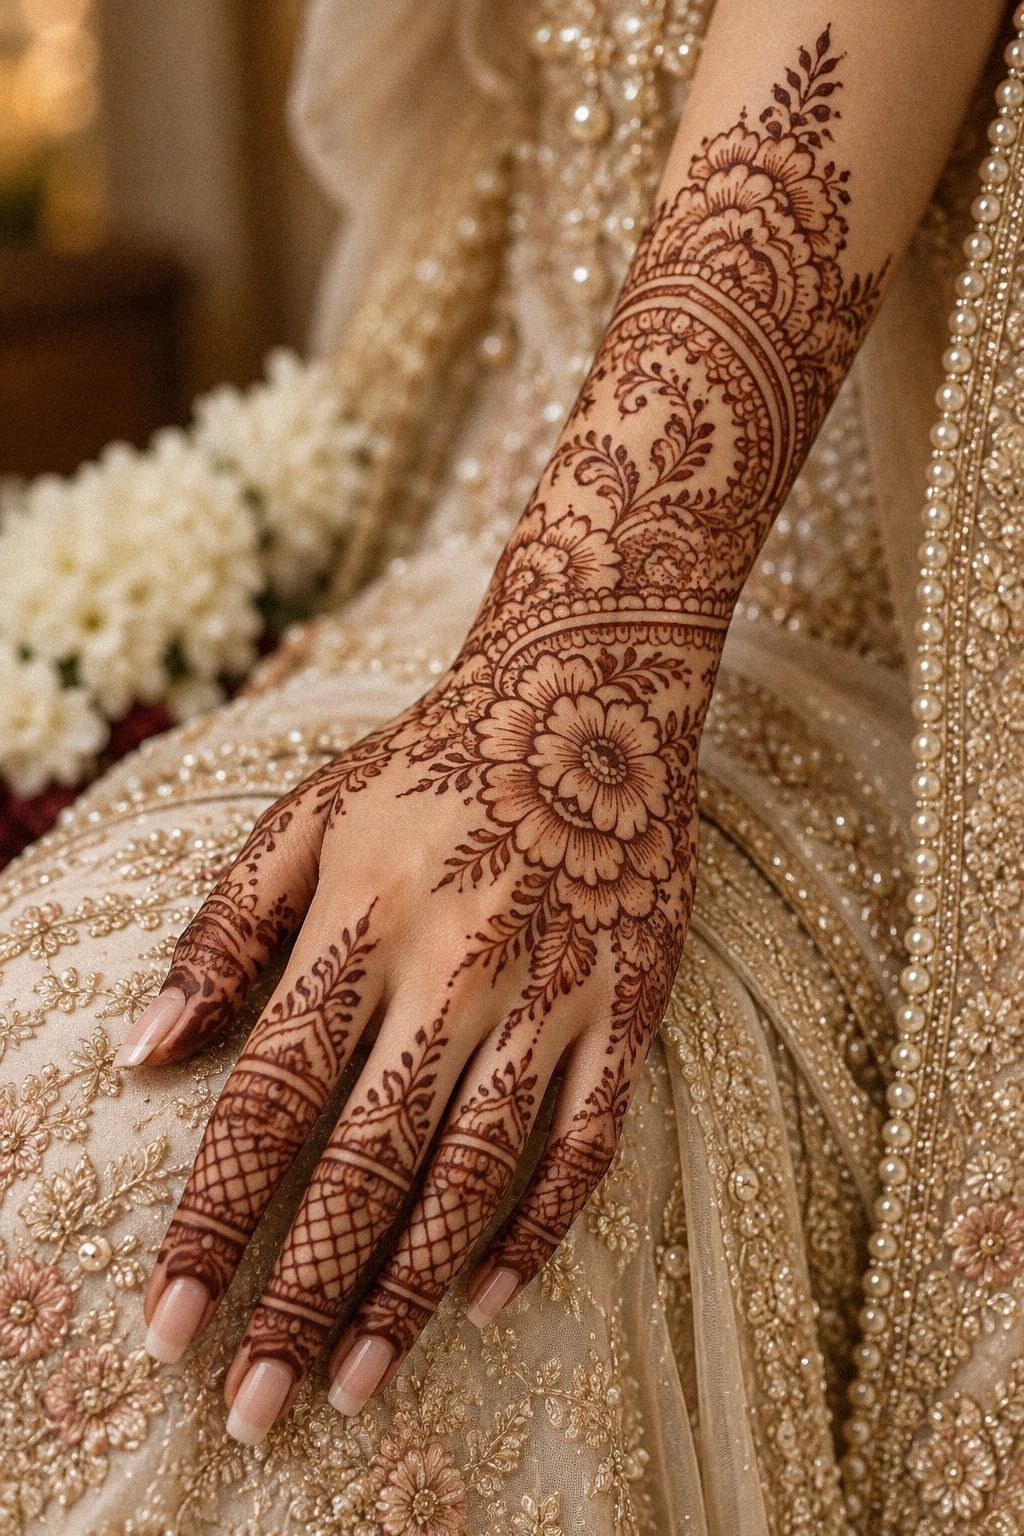
My palms needed a clear structure. I marked the visual center, the direction of each vine, and the points where the pattern would become lighter.
The central design began with a graceful mandala. I left one side slightly more open than the other. That asymmetry gave the composition an expressive quality.
It didn’t look careless. It looked drawn for my hands.
My artist worked from the palm toward the wrist. She checked the balance after each major section. I liked being able to pause and make decisions instead of watching the whole pattern appear at once.
The slower process felt calm, even with the ceremony approaching. It also gave me time to remove details that didn’t support the main motif.
For a more classic reference, I revisited the traditional henna designs guide. I studied how borders connect large motifs. A strong design has pauses, transitions, and small surprises.
6Fingers Versus Wrist: Where Should Details Repeat?
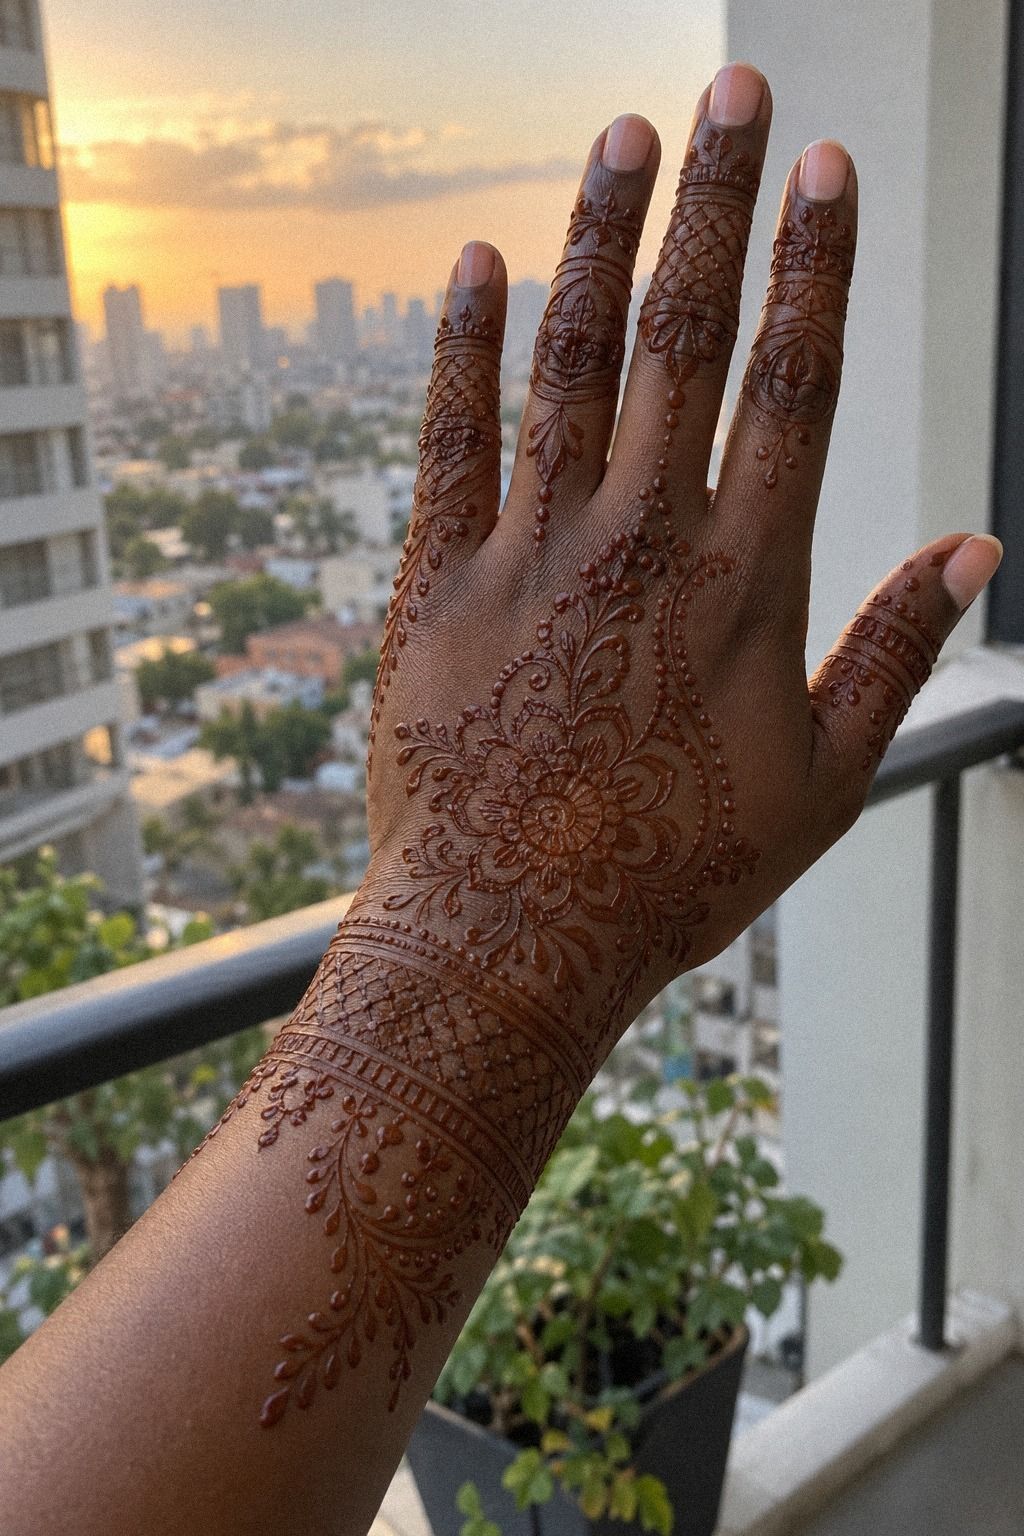
My fingers needed crisp bands, but I didn’t want every finger to look identical. I matched two fingers with delicate ring bands.
One fingertip received a small floral cap. I left a narrow strip open on the thumb. That tiny difference made the design feel personal instead of copied.
At the wrist, I used a stronger scalloped wrist border with repeated curves and a few sharp points. You can connect finger details to the wrist with one trail.
I’d avoid covering the entire hand in one heavy block. It can look striking in a close view and lose clarity in photographs.
I compared several minimalist henna designs before choosing the lighter arrangement. My hands still looked expressive, but my jewelry had somewhere to sit.
The wrist was also where the budget changed. A dense cuff required more time. One polished border offered better value than several crowded bands.
7Adding Meaningful Motifs Around My Fingertips
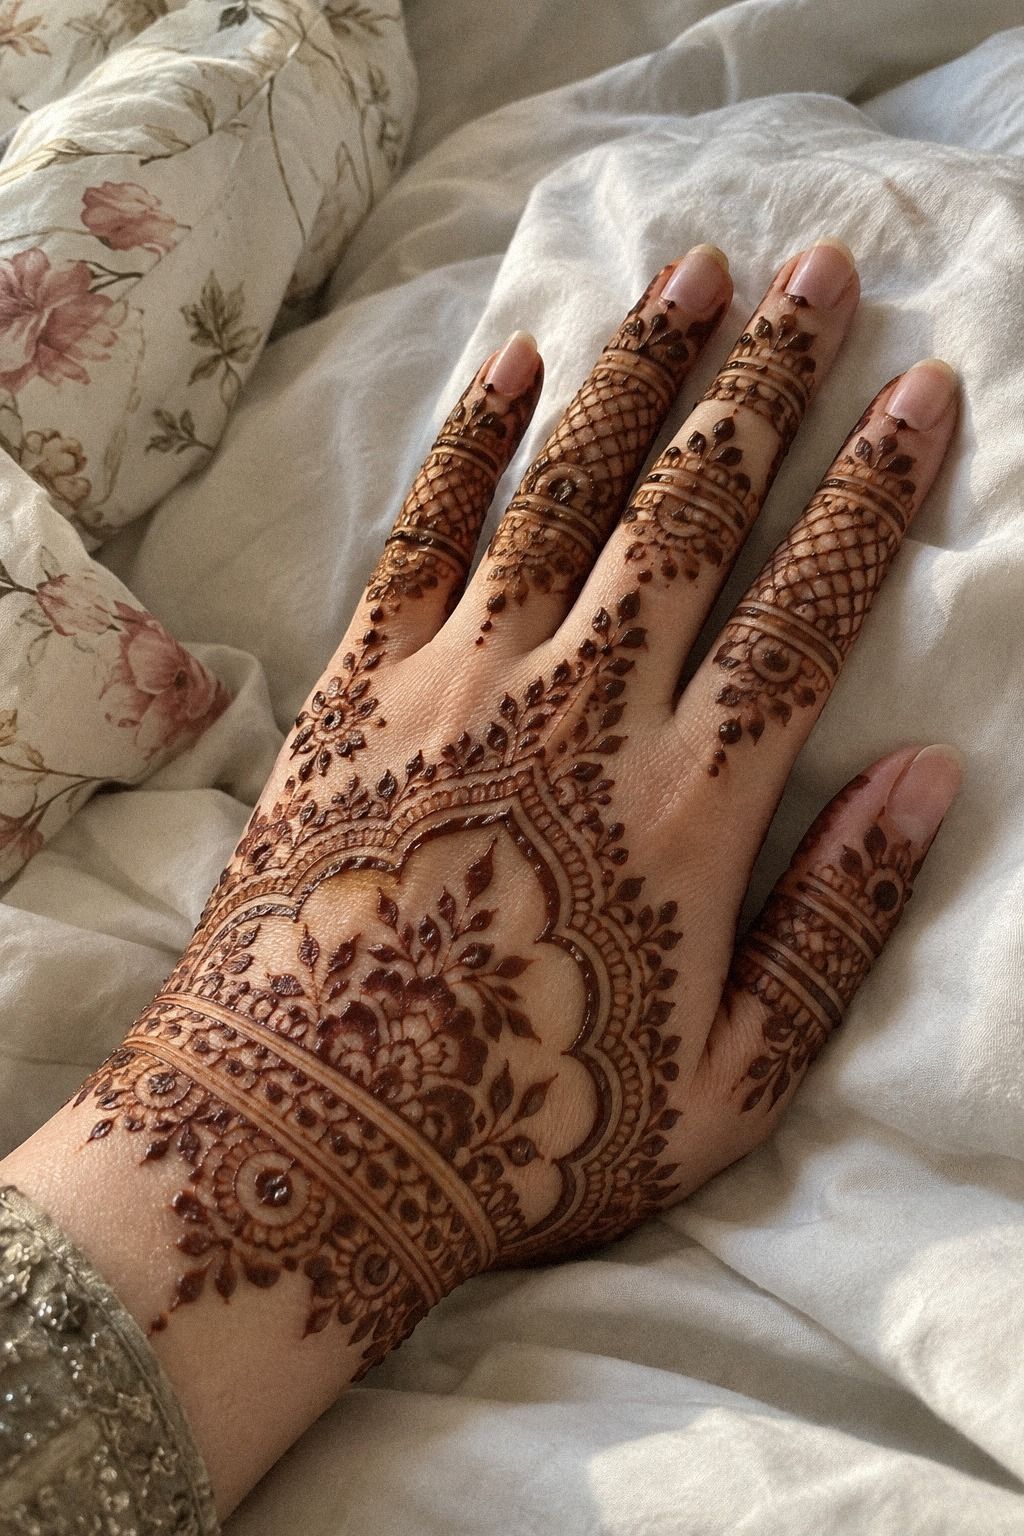
I added floral fingertip caps because they gave the design a bold finish without making the palms too dense. Each cap was rounded, crisp, and slightly different.
Perfect repetition can look polished. A little variation keeps hand-drawn mehndi feeling alive.
My artist suggested leaving the outer edges of two fingers partly open. That kept the motif from looking heavy from the side.
You’ll want to consider that view, especially if your ceremony includes close photographs or expressive hand gestures. Small changes can make a design feel more feminine or more powerful.
I almost chose solid fingertip coverage. It felt too fierce beside my softer paisleys. The latest new bridal mehndi designs helped me compare fingertip shapes and daring borders.
The smallest details became some of my favorites. One tiny leaf trail curved toward my ring finger, and nobody noticed it immediately.
I did. That made it feel meaningful!
8From Many References to One Clear Bridal Henna Design
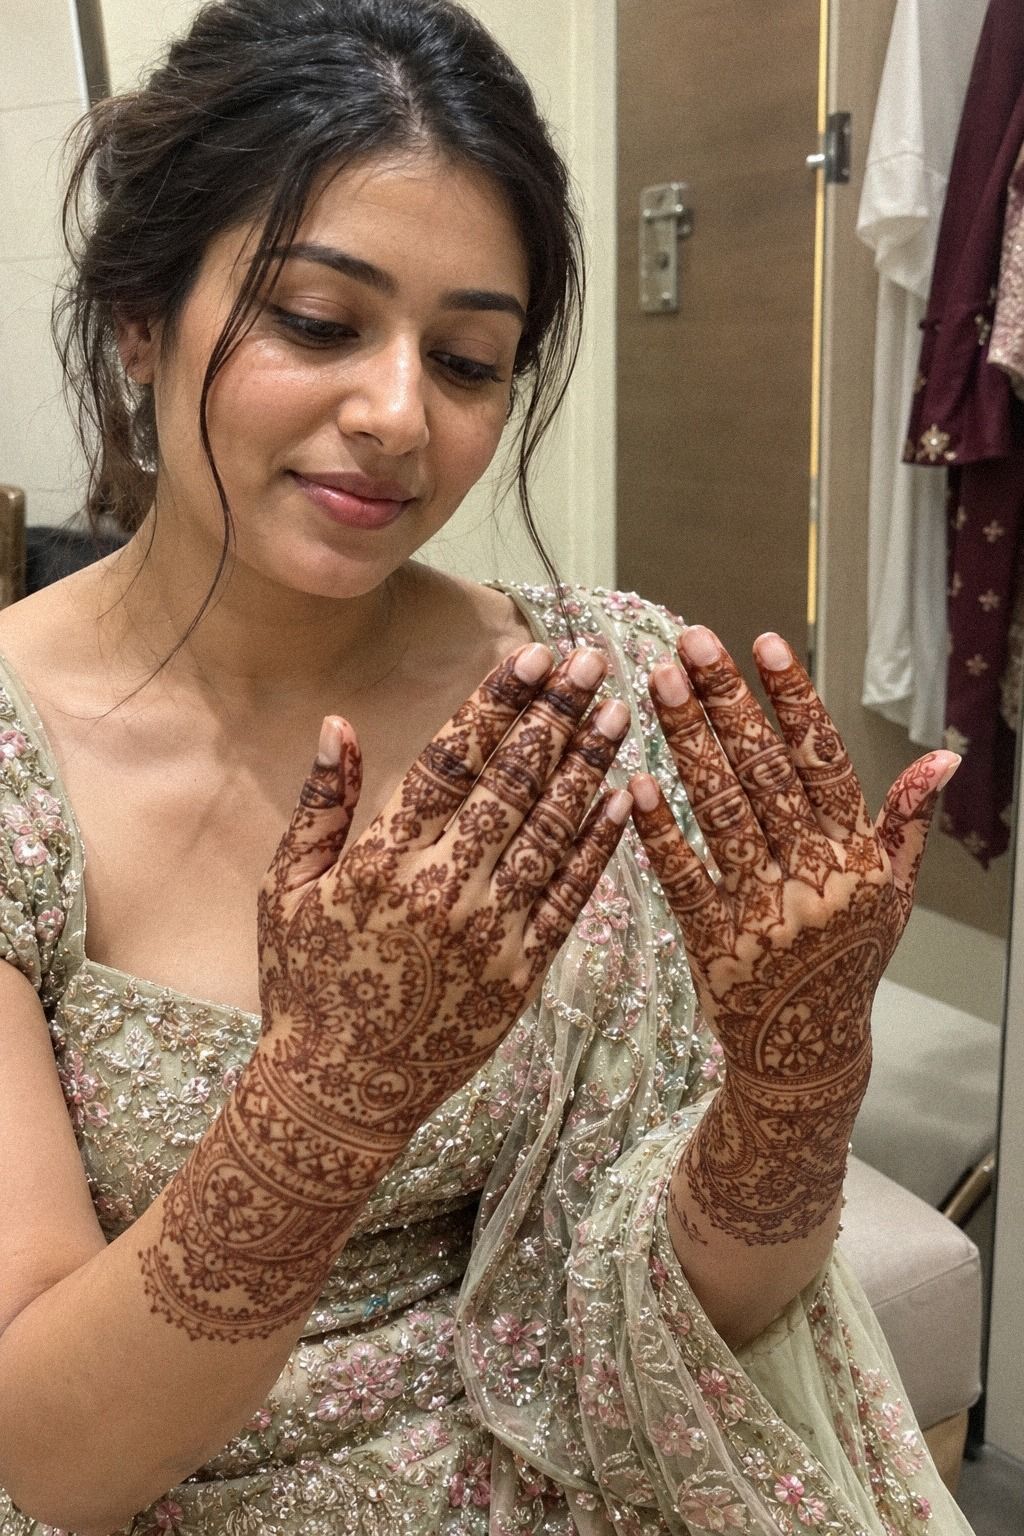
I reviewed the latest bridal henna designs with my artist instead of choosing from one crowded board. That distinction saved me from making a patchwork design.
One reference used bold mandalas. Another used delicate jaal patterns.
A third showed romantic vines and dramatic peacocks. Each had a different mood.
Combining everything would have made the result confused. I needed one clear direction.
The latest bridal henna designs gave me useful language for the consultation. I could point to the border I liked, the finger spacing I wanted, and the coverage I didn’t want.
I also searched minimalist henna designs for lighter alternatives. Even a full bridal design needs open skin.
The best inspiration board should answer three questions: What’s the main motif? Where does the eye travel? Which details can be removed?
If you can’t answer those, keep editing. A smaller board usually creates a sharper result.
9Bridal Jewelry or Bold Henna?
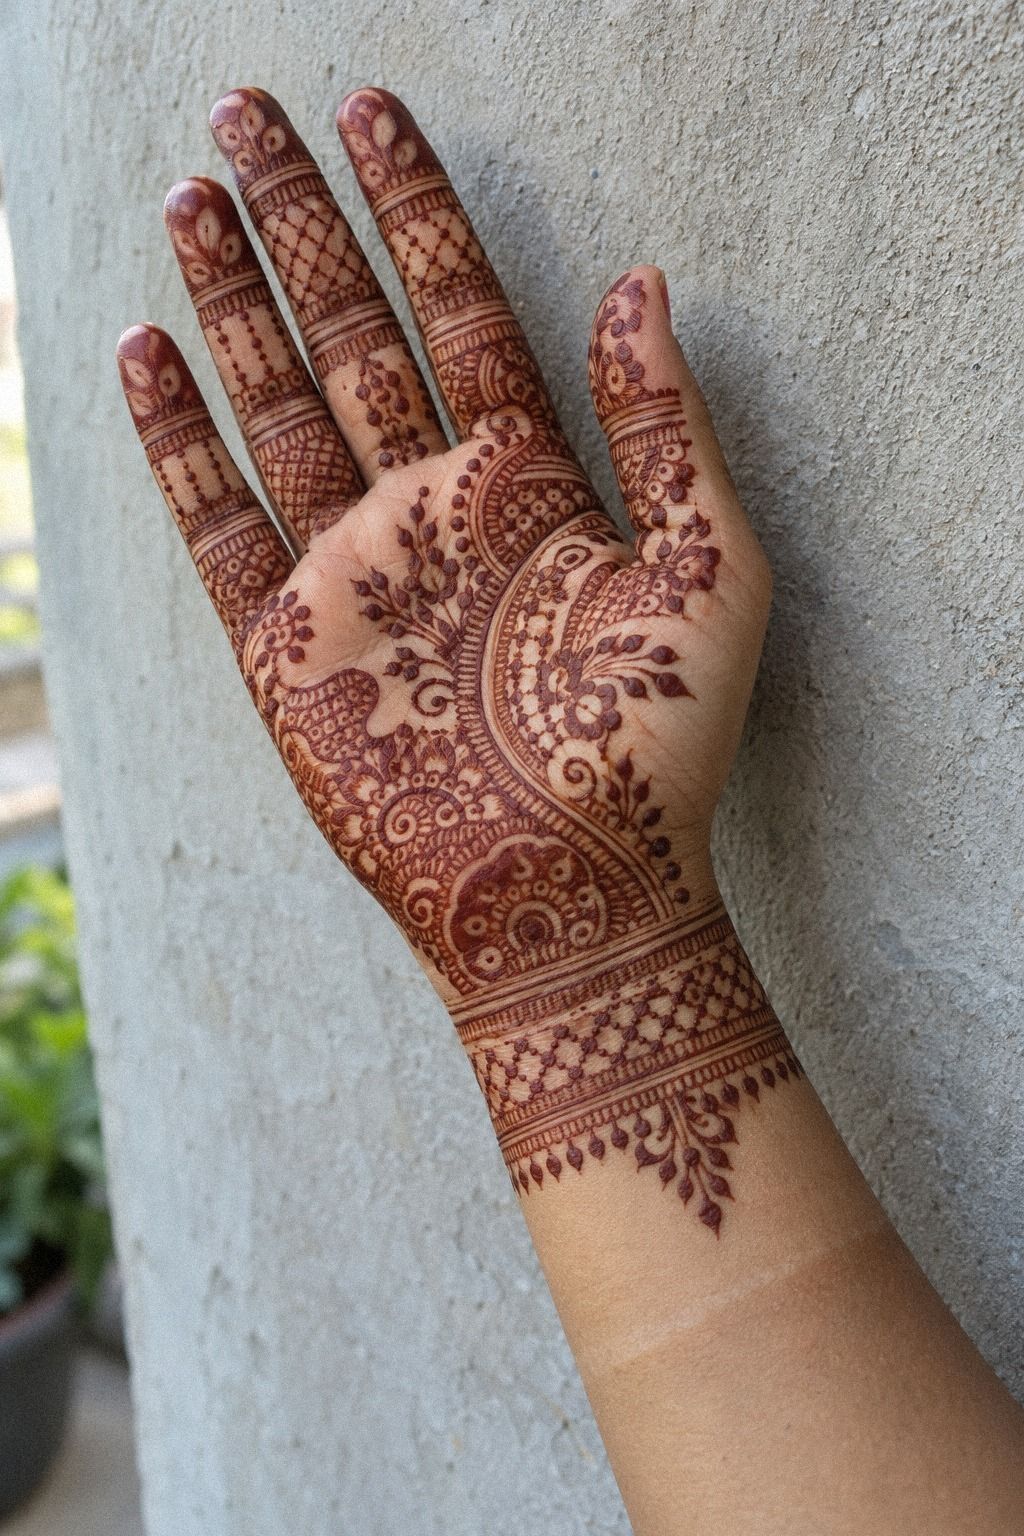
I checked the henna beside my antique gold bangles before finalizing the wrist pattern. The jewelry was ornate, so I chose a crisp border instead of another dense floral section.
You’ll want to hold your actual jewelry near your hand. Memory isn’t enough. I tried the bangles, a ring, and the bracelet I planned to wear.
The boldest version looked striking alone. Beside the jewelry, it felt too busy. The understated border won.
That was a relief. I wanted my hands to look expressive, not buried beneath competing details!
A simpler border may take less time and photograph more clearly. It can also let an important statement ring remain visible.
The best result came from that balance. The jewelry looked vintage and polished. The henna stayed sleek and expressive.
10Photographing Graceful Details Before the Ceremony
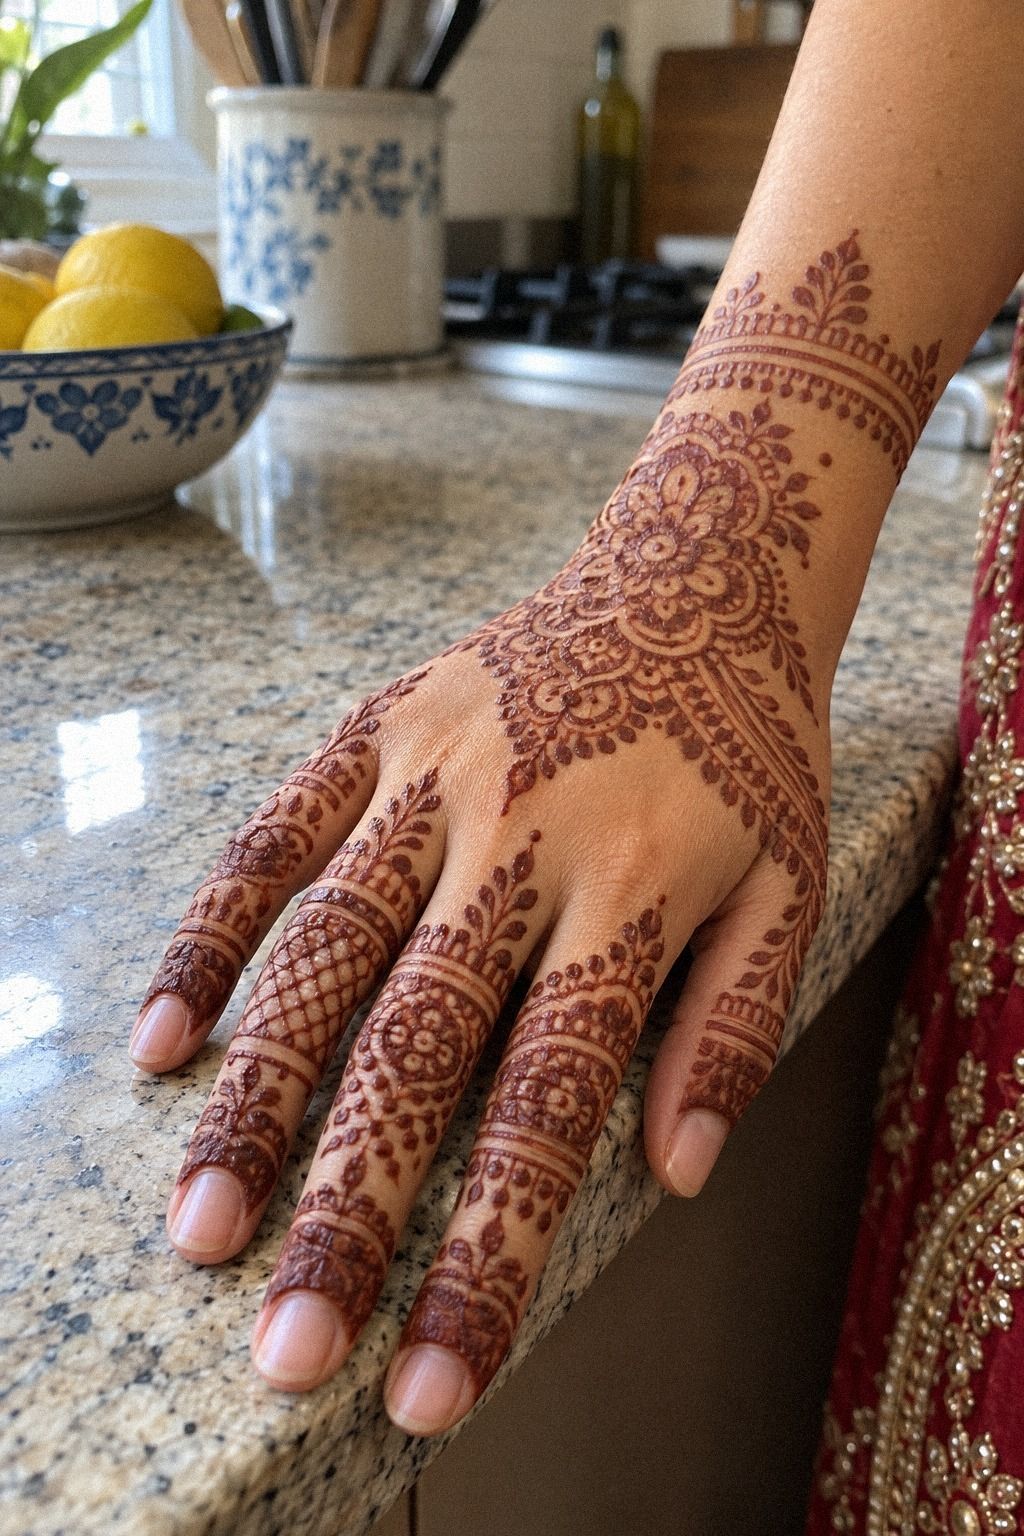
I photographed the finished paste before removing it. I photographed the stain again after it deepened. The two stages looked completely different.
The wet design appeared darker and more textured. The settled stain showed the true contrast between the central motif and the open skin.
I took close photographs of the crisp paisley center, the fingertips, and the wrist border. I also photographed both hands together and separately.
That helped me notice a small difference in finger spacing. It wasn’t a problem. It made the design feel more personal.
If photographs matter to you, plan them before the ceremony rush. Daylight showed the brown-red color best. A simple setting kept attention on the pattern.
The latest new bridal mehndi designs helped me compare how different motifs read in close views.
Good photographs are practical. They help you remember placement, show an artist what you liked, and save a detail you may want repeated later.
11Protecting the Finished Bridal Henna Design
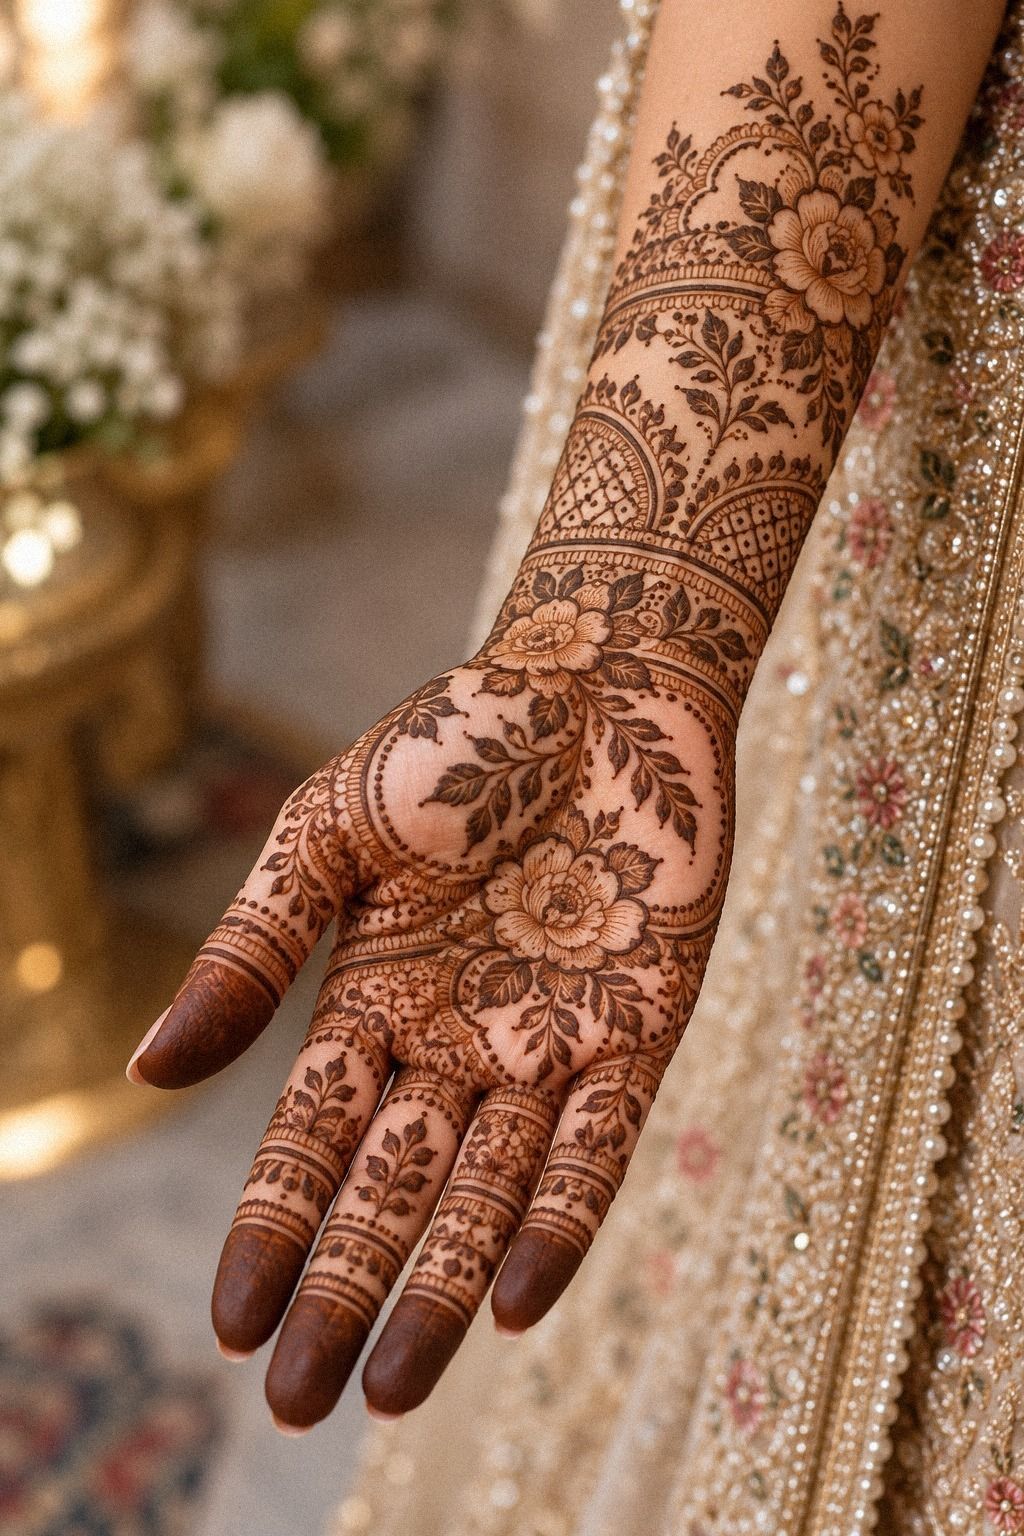
After the paste dried, I loosened it gently instead of washing it away. Earlier, I used a lemon-sugar sealant to help the dried paste stay in place.
I kept my hands away from water for as long as practical. The color continued deepening on the second day.
At first, the stain looked orange. By the following evening, it had become a richer brown-red. The orange first stain wasn’t a problem.
For care, you’ll want to wash gently and moisturize lightly. Avoid long pool sessions while the stain is fresh.
A bridal henna design usually fades over one to three weeks. The exact duration depends on washing, placement, and daily activity.
The simple minimal henna designs collection also helped me plan a lighter version for later.
The timing was worth it. Rushing the drying stage could have smudged the design. Starting early gave the color time to develop before the important photographs.
The Three-Source Rule: Ceremony, Hand, Person
I’ve learned that strong bridal henna designs come from three sources: the ceremony, the hand, and the person wearing the motif. If one source is missing, the result can look borrowed.
A pattern may be exquisite in a photograph. That doesn’t mean it belongs on your palms, beside your jewelry, or within your family’s celebration.
My favorite final detail was a symbolic scroll that connected the main motif to my personal story. It felt sacred without becoming too serious.
My first mistake was collecting too many references without deciding what I wanted to feel. I saved ornate peacocks, crisp mandalas, romantic vines, and dramatic fingertip caps.
Each reference was lovely alone. Together, they made a confusing plan.
Once I chose a graceful central motif and two supporting details, editing became easier. I removed several flourishes, and the final result looked sharper.
I now use three folders: must keep, maybe, and not for this design. The must-keep folder holds only motifs that feel meaningful or visually strong.
The maybe folder contains ideas that could work if the artist finds room. The last folder isn’t a judgment on the reference.
It simply keeps an ornate peacock from competing with a delicate central design. That kind of editing protects the main idea.
I’d limit the board to three main references. The Pakistani henna designs collection can inspire a bold border. Traditional henna designs may help with classic structure.
You don’t need to copy both. Ask whether each reference adds something new. If two images show the same romantic vine, keep the one with clearer spacing.
Editing saves consultation time. It can also make the final quote more predictable.
Questions I Asked Before Booking
I asked who would apply the paste, which ingredients were included, and how long the appointment would take. I also asked whether travel affected the price.
I requested recent photographs of complete hands rather than isolated motif samples. That showed me how the artist handled connections between fingers and wrists.
The artist explained the drying time, the expected color change, and the care routine. That conversation made me feel more confident.
I also asked whether she could adapt the design to both hands. Some artists specialize in bold bridal coverage, while others are especially strong with delicate details.
If you’re comparing quotes, ask whether the price includes travel, extra guests, consultation time, and design changes. A low initial cost may not stay low if important details appear later.
The Timing Plan That Saved My Hands
I planned the application early enough to allow 1 to 2 hours of drying time. I kept the next several hours free from errands that required frequent hand washing.
The color deepened on the second day and settled over roughly 2 to 3 days. My brown-red color looked more dramatic by the ceremony than it had on the first evening.
I made a small checklist:
– Confirm the appointment and travel time. – Keep the design references together. – Wear clothing that won’t brush against the wet paste. – Prepare a comfortable place to rest both hands. – Avoid unnecessary water contact after removal. – Photograph the design in daylight.
The schedule was worth it. I could enjoy the ceremony instead of worrying about whether the pattern had developed properly.
How I Chose the Right Artist
A portfolio told me more than a dramatic advertisement. I looked for clean curves, even dots, balanced palms, and consistent natural paste application across different skin tones.
I also checked whether the artist showed complete hands rather than cropped close-ups. A motif can look beautiful alone and still feel awkward when connected to the wrist.
The simple henna designs collection helped me explain the level of detail I wanted. I used the latest bridal henna designs to show the kind of composition I liked.
I didn’t expect an exact copy. I wanted the artist to create something personal.
Experience was worth the investment for me. The artist adjusted the spacing, noticed where my bangles would rest, and kept the pattern readable from several angles.
Clean curves mattered more than an iconic reference. The final design felt stylish because it suited my hands.
My bridal henna budget depended on the artist’s time, design density, number of hands, and travel. I won’t pretend there’s one universal U.S. price.
The ranges below are planning numbers, not promises. Ask for a written total before booking.
The final quote should list the service, travel, extra guests, timing, and revisions. That makes comparison easier.
I chose to invest in an experienced mehndi artist because clean paste lines mattered more to me than maximum coverage.
The latest bridal henna designs helped me show the detail level I wanted without asking the artist to guess. That made the quote clearer.
From Wet Paste to Brown-Red Stain
Once the fresh paste had dried, I removed it gently. I didn’t scrub the surface or use harsh products while the stain was developing.
The color began as a bright orange-brown and deepened on the second day. My developing henna stain looked richest around the palms and slightly lighter near the fingertips.
I kept moisturizer nearby and avoided long water exposure when possible. The goal wasn’t complicated. I simply gave the stain time to settle.
Henna fades naturally over one to three weeks. The exact duration depends on placement, washing, and daily activities.
That temporary quality was part of the appeal. I could enjoy an expressive design for the ceremony without carrying it permanently afterward.
What People Always Want to Know
How much does bridal henna usually cost?
Bridal henna pricing varies by artist, region, design density, travel, and the number of people receiving mehndi. Request a written quote before booking. A clear service total should list application time, guest count, travel, and any extra ceremony-day work.
Are bridal henna designs a good idea for a first mehndi experience?
Yes. Bridal henna can be a meaningful first experience when you choose a comfortable placement and a reputable artist.
A temporary brown-red stain lets you enjoy intricate details without committing to a permanent design. Start with a small skin test if you’re unsure.
How do I choose a mehndi artist for bridal henna?
Review a portfolio showing clean curves, even dots, natural brown-red stains, and recent work on hands similar to yours. Ask about ingredients, hygiene, timing, and aftercare. Consistent paste quality matters more than a dramatic social-media photograph.
Is bridal henna comfortable while it dries?
The paste is generally easy to wear, although dried sections can feel stiff across the palms and fingers. Plan a comfortable place to rest your hands and avoid activities that could smear the design. The main challenge is staying still until the paste dries fully.
How long does bridal henna take to settle?
The paste usually dries in about 1 to 2 hours. The color deepens on the second day and settles over roughly 2 to 3 days.
It generally fades within 1 to 3 weeks. Gentle washing and limited water exposure can help it last longer.
What’s the best placement for bridal henna?
The back of the hand, palms, fingers, wrists, and feet can all work well. Palms often develop a deeper stain, while fingers show delicate details clearly. Choose placement around your jewelry and photographs, not just the reference image.
Where I’d Start First: The Personal Paisley
If I had to pick one, I’d start with a single personal paisley. It gives your artist a clear center, leaves room for graceful details, and won’t overwhelm your jewelry.
Save that idea early. Let the rest of the design grow around it. Add one symbolic motif, one border style, and a few crisp finger details.
That’s enough to create something striking without losing the hand beneath it. Starting early was worth it for me. The final design felt delicate, meaningful, and completely personal!