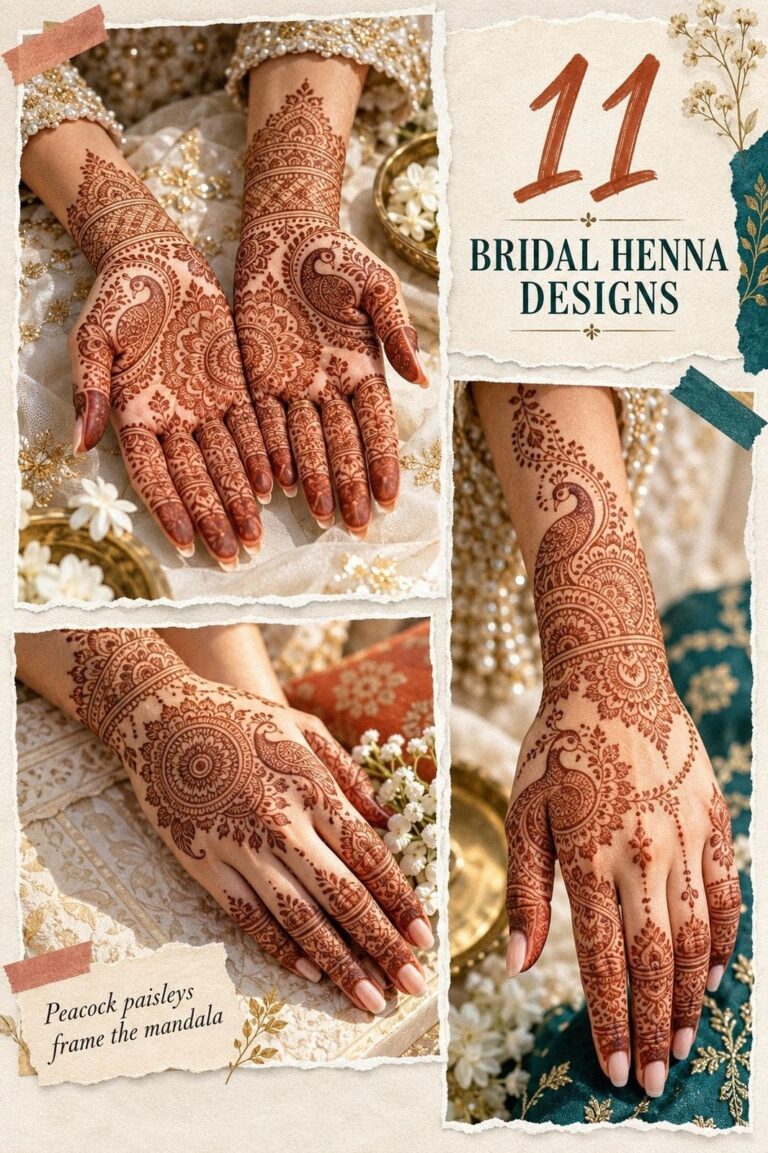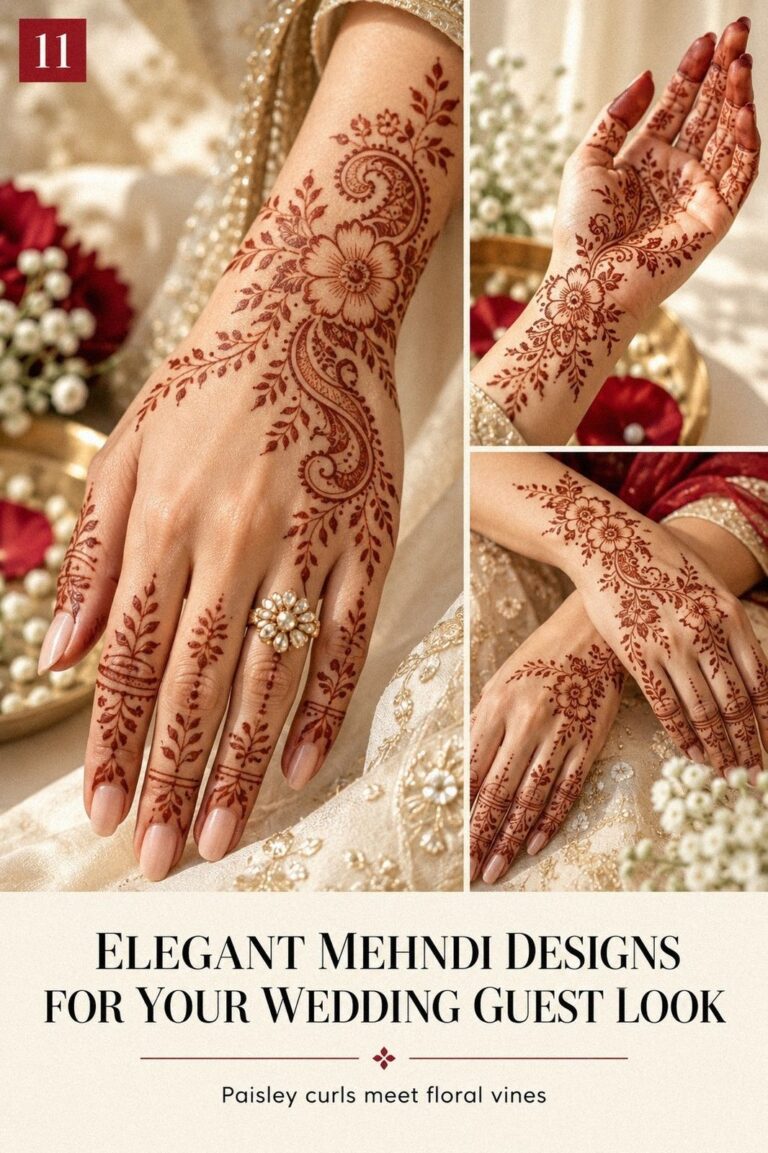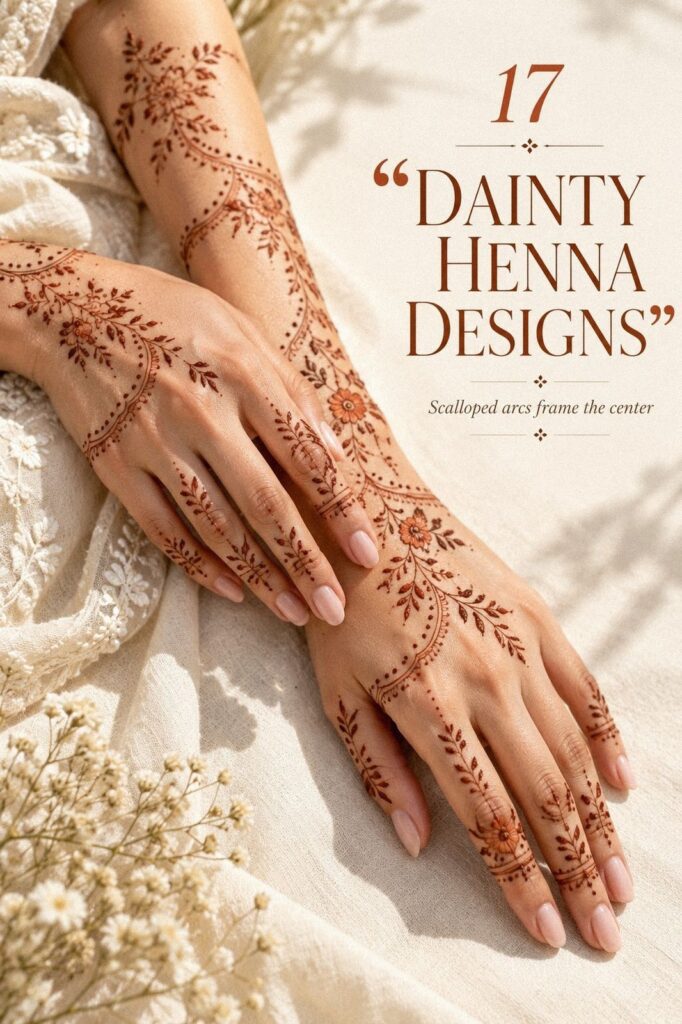
Dainty henna designs work best when the placement leaves visible skin around the motif. I once packed a palm with tiny petals, and the pattern blurred into one reddish-brown patch after the paste dried. Now I choose one clear anchor, let the cone breathe, and keep the design personal. Much sharper!
Editor’s note: The most meaningful detail isn’t always the biggest one. A striking result can come from small henna motifs, pure paste, and enough open skin for every curve to remain readable.
Start With One Clear Idea
Dainty Henna Designs Along the Fingers
Finger designs look delicate when each line has room to stand alone. I’d keep one narrow vine on the index finger, a few dots near the middle finger, and one tiny leaf near the pinky. The open skin makes the stain look crisp instead of crowded.
Choose a fine-tip henna cone and test the flow on paper first. You’ll want paste that moves smoothly without puddling. A shaky cone can turn an elegant curve into a heavy mark, so I wouldn’t rush the first finger.
Try one pointed leaf, two spaced dots, and a single crescent near the knuckle. If you want a more intricate variation, add a tiny paisley only to the ring finger. Keep every other finger quieter so your hand still has a clear focal point.
The reddish-brown stain becomes more noticeable after the second day, so leave generous gaps between marks. That contrast makes a dainty design feel sharp, stylish, and polished without requiring a complicated pattern.
If you’re new to hand placement, compare these ideas with our simple minimal henna designs. You’ll see how much negative skin changes the entire result. Fingers need restraint, especially when you’re aiming for a dainty, meaningful, expressive look.
An ornate band across every joint won’t look delicate for long, especially once the paste dries and the color deepens. Keep one finger more expressive than the others. The value is in the clarity, not the number of marks!
Let a Wrist Vine Travel Naturally
A wrist vine has a flowing shape, so let it travel rather than stop in a stiff ring. One curved stem can begin near the base of the thumb, pass across the wrist placement, and finish with two small leaves.
I prefer a line that changes direction slightly. A perfectly even trail can feel stamped, while a gentle variation gives the motif a more personal, graceful quality.
Use a henna cone with steady pressure for the stem, then ease off as the leaves become smaller. This keeps the center readable and prevents the ends from looking heavy.
A narrow vine can feel sleek and understated when the wrist remains mostly clear. Add a few dots near the final leaf, but stop before the design turns into a solid bracelet.
For a dainty bracelet, use a thin curved line with evenly spaced dots rather than a filled band. The dotwork details should support the vine, not compete with it. Leave a small opening between the ends for a lighter, more playful finish.
A warm clay-toned stain can look especially elegant against open skin. Keep the bracelet narrow if you want an expressive result that remains easy to protect during the first few hours.
Follow the Foot With Fine Leaves
Leaves along the foot look graceful when they follow the long direction from the toes toward the ankle. For a tiny ankle motif, begin with one delicate leaf near the ankle bone, then taper the shapes toward the foot.
Use a fine-line leaf trail with crisp center lines, but avoid filling every section. The open spaces let the stain read cleanly once it deepens.
One long leaf, two smaller leaves, and a few dots near the ankle can create a delicate, vibrant trail. I’d choose this over a full foot pattern if you want something versatile for a smaller occasion.
A foot application may cost $25 to $70 depending on length, detail, region, and artist experience. Bridal or event work can cost more, sometimes $100 to $250 for both feet. Ask whether the quote covers one foot or a pair.
Feet experience friction from shoes, so protect the fresh foot design during the first few hours. Swimming and repeated rubbing can fade the color faster. Plan the application around your footwear, travel, and occasion.
Keep a Palm Mandala Small Enough to Read
A palm mandala can look sacred without becoming heavy. Place a small center circle below the base of the fingers, then surround it with four or six petals. Leave a clean ring of skin around the motif so the pattern stays sharp as the stain develops.
I’d use fine-line henna paste for the petals and slightly thicker paste for the center. You’ll notice the contrast immediately. Thin outer marks feel delicate on the palm, while one stronger center gives the design a confident anchor.
A small circle, four petals, and a few dots between the fingers can be enough. If you’re tempted to add another border, pause first. Your palm moves constantly, so a minimal structure will usually stay more readable than an intricate pattern across every crease.
If you like geometric spacing, pair this idea with our geometric henna designs. Borrow the balance without copying a dense traditional layout. I’d compare proportions before choosing the final size.
The second-day stain is useful when judging the result. The paste may look pale orange immediately after removal, then deepen into a richer reddish-brown tone. Don’t enlarge the motif simply because the first color seems quiet.
A palm is a busy area. You’ll wash it, bend it, and touch everything with it.
That’s why I wouldn’t spread a mandala across the whole hand for a dainty result. One contained shape feels timeless, intentional, and personal.
Use Longer Lines on the Collarbone and Shoulder
A collarbone design can feel ethereal when the motif follows the natural slope of the bone. Start with one curved stem below the collarbone, then add leaves that point outward. The result should look like it’s moving across the skin, not sitting stiffly in one place.
Use pure henna paste and keep the line even. You’ll want the center slightly fuller than the ends, which keeps the design balanced. I’d avoid a thick band across the entire collarbone because it can erase the light, flowing quality you’re after.
A sweeping vine, three open leaves, and tiny dots fading toward the shoulder can create a romantic and expressive arrangement. It’s visible without taking over your entire appearance, and the placement can remain understated beneath clothing.
For more inspiration, explore latest henna designs, then remove any details that feel too dense. You’re looking for one clear idea, not a crowded copy. Sketch the curve first so you can see whether the motif follows your body naturally.
The cost depends on length, detail, artist experience, location, and event demand. A short collarbone vine may cost $25 to $60, while a longer event application can reach $75 or more. Ask for a written quote before the paste is applied.
A loose cotton top can help protect the motif while it dries. If you’re applying the design yourself, work from the center outward so your hand doesn’t drag across wet paste.
Shoulder stars offer a playful, whimsical alternative. Place one larger star near the shoulder curve, then add two smaller stars that drift toward the collarbone.
Keep the spacing irregular so it feels expressive rather than stamped. Use fine-tip paste for the star points and a slightly stronger line for the center. Open centers usually look lighter and more graceful than fully filled stars.
You can add one crescent, three dots, or a tiny leaf if you want the arrangement to feel more personal. I’d stop before it becomes a constellation of competing marks. One memorable symbol usually gives you a sharper result than six similar ones.
Here’s a practical timing guide:
A small shoulder arrangement may cost $15 to $40, while a longer collarbone composition can reach $60 to $100. Confirm the full amount before the cone touches your skin. Costs vary considerably between independent artists, events, and regions.
Don’t scrub the area immediately after removing the dried paste flakes. Gentle washing and avoiding strong sun or swimming can help the stain last its natural length. The color will look more vibrant after the second day, so don’t judge it too soon!
Let Backhand Florals Carry the Detail
Backhand florals give you room for an intricate center while keeping the outer edges understated. Try one open flower near the middle of the hand, with a thin stem moving toward the wrist and two leaves pointing toward the fingers.
Use freshly mixed henna paste for the flower petals, but don’t fill every gap. A few open petals let the skin show through and keep the motif readable from a distance.
This is where a bold center can help. One darkened petal or filled circle gives the design structure, while the surrounding fine marks keep it delicate. You’ll get more visual impact from one strong detail than from ten competing ones.
If you want a more traditional direction, browse Pakistani henna designs. Borrow a floral rhythm, then simplify it for a dainty finish. I like repeating one leaf shape because it makes the result feel coherent rather than busy.
A backhand floral usually costs more than a single finger or crescent because it needs more time and paste. A simple version may run $30 to $75, while a detailed event application can reach $100 to $250. Ask what level of detail the price includes.
Keep the palm mostly clear if that’s the look you want. The contrast between a decorated backhand and open palm is striking, classic, and easy to notice when you move. You can always add one small dot later, but you can’t easily undo a crowded composition.
Choose Quiet Symbols for Discreet Placement
A crescent behind the ear is a symbolic, empowering choice because it stays discreet until you turn your head. Keep the line fine and let the shape stand alone.
The crescent motif can be sacred, romantic, or simply personal. Its meaning doesn’t need to be explained to everyone who sees it.
For a more visible option, place a tiny star cluster near the shoulder or upper arm. A few uneven dots make the arrangement feel playful, while one crescent gives it a more timeless direction.
Ribcage lines can look fierce, raw, and quietly daring when they stay minimal. A single curved line with two leaves is enough for an edgy result, especially when you want the motif to remain private.
Because the ribs move as you breathe, avoid an overly dense pattern. The ribcage placement should follow the body rather than fight it. I’d sketch the curve first and keep the outer details widely spaced.
The Clear-Skin Rule Matters More Than Tiny Details
I used to think a dainty henna design meant making every detail smaller. That approach failed me. Tiny petals packed shoulder to shoulder still looked crowded, and the reddish-brown stain didn’t rescue the composition.
A clear-skin placement gives the design an elegant quality. It lets a crescent read as a crescent, a leaf read as a leaf, and a dot cluster feel intentional instead of accidental.
You’ll notice this most on the palm, where movement and washing can make crowded details blend together. Open skin gives each mark a visual pause, which makes the whole design feel more polished.
I also prefer one repeated element over five unrelated symbols. A single leaf shape repeated along the wrist looks harmonious and classic. A flower, star, moon, paisley, and border together may be meaningful, but they won’t necessarily feel coherent.
The paste itself matters. Look for pure henna ingredients and a smooth, workable texture. Avoid products containing unsafe chemical additives, especially those promising an unusually dark or rapid stain.
Ask what’s inside the cone, particularly if you have sensitive skin. A patch test can help you make a more informed choice, but stop immediately if you notice burning, swelling, or strong irritation.
Finally, don’t judge the result too early. The paste dries first, then the stain changes.
You’ll get a better idea of the finished tone on the second day, and it may last from 1 to 3 weeks depending on washing, friction, and sun exposure. That gradual change is part of the charm.
Match the Motif to the Occasion
Choose a small motif when you want a personal detail, a lower cost, or a design that can fade naturally without dominating your appearance. A finger crescent, wrist vine, or hidden ribcage line can feel expressive without demanding much aftercare.
A larger application makes more sense when you’re attending a wedding, sangeet, Eid, or Diwali celebration. Even then, you can keep the composition dainty by leaving open skin between floral clusters.
The wedding mehndi application can include intricate details, but visual weight and physical size aren’t the same thing. A large design may still feel light when the spacing is deliberate.
For Eid or Diwali, a crescent, star, paisley, or tiny mandala can feel symbolic and meaningful. You don’t need extensive coverage to make the occasion special. A small motif can be just as expressive when the placement is intentional.
If you’re unsure, ask the artist to show you two proportional sketches. Compare the smaller design with the larger option before the paste is mixed. That conversation can prevent an expensive decision you don’t actually love.
Your occasion, clothing, and patience should guide the choice. A palm design may need more care because you wash your hands often, while a shoulder or collarbone motif can stay visible with less friction. Choose the placement you’ll genuinely enjoy protecting.
How to Choose a Mehndi Artist and Paste
Look for a portfolio showing clean cone control, even lines, and photographs taken after the paste has been removed. You’ll want to see the actual stain, not only the raised design.
A mehndi artist portfolio should show different placements and levels of detail. Repeatedly seeing the same motif tells you less than seeing how the artist handles fingers, palms, feet, and curved areas.
Ask whether the artist uses pure henna paste and how it was prepared. The cone should not contain unsafe chemical additives that create an unusually dark or rapid stain. If you’re uncertain, pause and choose a safer option.
Price is useful, but it shouldn’t be your only measure of value. A low quote may reflect a tiny motif, limited experience, or a short application. A higher quote may include careful placement and more intricate work.
I’d compare the ingredient information with the portfolio, timing, aftercare guidance, and final cost. A trustworthy artist should explain each point clearly without pressuring you into a design or product you don’t understand.
If you’re applying henna at home, buy a fresh cone from a reliable source and test a small area first. You’ll have more control over the budget, but you’ll also need patience and a steady hand.
For a symbolic placement behind the ear or along the ribcage, professional help may be worth the cost. Fine lines in curved or difficult-to-reach areas can require more control than they appear to need.
Aftercare Protects the Developing Stain
Leave the paste on for 1 to 2 hours, or longer if your artist gives different guidance. Once it has dried and lifted naturally, brush away the flakes rather than washing immediately. Water can interrupt the early color development.
The stain may look orange at first. That’s normal. By the second day, it usually becomes a deeper reddish-brown, then gradually fades over one to three weeks.
Your skin, placement, washing habits, and friction all affect the final duration. A second-day color shift is expected, so don’t assume the design failed because it looks light at first.
Avoid swimming, strong scrubbing, and tight straps during the first few hours. If you’re protecting a foot motif, wear loose footwear. If you’re protecting a wrist design, avoid activities that repeatedly rub the fresh stain.
You can take a clear photograph on the first day and another on the second day. I like doing this because you’ll see how much the tone changes. It also helps you decide whether the paste color and design scale gave you the value you expected.
A gentle aftercare routine is usually enough: keep the area dry while the paste is on, remove flakes carefully, and wash without aggressive rubbing afterward.
What Does a Dainty Henna Design Cost?
Here’s a practical starting point for comparing price and value:
These figures vary by region, artist, complexity, appointment length, and event demand. Ask for a quote before booking and confirm whether the price includes both sides of the hand or both feet.
The final application cost can change when you add extra fingers, additional motifs, travel, or bridal scheduling. A small single-area design and a multi-area event booking shouldn’t be compared as though they require the same time.
I’d also compare what you’re getting for the money. Clean cone control, clear ingredient information, thoughtful aftercare, and a design that suits your placement can offer better value than the cheapest available application.
If you only want one meaningful detail, a $10-to-$25 crescent or finger motif may be completely worth it. If you’re planning bridal work, a higher budget can make sense because you’re paying for time, coverage, and more intricate planning.
A home henna cone may cost $8 to $20, but the lower price also means you’re providing the design, application time, and cleanup yourself. That can be rewarding if you enjoy practicing.
The Questions I Get Asked Most
How much does a dainty henna design usually cost?
The price depends on the mehndi artist, region, motif size, detail, and whether you’re booking a single symbol or a larger event design. Ask for a quote before the application. Clear pricing is more useful than guessing from a photo, and a small motif may cost $10 to $25.
Are dainty henna designs good for a first mehndi application?
Yes, they’re an excellent first choice because the application is small, visible, and easy to understand. A small placement also lets you see how your skin responds to the paste. Start with a wrist, finger, or backhand motif if you want something expressive without a full traditional layout.
How do I choose a mehndi artist?
Look for a portfolio showing clean cone control, pure henna work, and photographs taken after the paste has been removed. Ask about ingredients, hygiene, and drying guidance. A trustworthy artist will answer clearly and won’t pressure you into a design or product you don’t understand.
Does applying henna hurt?
Henna application shouldn’t hurt because the paste rests on top of the skin. You may notice coolness, slight tightness, or dryness as it sets. A comfortable application should feel manageable, though you should remove the paste if you experience burning, swelling, or strong irritation.
How long does a dainty henna stain last?
A henna stain usually lasts 1 to 3 weeks, depending on placement, washing, friction, and sun exposure. The color often darkens on the second day before gradually fading. Gentle washing and avoiding swimming immediately after application can help protect the design.
What’s the best placement for dainty henna designs?
The best placement depends on how visible you want the motif to be. Fingers and backhands show the design clearly, while the wrist and ankle offer graceful movement. Open skin around the motif helps delicate details stay readable, especially on active areas like the palm.
Where I’d Start First
If I had to pick one, I’d start with the minimal palm mandala. Its open ring of skin keeps the center readable, and the second-day color shift makes the small design feel richer without adding clutter. It’s meaningful, timeless, and easy to adapt.
If you prefer something more discreet, I’d choose the crescent behind the ear. If you want a visible option, the wrist vine gives you graceful movement at a moderate cost. Compare the placement, price, and aftercare before you decide.
For structure, visit the geometric henna designs guide. For floral rhythm, browse Pakistani henna designs. Return to minimalist henna designs when your idea starts feeling crowded.
Start small! Choose the motif that still feels personal after the excitement fades, and give the stain time to reveal its true color.