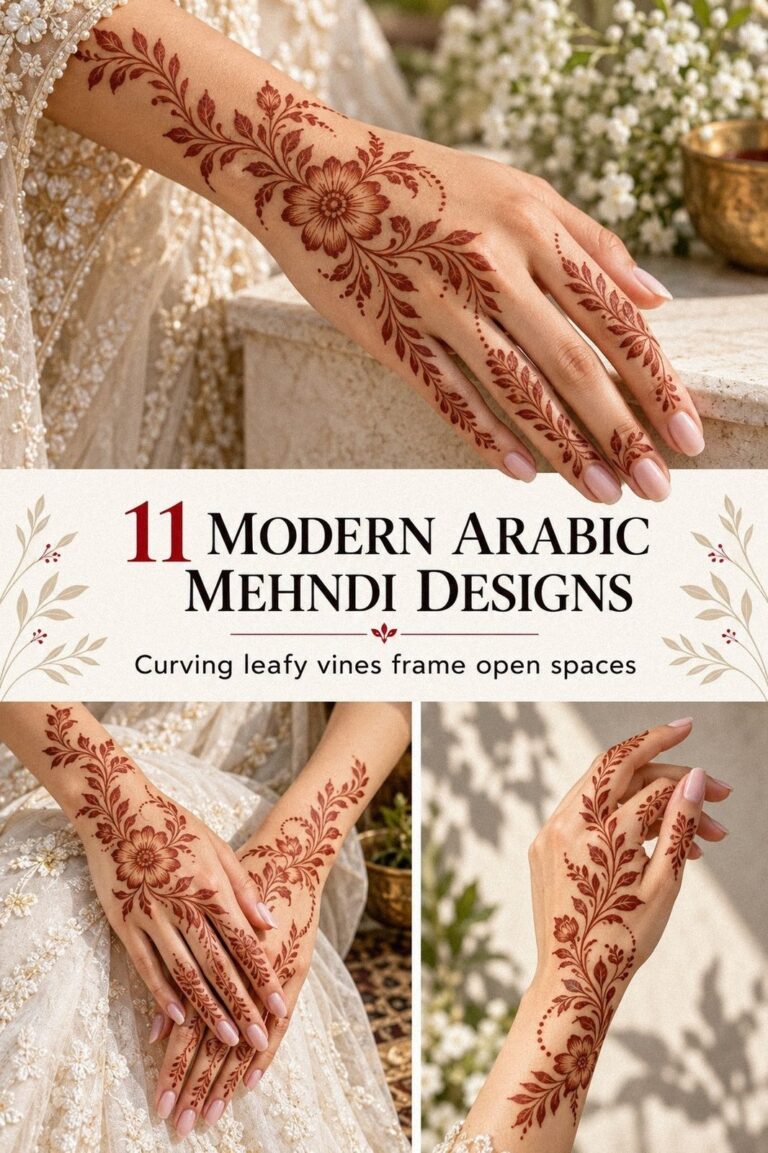
Latest simple mehndi designs front hand easy are about clean shapes, quick application, and a stain that develops beautifully by the second day. I once packed a palm with too many tiny details and regretted it before the paste dried. These ideas keep the pattern delicate, readable, and personal. You won’t need hours of practice!
- Try Floral Vines for a Flowing Start
- Which Finger Details Feel Most Balanced?
- Mandala Centers Keep the Palm Clear
- Compare Arabic Trails With Compact Motifs
- Bracelet Bands or a Bare Wrist?
- Shape a Minimal Lotus Below the Palm
- When Does Negative Space Look Complete?
- Let a Peacock Motif Take the Center
- Draw Geometric Lines With a Light Touch
- Eid Patterns: Choose Sacred Details
- For Hands and Feet, Keep the Motif Consistent
1Try Floral Vines for a Flowing Start
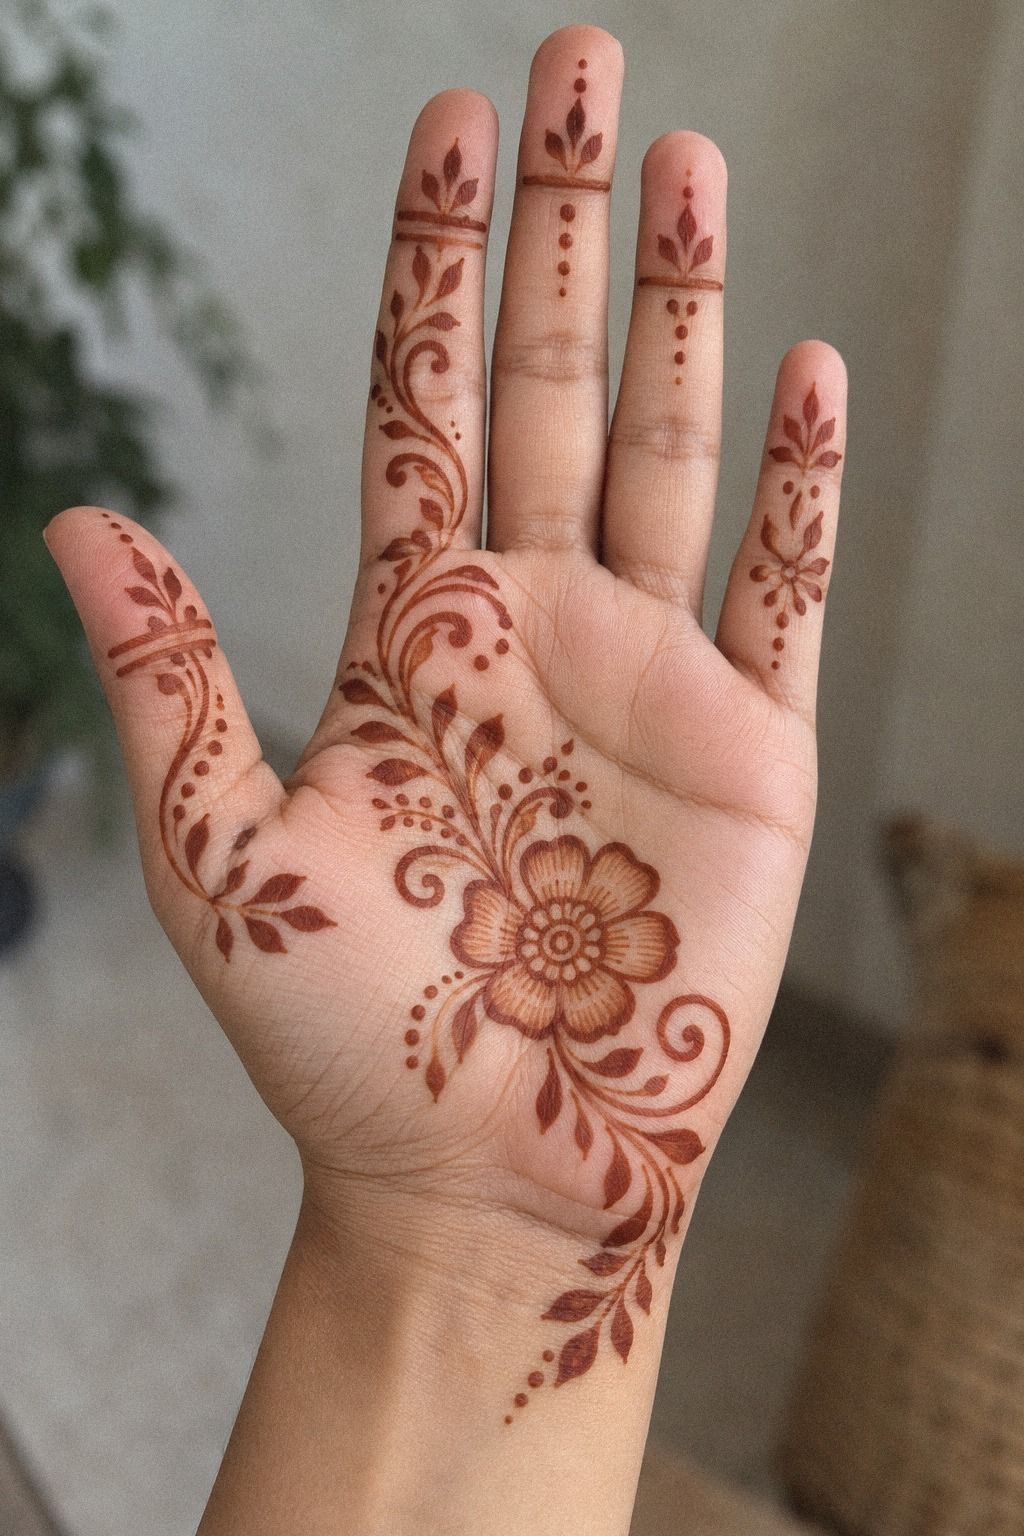
A flowing vine is the easiest place to begin when you want a symbolic front-hand pattern with plenty of open skin. Start near the wrist, curve toward the index finger, and let two or three leaves branch away instead of filling every gap. You’ll get a graceful shape that still looks clear when the stain deepens.
For your paste, choose a smooth henna cone with a narrow opening. I’d skip thick, muddy lines because they blur the leaves together as the paste dries.
Your best version has one main stem, three small blossoms, and a few pointed leaves. It’s understated, but the movement keeps it expressive.
– Rounded petals. One curling stem. Small leaf clusters. – A warm reddish-brown stain. – Dry paste left in place for 1 to 2 hours.
If you’re comparing layouts, save these simple mehndi designs for front hand easy application before you start. You’ll notice that the strongest examples leave open skin around the wrist and fingers. The quick application makes this idea worth considering when guests are already waiting.
It works!
2Which Finger Details Feel Most Balanced?
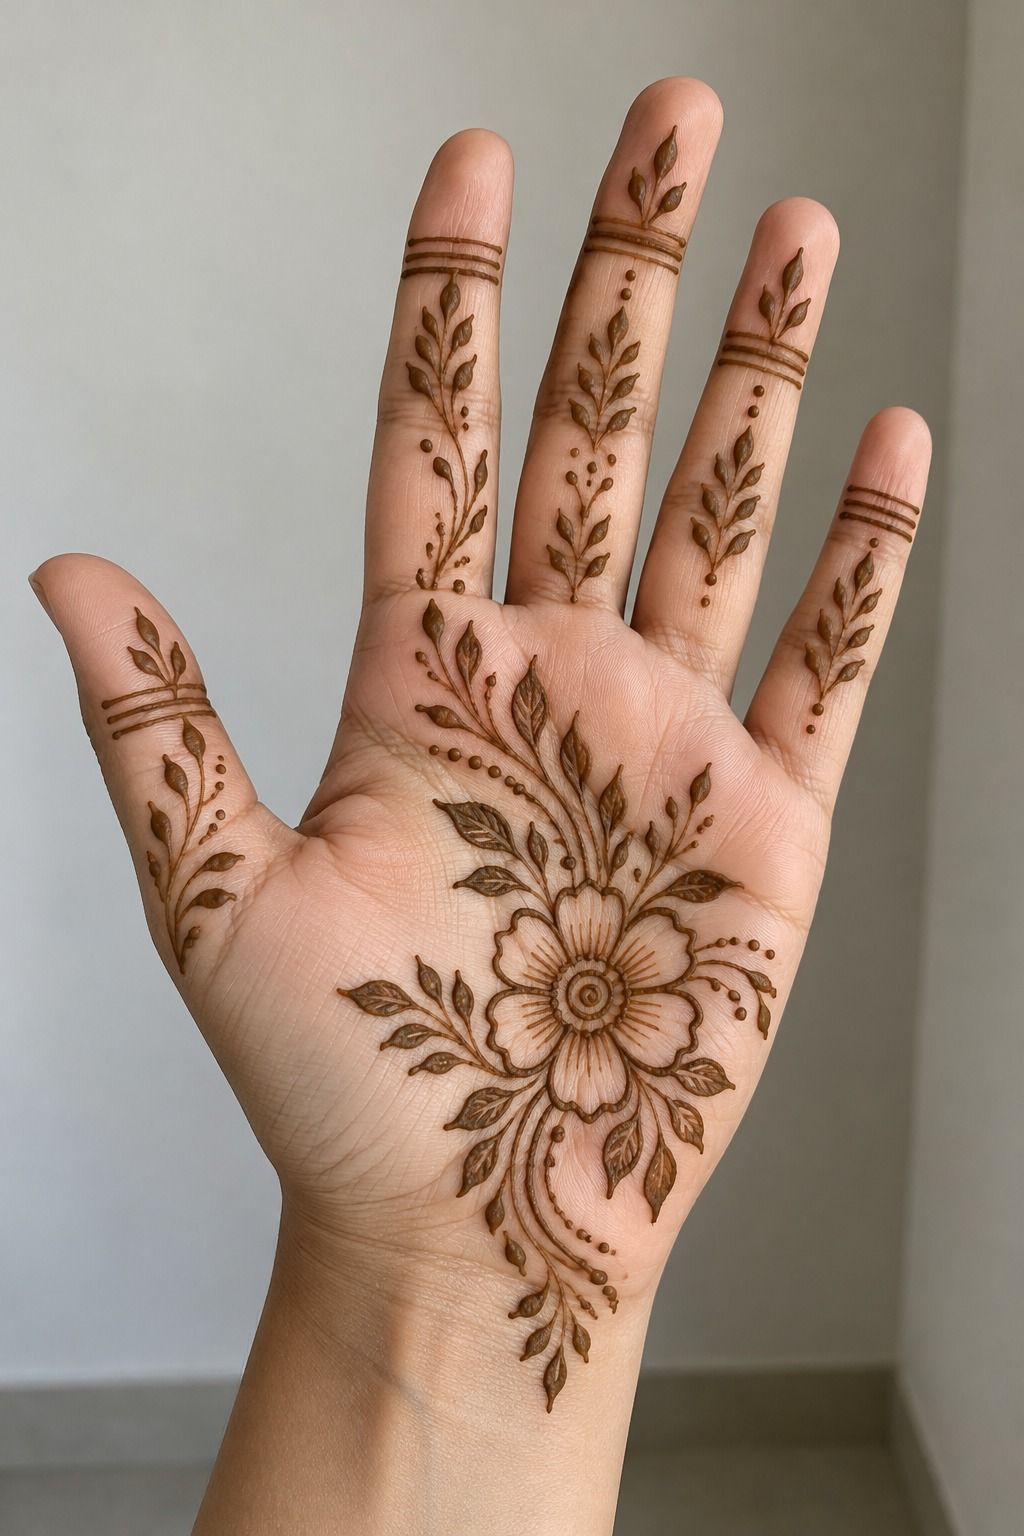
Finger details can make both hands feel finished without covering the palms. Use slim bands, tiny dots, and short diagonal strokes across the finger joints.
The result is minimal, yet it gives your hands a stylish rhythm when you move them. You don’t need matching details on every finger.
I’d place the heaviest design on the middle finger and keep the ring and pinky fingers lighter. That contrast is more appealing than repeating one band four times. For a bold center, try a small paisley motif near the base of your index finger, then echo its curve with two dot rows.
Your paste should glide rather than skip. If it breaks, your cone tip may be too narrow or the paste may have dried slightly.
And if you’re working on both hands, finish one hand completely before beginning the second. You’ll have better balance and fewer accidental smudges!
– Fine finger bands. – Tiny open circles. – One paisley accent. – Short strokes between the joints.
The easy simple mehndi designs front hand easy collection has useful spacing ideas if your fingers look crowded after the first few marks. For a first application, this design uses very little henna paste.
3Mandala Centers Keep the Palm Clear
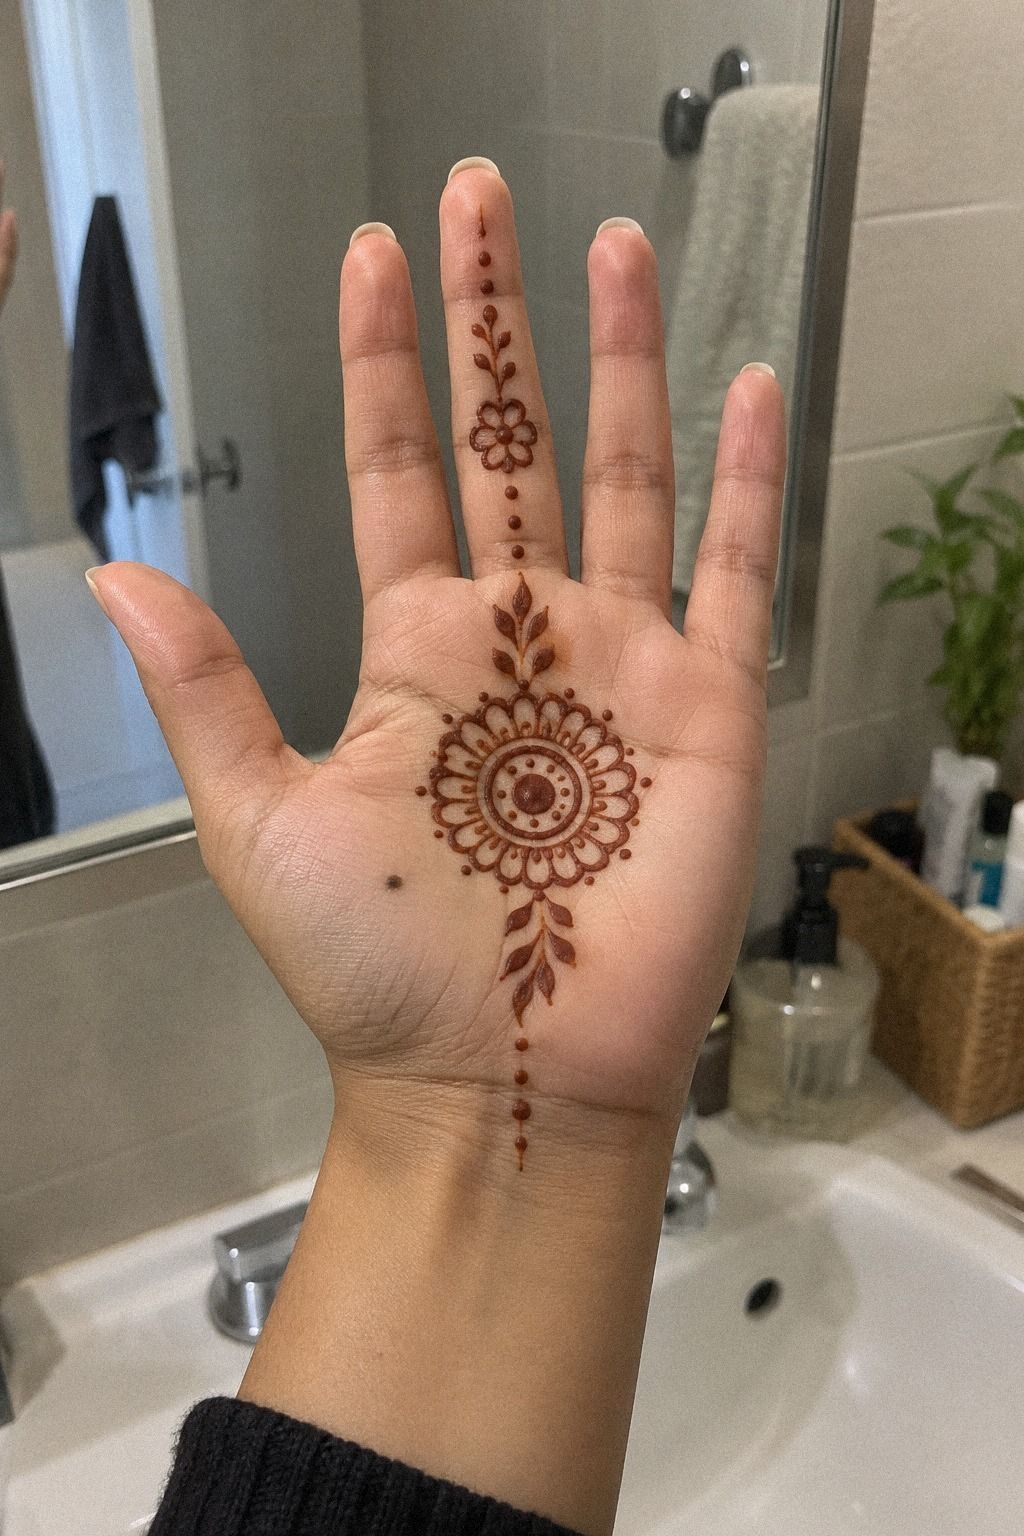
A mandala center gives your palm a striking focal point without demanding a full-hand pattern. Begin with a small circle, add four petals, then surround it with dots or scalloped edges. Your outer ring can stay imperfect.
Handmade symmetry has more charm than a rigid stencil.
I’ve found that a mandala looks most elegant when the center stays compact, around 1 to 1.5 inches across. Let the wrist carry a slim trail rather than another large motif. If you make the center too wide, your palm loses the open quality that makes this design feel sleek.
Choose a round-tip cone and test one petal on paper first. Your paste should create a raised line that holds its shape for a few minutes.
You can add a small flower on the wrist, but I wouldn’t add a second mandala. One clear center will read better as the stain develops.
For more balanced palm layouts, browse these simple stylish mehndi designs for front hand. You’ll see how bare skin keeps a central motif meaningful without making it plain. If you’re weighing whether professional help is worth the application time, this compact mandala design is usually easier to request accurately.
4Compare Arabic Trails With Compact Motifs
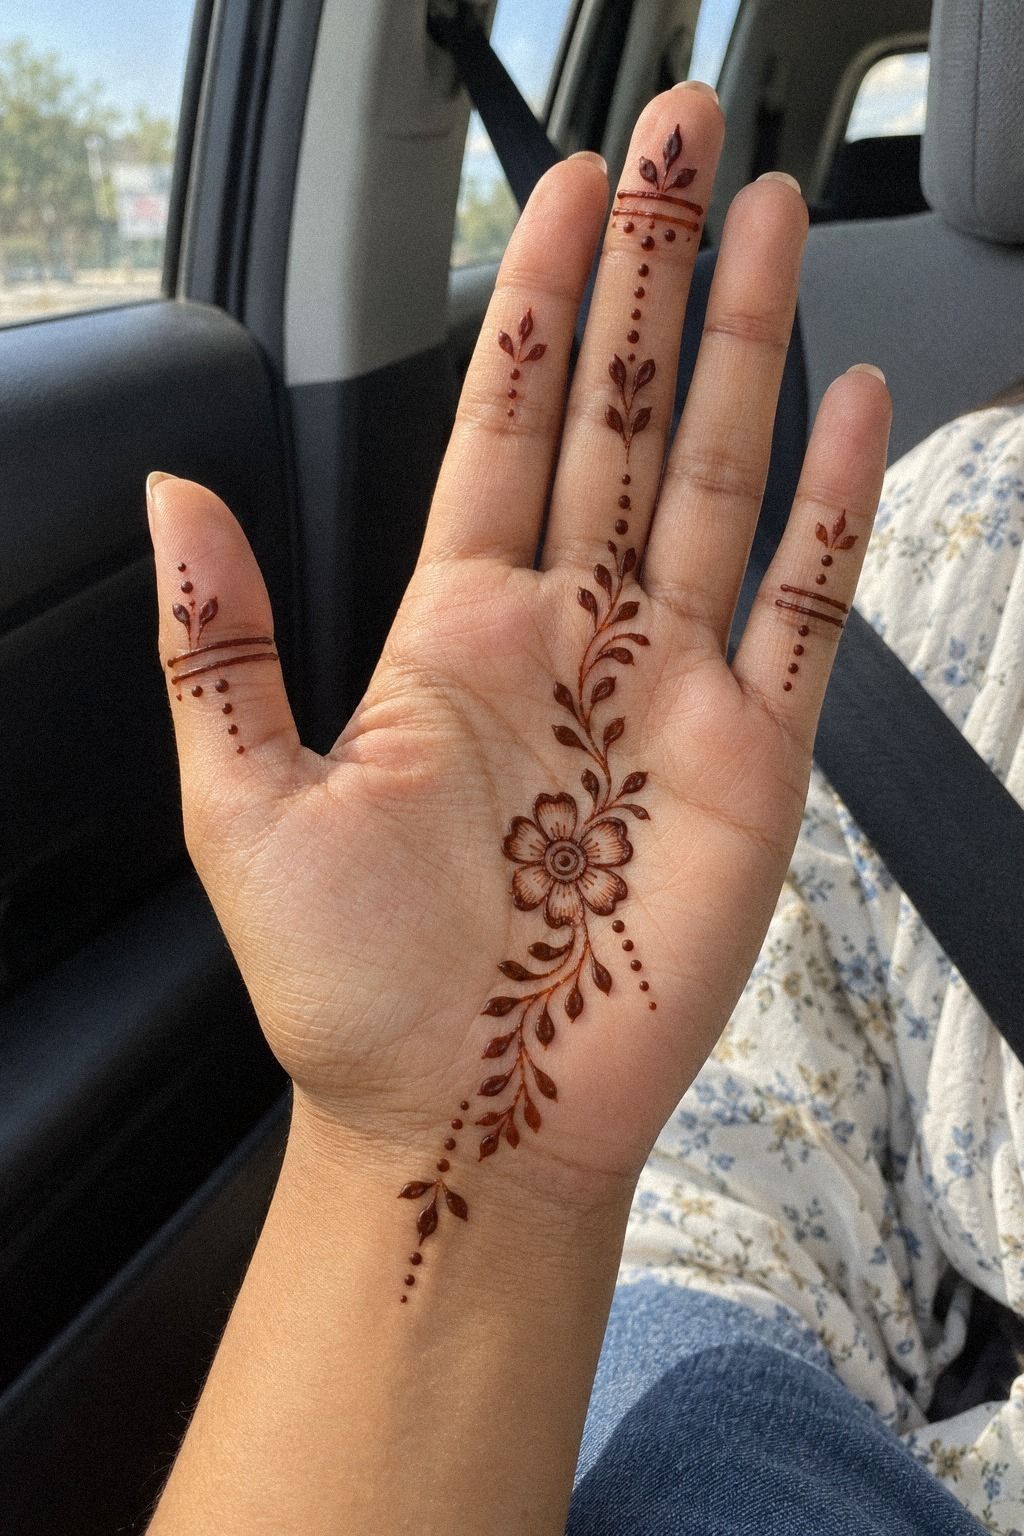
Arabic trails suit you if you want a bold design that moves diagonally across the hand. Begin at one side of the palm with a large flower, then trail leaves toward the opposite finger. The pattern should feel like it’s traveling, not sitting in a square block.
I’d use three large motifs instead of eight tiny ones. That choice keeps the look flowing and makes application faster when guests are already waiting. A thick outer petal with a fine inner curl creates contrast, especially when your henna paste dries into a rich reddish-brown stain.
Keep the palm open between each leaf cluster. Your eye needs those clear spaces to understand the direction of the trail.
But don’t make every leaf identical. A slightly smaller leaf near the fingertip gives the design a more natural edge.
– One large flower. – Two tapered leaf sprays. – Curved stems with small dots. – A narrow wrist finish.
The latest stylish mehndi designs for front hand page can help you compare diagonal trails before choosing your favorite direction. A simpler trail often takes less time and remains readable as the stain fades. It works!
5Bracelet Bands or a Bare Wrist?
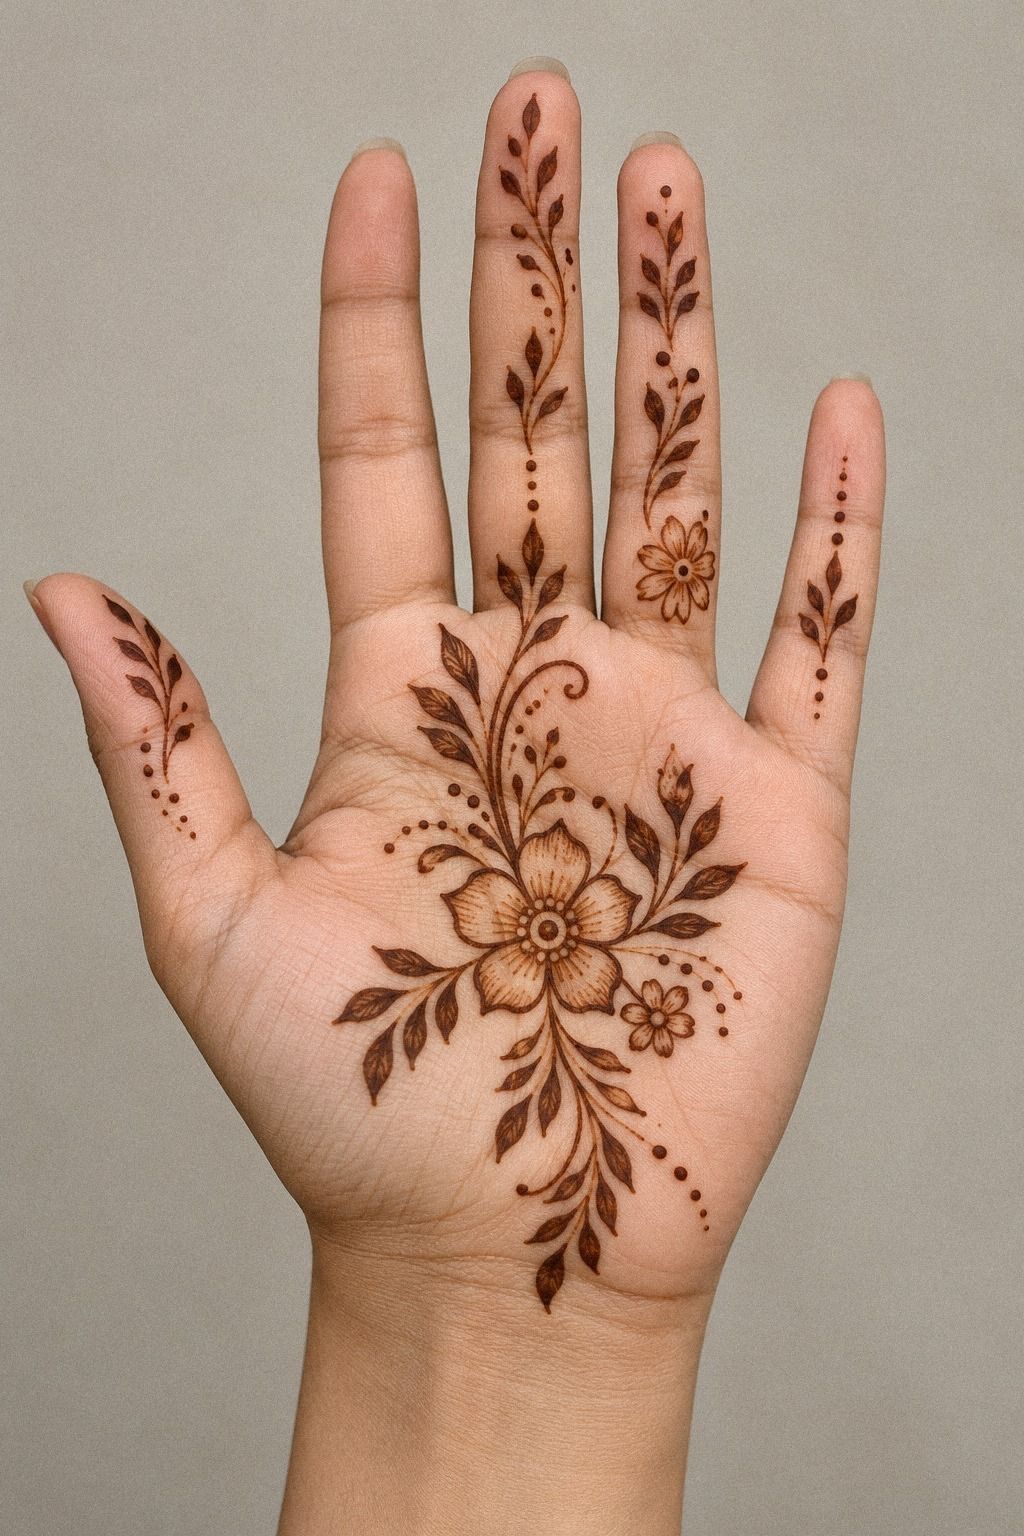
A bracelet-band idea works well when you want the palm to stay open and the wrist to carry the detail. Start with two curved bands, then add dots or tiny leaves between them. The result feels dainty without looking unfinished.
I’d leave one strip of bare skin between the bands instead of filling the entire wrist area. That gap makes the design easier to apply and keeps the pattern personal. Add a small paisley on one side if you want a polished finish.
If you’re applying the pattern yourself, rest your hand on a folded cloth and move slowly. A narrow bracelet band needs steady pressure, but it doesn’t need perfect symmetry. Your own rhythm can make the result more expressive!
6Shape a Minimal Lotus Below the Palm

A lotus gives your front hand a meaningful center with very few lines. Draw the bottom petal first, then add two side petals and one smaller petal inside.
Your wrist can hold a slim stem or a short row of dots. It’s feminine, but the same shape can look fierce with sharper petal tips.
I’d keep the lotus slightly below the palm center instead of pushing it toward the fingers. That placement leaves your fingers free and makes the design look longer. A fine henna cone works well here, though you should test the flow before touching your skin.
Uneven pressure can make one petal much darker than the others.
The stain will begin orange-red and deepen over the next day. You can leave the dried paste on for 1 to 2 hours, then brush it away gently.
Avoid soaking your hand right away. Your lotus will look more vibrant after the color settles.
For a second option, look through easy stylish mehndi designs for front hand and notice how small floral motifs can anchor a larger open area. It’s a practical choice when you want a recognizable lotus motif without dense coverage.
7When Does Negative Space Look Complete?
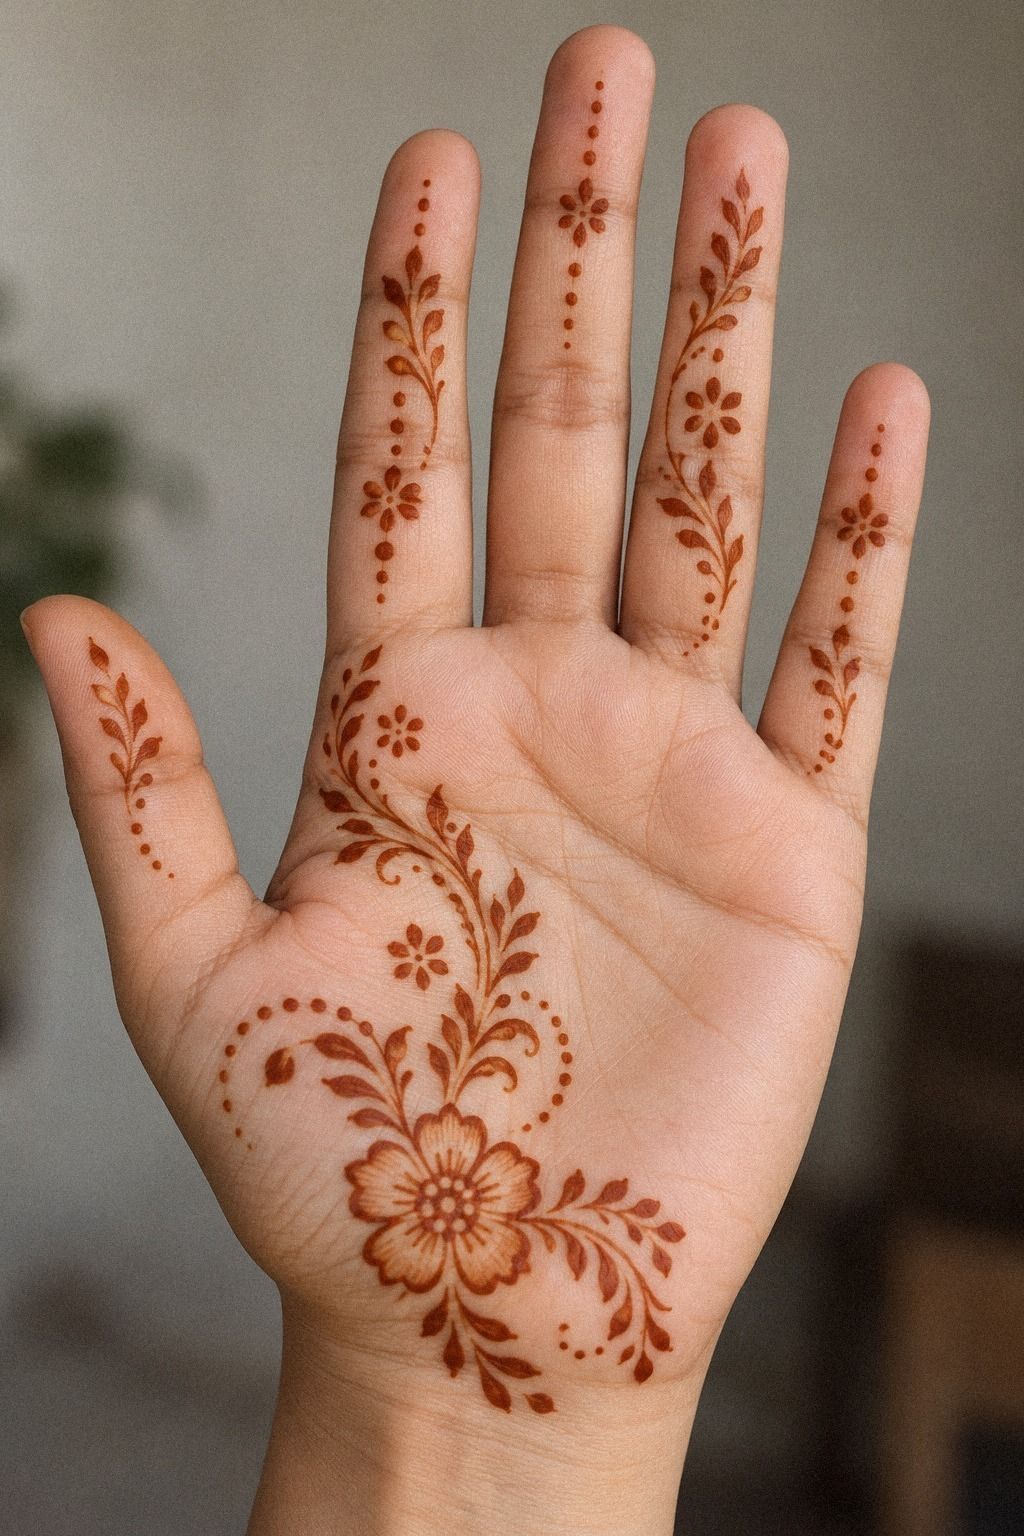
Negative space is the move I’d choose when your design needs to look edgy and easy from across the room. Draw one curved border along the palm, then leave the center untouched. The contrast gives a simple pattern an expressive quality.
Try a narrow negative-space band near the wrist, with three dots leading toward the index finger. Don’t keep adding marks just because the cone is still full. The empty skin is part of the design.
If the first side looks uneven, adjust the second curve instead of scraping away wet paste. Mehndi is temporary, and a handmade result can look more appealing than a perfectly repeated shape. That is the whole point!
8Let a Peacock Motif Take the Center
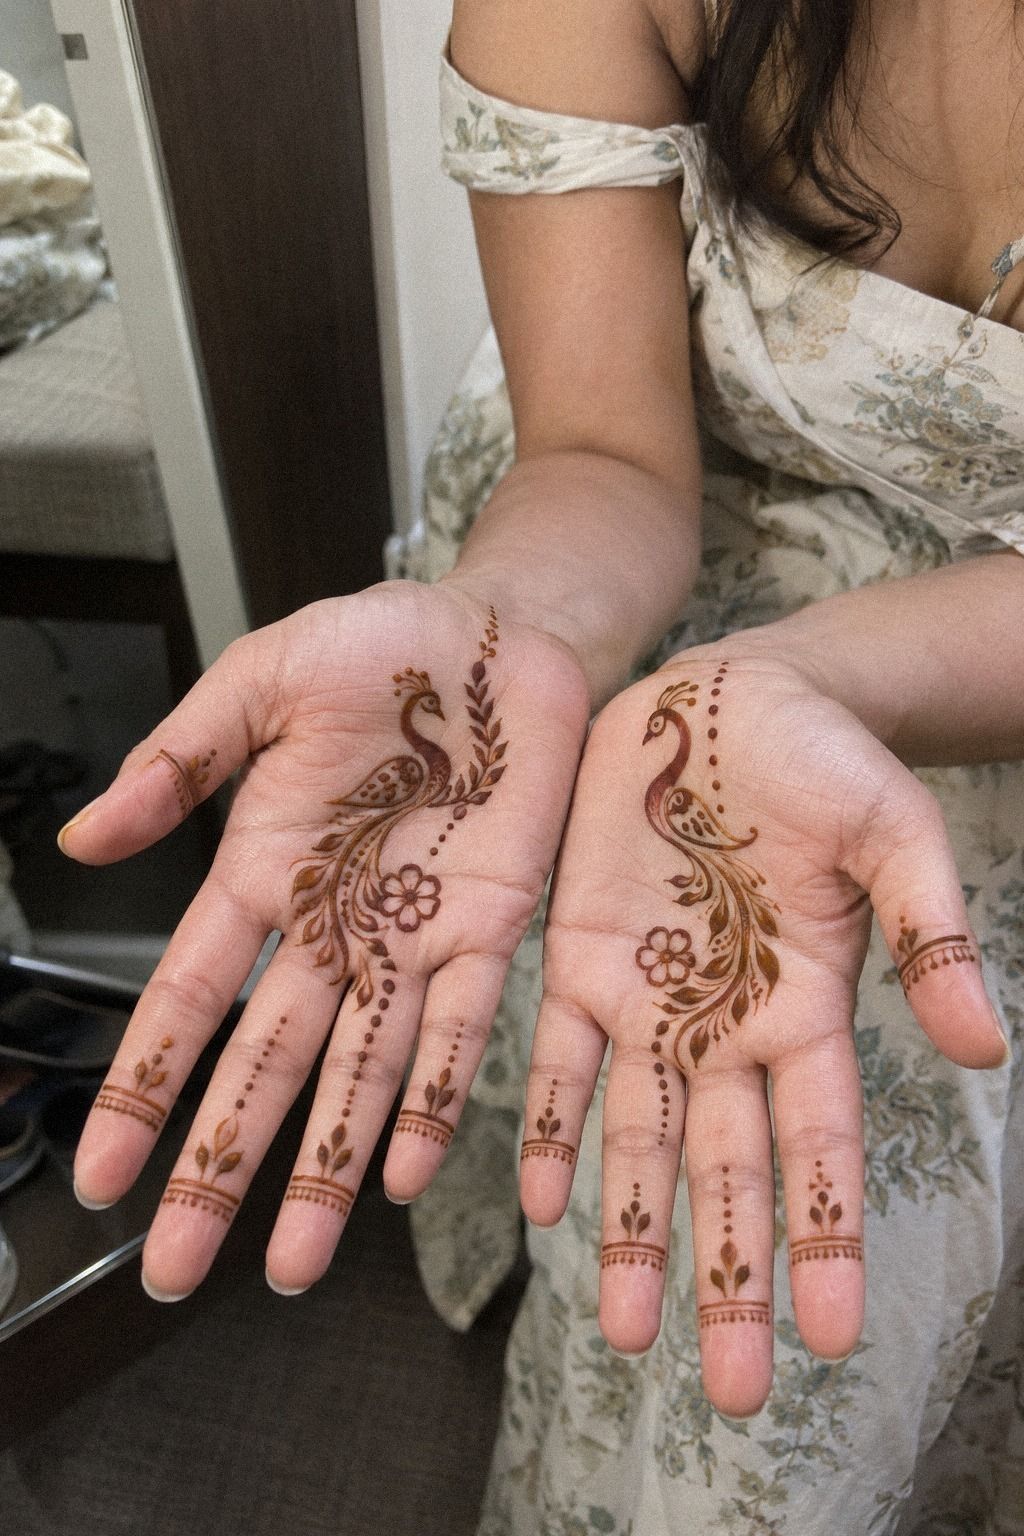
A peacock motif brings a whimsical and ornate touch to both hands without requiring a full peacock scene. Use a curved body, a fan of three or four feather shapes, and a small eye detail. Your second hand can echo the feather fan while keeping the body simpler.
I’d avoid drawing too many feathers because the fine marks can disappear into one dark patch after the stain develops. A peacock motif with three strong feathers is more readable than one with ten crowded ones. You can add dots around the tail for a playful finish.
Work from the center outward and let each section dry slightly before turning your hand. You’ll protect the lines and keep your pattern expressive. If you’re paying an artist, ask whether both hands are included in the quoted price before agreeing to the work.
Try a warm reddish-brown paste rather than a pale orange formula. Your final color will depend on skin, paste freshness, and aftercare, but the deeper stain gives the peacock a more classic presence.
The latest new mehndi designs page can help you compare feather shapes. A small motif is often worth the application price when you want one memorable focal point.
9Draw Geometric Lines With a Light Touch

Geometric lines are a strong choice for you if flowers feel too soft. Build the design from angled bands, open triangles, and one central diamond.
Your wrist can carry a ladder of dots, while the palm stays mostly clear. This makes the pattern sharp and understated at once.
Use a paper sketch only for planning, not for applying anything to skin. The cone should create every visible mark. I’d skip perfectly packed grids because they take longer and can look stiff.
A few uneven dots make the finished pattern feel personal rather than printed.
Your line thickness matters more than the number of shapes. Keep the main borders medium and the inner details fine.
If your hand moves while the paste is wet, stop and let that spot dry before continuing. But don’t panic over one imperfect angle.
Handmade mehndi has a raw quality that digital symmetry can’t copy.
Save the simple latest simple mehndi designs page for more angular layouts. You’ll find plenty of ways to combine geometry with a small floral detail. It’s a distinctive choice when you want a recognizable geometric pattern without a long application.
10Eid Patterns: Choose Sacred Details

For Eid, choose a romantic, sacred, and refined arrangement that leaves room for bracelets and sleeves. A small crescent, star, paisley, or floral medallion can make the design feel connected to the occasion without covering every inch.
I’d place one Eid motif on the palm and repeat a smaller detail on the fingers. Keep the lines clear and let the reddish-brown stain develop naturally. The design will feel more intentional when every mark has a reason.
11For Hands and Feet, Keep the Motif Consistent
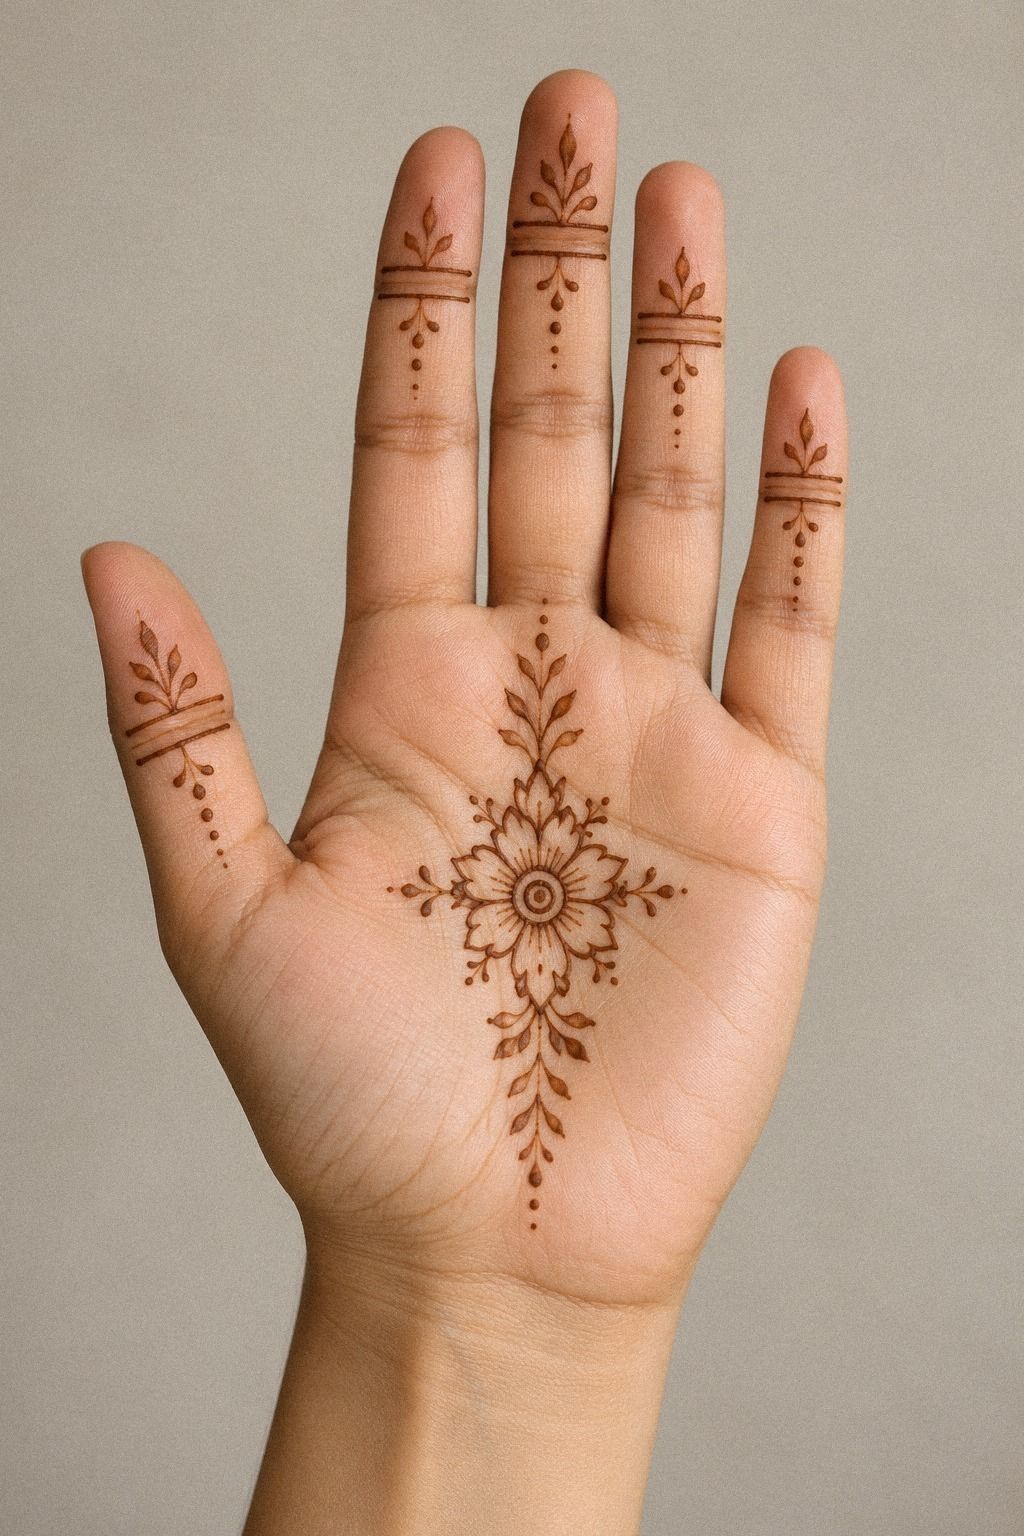
This final idea combines the easiest pieces for both hands and feet: one floral center, two finger bands, and a narrow ankle bracelet. Your front hand gets the main motif, while the feet receive a smaller echo. The result is timeless and personal without requiring a long application.
For the hands, use a small mandala or lotus and keep the wrist open. For the feet, place a band above the ankle and a small paisley near the top of the foot.
I’d skip dense toe coverage if you’re wearing sandals soon. Rubbing can break dried paste before the stain develops.
Your application order matters. Finish both palms first, then move to the feet so you won’t accidentally touch the wet hand design.
Let the paste dry fully, keep the area warm, and remove it gently rather than washing it away immediately. The final color should look rich, elegant, and natural against your skin.
– One hand centerpiece. – Light finger accents. – One ankle band. – A small foot paisley.
If you want to compare complete arrangements, start with these latest simple mehndi designs front hand easy for hands. You’ll see how repeating one motif creates a harmonious set without making every placement identical. That consistency gives you better control over the hand and foot designs.
Why Simple Mehndi Still Looks Current
Simple mehndi keeps returning because it gives you visual detail without asking for a full afternoon of application. The strongest designs use one clear motif, a controlled amount of paste, and enough bare skin for the shape to breathe. That balance feels classic, but it can still look sleek when the lines are crisp and the spacing is deliberate.
I prefer a small lotus, a diagonal Arabic trail, or a negative-space band over an overloaded palm. Those choices wear comfortably and fade without leaving a confusing patchwork. You’ll also have more control over the final stain because fewer raised lines mean fewer accidental smudges while the paste dries.
The temporary nature matters, too. Henna paste dries for about 1 to 2 hours, the color usually deepens on the second day, and the stain commonly fades within 1 to 3 weeks.
That makes your design easy to match to Eid, a wedding, a sangeet, or a weekend celebration. It’s empowering to try something expressive without committing your skin for years.
And if you’re choosing between a delicate pattern and a dense one, ask yourself: will you still recognize the main shape when the color softens? A meaningful design doesn’t need every inch covered. Your best choice is the one you’ll enjoy looking at while it develops and while it fades.
For most people, that balance is worth the henna application.
Use the Timing Table Before You Apply
These are typical planning points for a simple front-hand mehndi design. Your paste, skin, climate, and aftercare can change the result, so treat them as useful ranges rather than promises.
Your skin may hold color longer on the palms than on the backs of the hands. Feet can fade faster where shoes rub. If you want the deepest result, keep your hand warm while the paste sits and remove the dried flakes gently.
I wouldn’t use pool water, strong cleanser, or repeated exfoliation immediately after application. Your stain needs time to settle. The small effort is worth it when the color turns deep and vibrant!
What Will a Simple Mehndi Design Cost?
A home application usually needs only a fresh cone and a little patience. Artist pricing depends on the motif, the number of placements, the occasion, and whether you want one hand or both. Use these figures as planning ranges, then confirm the exact artist quote before booking.
The lowest price is not always the best value if the paste is old or the artist’s lines are inconsistent. Look at recent examples, ask what the quote includes, and decide whether the finish is worth it to you.
For a simple front-hand design, I’d usually choose a clean home application or a modest artist booking. The simple henna designs collection can help you compare the amount of detail before you commit to a higher application cost.
Choose Your Cone and Paste Carefully
A smooth cone makes delicate details much easier. The tip should release an even line without forcing you to squeeze hard. Fresh natural paste usually feels soft enough to guide, while overly dry paste may skip and break across the skin.
For a natural henna cone, check the smell, texture, and date if one is provided. Avoid suspicious pre-mixed products with unclear ingredients, especially if the color promises an instant deep black result. A small patch test is a sensible step before a larger application.
You can find more practical cone and spacing ideas in these easy henna designs. Spending a little more on fresh henna paste can be worth it through smoother lines and a more even stain.
Plan the Occasion and Aftercare Together
Eid, a wedding, a sangeet, and Diwali each invite a slightly different mood. A vintage paisley may suit a traditional celebration, while a daring geometric band can feel right for a modern outfit. Let the occasion guide the motif, not the amount of skin you cover.
Keep the paste on for about 1 to 2 hours, or until it has dried and hardened. Remove the flakes gently, avoid immediate soaking, and expect the color to deepen on the second day. The stain commonly lasts 1 to 3 weeks, depending on washing, rubbing, and natural skin shedding.
If you’re planning an event, book early enough to protect the drying time. The latest stylish mehndi designs collection can help you choose a design that matches the occasion while staying within your event budget.
A Few Things Worth Answering
How much does a latest simple mehndi designs front hand easy application usually cost?
A simple front-hand application may cost around $10–$25 from an artist, while a home cone may cost only a few dollars. I’d confirm whether both hands are included, ask about the paste used, and compare recent work before deciding whether the quote offers good value for the mehndi service.
Are latest simple mehndi designs front hand easy a good choice for a first mehndi application?
Yes, they’re a strong first choice because the motifs are readable and the application is manageable. I’d begin with one palm, a short floral trail, or a lotus. Open spacing helps you spot mistakes early, and you can repeat the pattern once your confidence grows.
How do I choose a mehndi artist for latest simple mehndi designs front hand easy?
Review clear examples of recent work, especially details of palms, fingers, and feet. I’d look for clean paste lines, balanced spacing, fresh cones, and good hygiene. Ask how long the paste will stay on, whether natural henna is used, and what the final artist quote includes.
How long does latest simple mehndi designs front hand easy take to dry?
Most simple designs take about 1 to 2 hours to dry, depending on line thickness and the climate. I’d keep my hand still, avoid touching fabric, and brush the flakes away gently when the paste has hardened. Patience during drying gives the stain a better chance to develop evenly.
How long does the stain last?
A typical henna stain lasts 1 to 3 weeks. I’d avoid frequent washing, chlorine, strong soap, and rubbing if I wanted it to fade gradually. The color often begins orange-red, deepens by the second day, and then softens as the outer skin naturally sheds.
What is the best placement for simple front-hand mehndi?
The center palm, wrist, and fingers are all useful placements. I’d choose a diagonal palm trail for a visible design, or a wrist band when speed matters. Feet and ankles can look striking too, though footwear and rubbing may make those areas fade more quickly.
Where I’d Start First
If I had to pick one, I’d start with the negative-space floral vine. It’s bold enough to show clearly, but the open center keeps your hand from looking crowded. Pin this idea for later and compare it with the latest simple front-hand collection before you squeeze the cone.
It gives you an expressive result, a manageable application, and a strong personal finish without stretching the budget. I’d pin this one!