
Latest stylish mehndi designs for front hand work best when you choose the layout before squeezing the cone. For Eid, give yourself a clean sequence: sketch the flow, apply the paste, let it dry for 1 to 2 hours, then protect the stain while it deepens on day two. That’s the difference between a rushed pattern and a meaningful Eid design.
- Start With Latest Minimal Front Hand Mehndi
- Which Intricate Arabic Front Hand Linework Works Best?
- Place Bold Florals Across the Palm
- Let Delicate Vines Frame the Fingers
- Why Plan Symmetrical Mandala Centering?
- Choose Symbolic Peacock Front Hand Details
- Trace Graceful Trails Along the Wrist
- Keep Crisp Motifs, Leave Skin Clear
- Pair Both Hands Without Copying
- Make Fingertips the Accent
- Finish With Stylish Contemporary Henna Accents
1Start With Latest Minimal Front Hand Mehndi
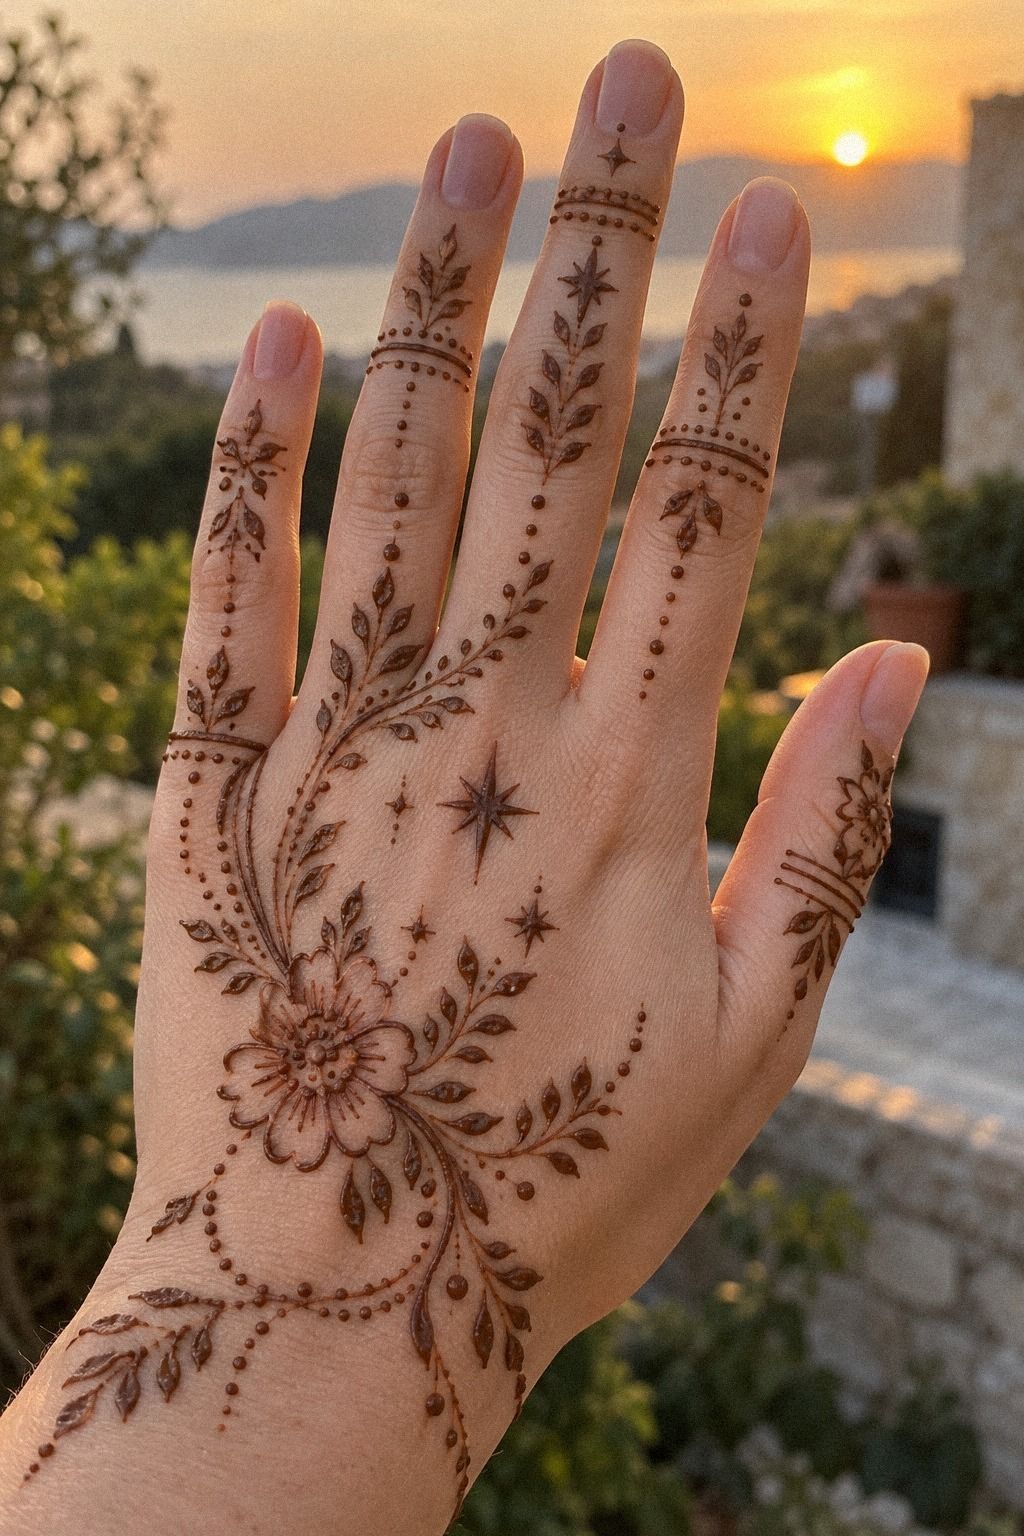
Begin with the center of your hand, not the fingers. For simple latest stylish mehndi designs for front hand, I’d sketch one small floral or paisley anchor near the palm and let two narrow trails move toward the wrist. The minimal paisley keeps the design readable, especially when reddish-brown paste sits against fair skin.
You’ll want the cone tip to stay fine and steady. A clean opening gives you crisp henna paste lines without thick blobs at every turn.
If you’re working at home, test three strokes on paper first. Your goal isn’t to fill every patch of skin.
It’s to create a graceful path your eye can follow.
The design should feel delicate and polished, with fine shapes crossing the fingers instead of covering them completely. I’d skip dense fingertip caps here. They’re dramatic, but they can swallow the understated look that makes minimal mehndi so elegant.
Try this sequence on yourself: one palm accent, two side leaves, and three small finger marks. That’s enough for a stylish Eid design.
If you want more references, compare it with these simple stylish mehndi designs for front hand before you draw your final outline. That restraint is worth it!
2Which Intricate Arabic Front Hand Linework Works Best?
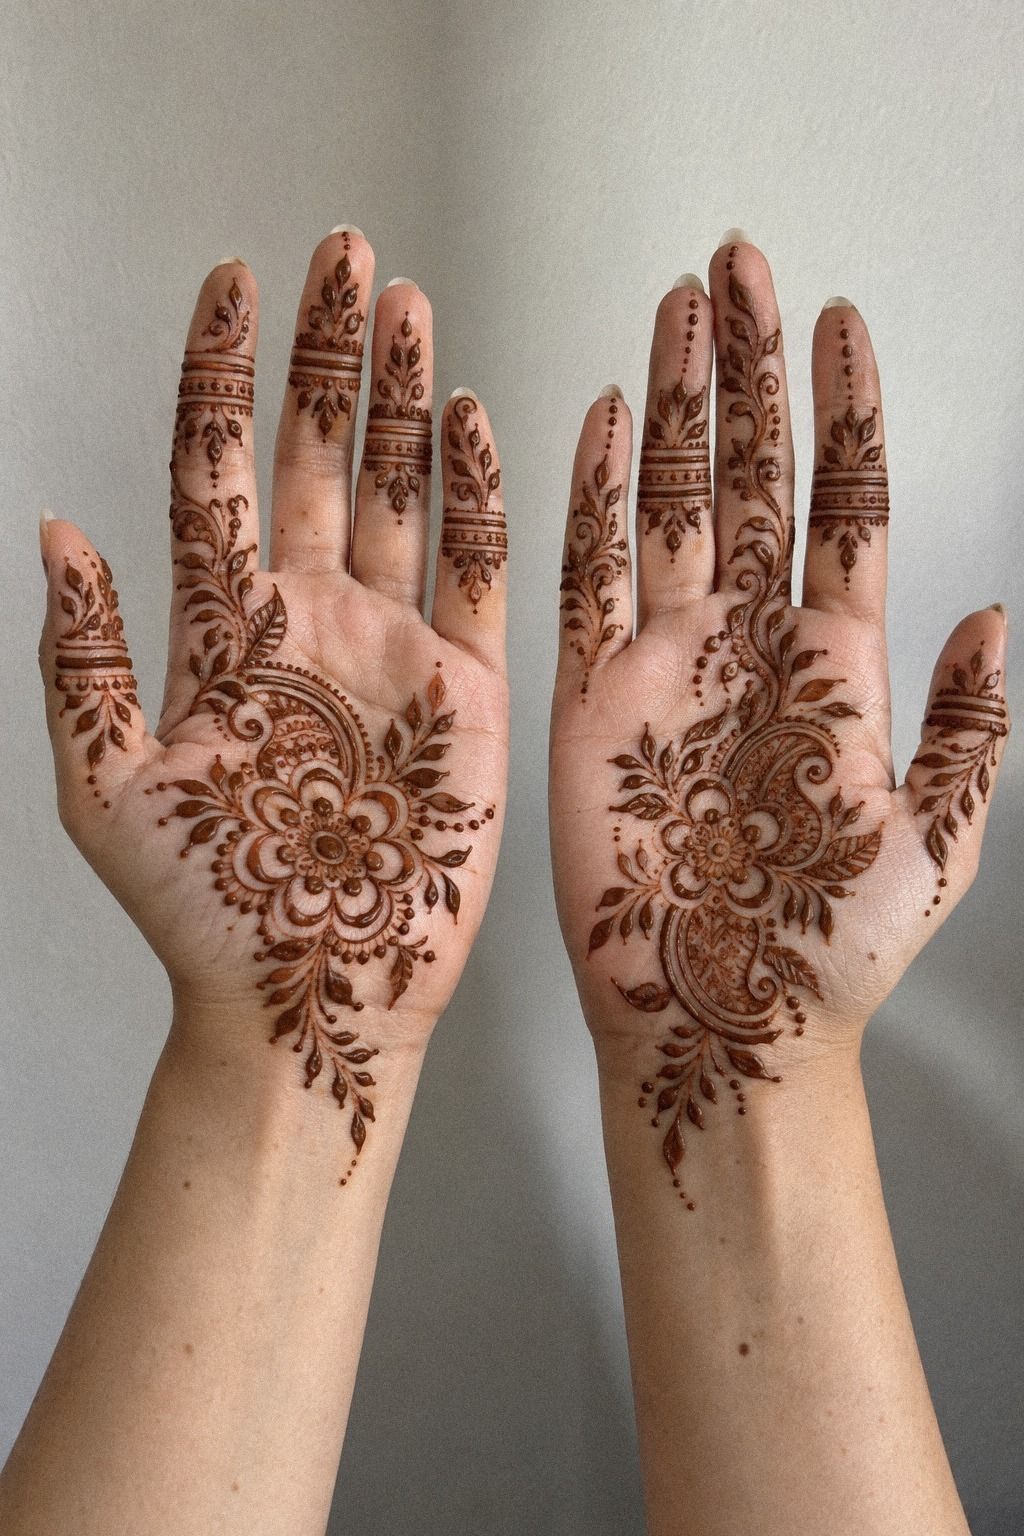
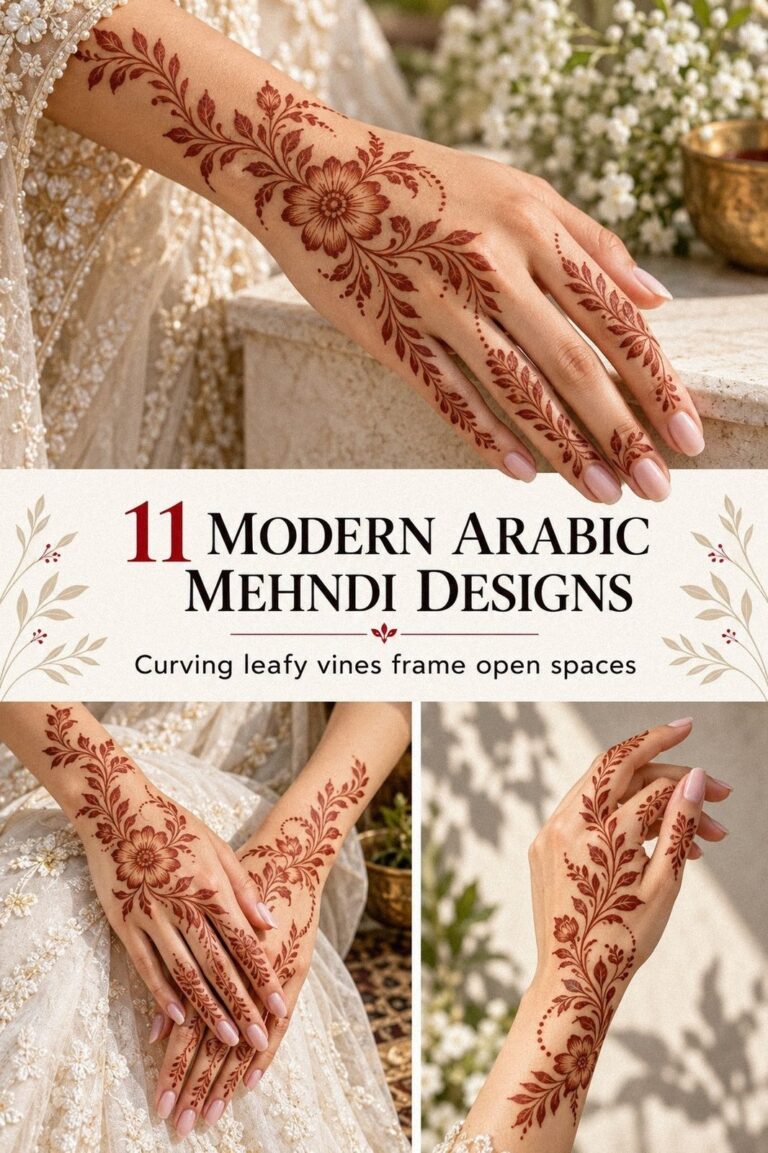
Arabic-inspired layouts need direction, so start near the lower palm and pull the motif diagonally toward the index finger.
3Place Bold Florals Across the Palm
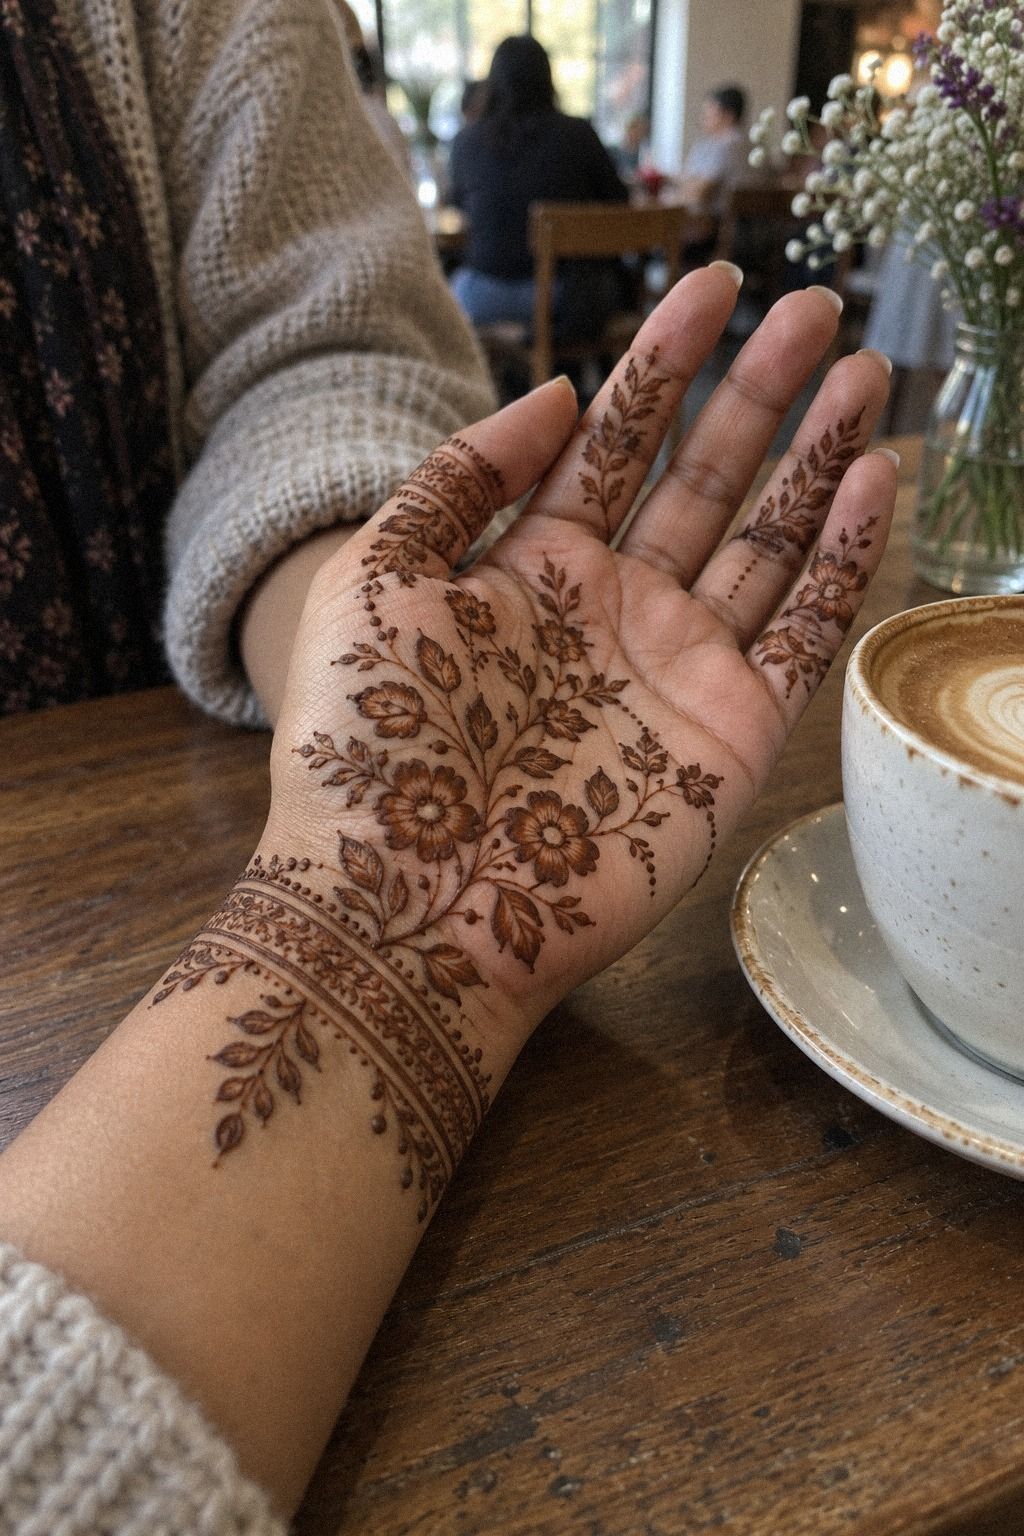
A bold floral layout starts with one large bloom, usually near the middle of the palm, then builds outward with leaves and curved petals. On medium olive skin, the bold floral rosette looks striking when the center is darker and the outer petals stay slightly open.
You’ll get a stronger result if your flower has a clear center. Add a small circle, short scallops, and pointed petals before surrounding it with vines. Your palm should still show between the petals.
I made the mistake of filling every gap once, and the final pattern looked gritty instead of powerful.
Choose a paste that has rested long enough to hold a clean ridge. A fresh, loose mixture can spread, while an overly dry mixture may break as you draw. For your first attempt, keep the floral shape about the size of a large coin and expand only after the outline looks balanced.
This is where a little asymmetry feels romantic. One leaf can angle toward your thumb, while another can point toward your wrist.
That small difference gives the design a personal, playful quality. For more palm coverage, compare the spacing in these simple full hand mehndi designs before making your own version.
That little gap matters!
4Let Delicate Vines Frame the Fingers

Finger placement changes the whole design, so keep the smallest vines close to the knuckles and finger sides. A delicate finger vine should guide the eye rather than compete with your palm motif.
You’ll find that short trails are easier to control than long, crowded ones. Draw the curve first, then add one leaf or dot at each turn. Your fingers move constantly, so an intricate pattern needs enough breathing space to stay legible.
A graceful vine can end before the fingertip, continue into a dainty band, or connect to one small paisley. For more spacing ideas, study these simple mehndi designs and choose the rhythm that suits your hand.
5Why Plan Symmetrical Mandala Centering?

A mandala works because the eye understands its center immediately. Place one symmetrical mandala in the palm, then let the surrounding marks become quieter. The result can feel iconic without becoming ornate.
You’ll want to draw the center first, followed by rings of petals, dots, and scalloped edges. Count the repeats as you go.
Four or eight divisions are easier to keep balanced than an improvised number. Your outer ring doesn’t need to be mathematically exact, but it should look intentional from a short distance.
Leave a narrow border around the mandala so the motif doesn’t disappear into the rest of the pattern. I’d skip adding a large paisley beside it. Two competing centers make your hand look busy, while one crisp center gives better value for your effort.
If you’re applying this for Eid, practice the circle on paper and let your wrist rest between rings. A smooth paper template can help you understand spacing, but your final design should still follow the natural shape of your palm. These easy simple mehndi designs front hand easy show how clean spacing can make a small motif feel complete.
6Choose Symbolic Peacock Front Hand Details
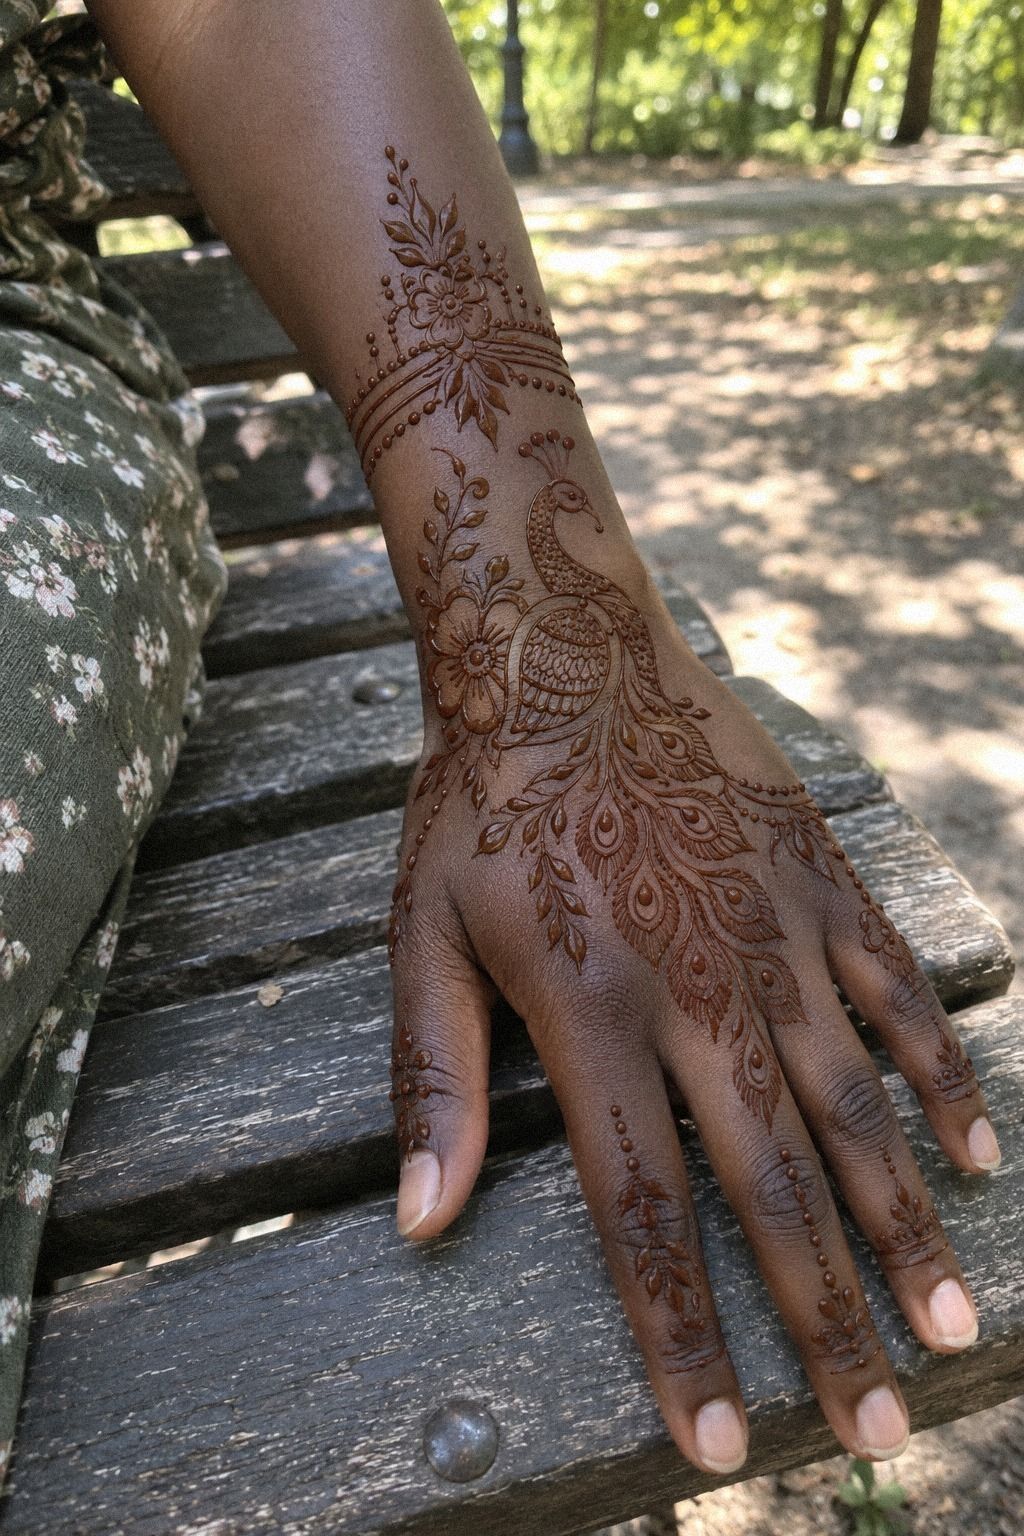
A peacock brings an iconic, expressive quality to front-hand mehndi, but it needs room for the neck, body, and feather fan. The symbolic peacock motif can look especially bold when the body stays solid and the surrounding feathers remain lighter.
Start with the curved neck, then place the body near the wrist or lower palm. Your feather fan should open toward the fingers instead of collapsing into the wrist trail. Add small dots only after the main silhouette looks clear.
If you’re drawing freehand, turn your hand as you work so the cone stays at a comfortable angle.
I’d avoid putting a second full peacock on the other hand. It sounds symmetrical, but repeated figures can compete with one another. A smaller feather echo on your opposite hand feels more personal and gives the design a playful imbalance.
The peacock can carry a sacred or family-inspired meaning, so keep the pattern intentional rather than filling space for its own sake. You can pair the bird with a tiny paisley, jaal, or leaf cluster. A symbolic centerpiece is often worth it when you want your Eid design to feel memorable.
For another full-hand direction, look through these simple full hand mehndi designs and focus on placement, not density.
7Trace Graceful Trails Along the Wrist
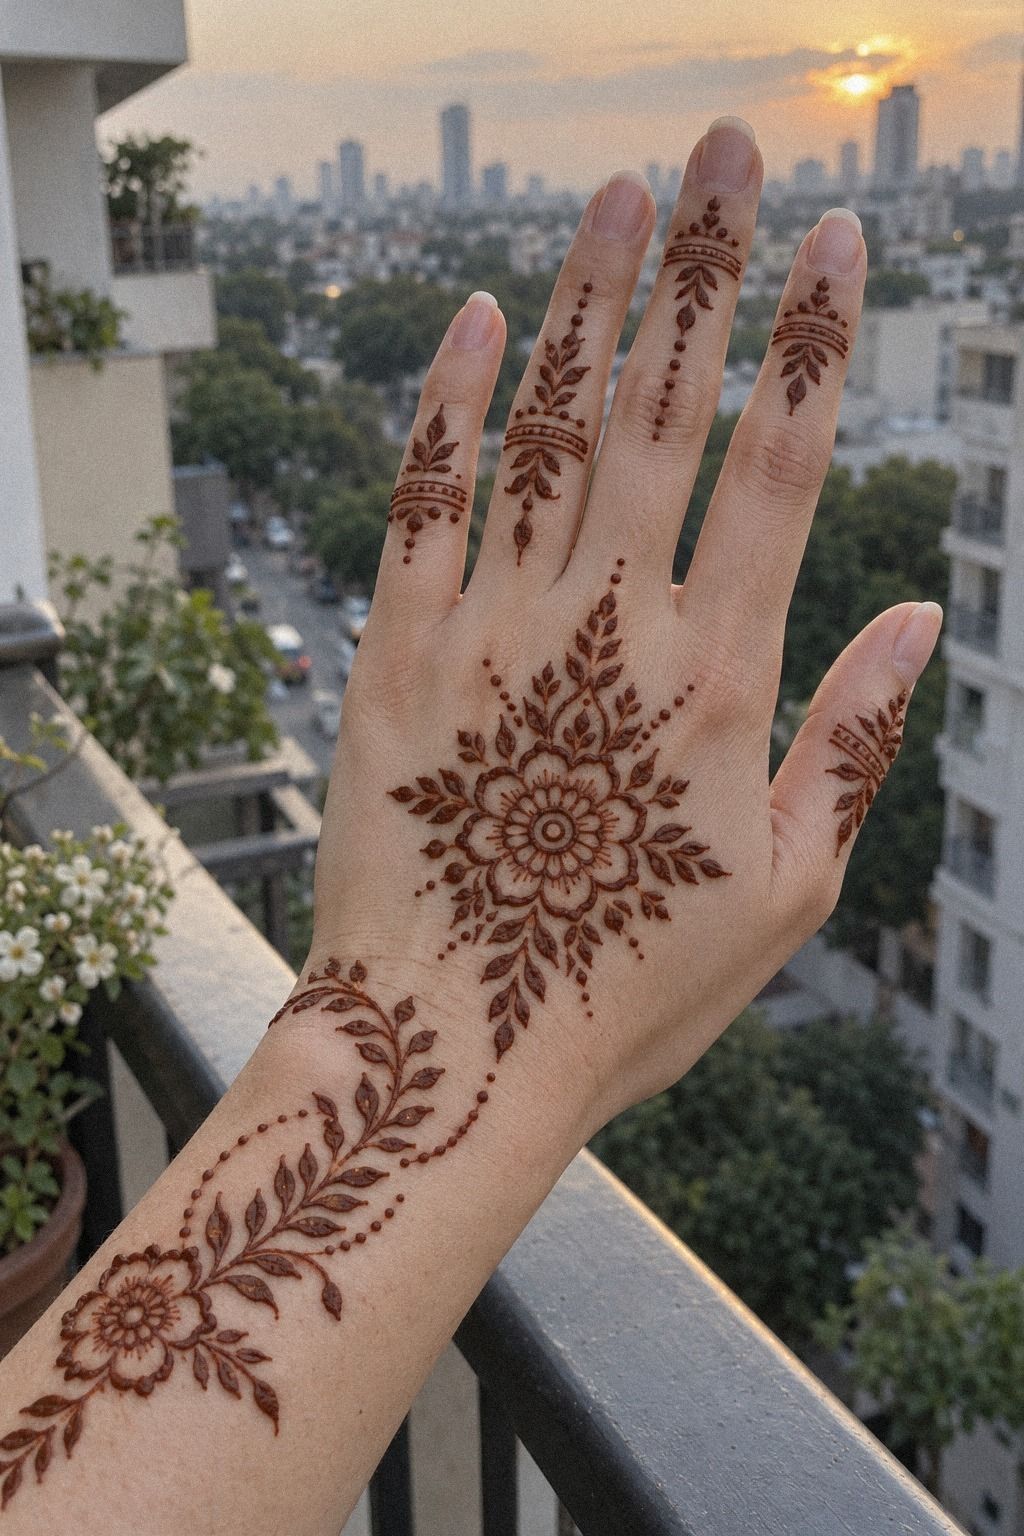
A wrist trail should connect the hand to the lower arm without looking like a separate bracelet. Begin with a graceful wrist trail that follows the natural curve of your hand.
You can use one flowing vine, two slim bands, or a pointed paisley that opens toward the wrist. Your trail doesn’t need to be long. A compact finish usually looks more polished and is easier to protect while the paste dries.
If you’re comparing artist options, ask whether a wrist extension changes the cost. Sometimes a small addition is included, while a detailed cuff affects the final budget. These easy stylish mehndi designs for front hand can help you decide how much extension you actually want.
8Keep Crisp Motifs, Leave Skin Clear

Negative space isn’t empty by accident. It’s the pause that makes a crisp motif visible. Use crisp geometric petals beside open skin so your central shapes don’t merge into one reddish-brown mass.
You’ll want to decide where the bare areas will stay before you squeeze the cone. Mark three zones in your mind: the main palm, the finger path, and the wrist edge. Your pattern can be intricate inside those zones, but the spaces between them should remain calm.
And yes, a smaller design can look more polished than a fully packed one! I’d choose two strong motifs over six weak ones every time. A sharp diamond, a small flower, or a neat jaal can carry more visual weight than a page of tiny marks.
If the paste spreads, don’t cover the mistake with another shape. Remove it gently while it’s still fresh and redraw the area later.
That keeps your final result elegant rather than muddy. Keep it open!
For more open layouts, study these simple mehndi designs and note where the skin is deliberately left clear.
9Pair Both Hands Without Copying
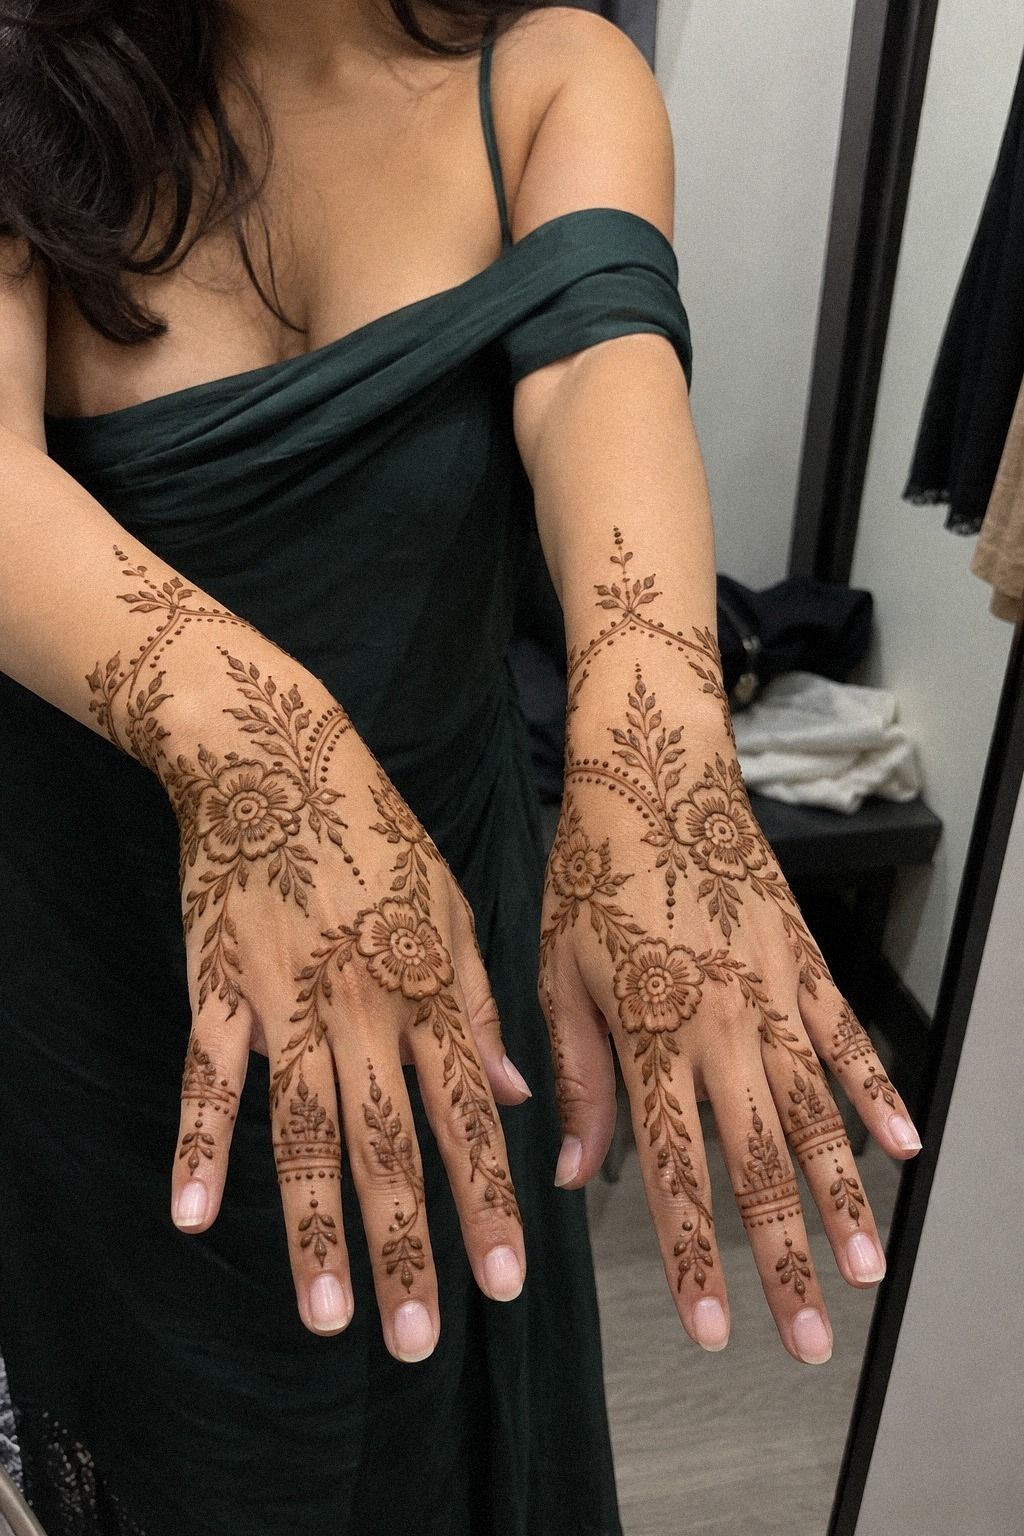
Matching both hands doesn’t mean tracing the same picture twice. A dainty paired pattern can let both hands share a flower, a vine direction, or a repeated fingertip detail.
Start with the larger hand and use it as your visual guide. Your second hand can echo the placement while changing the number of leaves or the angle of the wrist trail.
This keeps the set harmonious without making it feel mechanical. If you’re applying the paste yourself, finish one hand before beginning the other.
I’d skip forced mirror symmetry when your hand shapes differ. One palm may be broader, and one thumb may sit at a different angle.
A slightly altered design will look more personal and natural. Your goal is recognition between the two hands, not perfect duplication.
Try repeating one small symbol three times, such as a dot cluster or leaf pair. That gives your hands a quiet connection and keeps the overall result stylish.
If you need an easier reference before planning both sides, these easy stylish mehndi designs for front hand can help you compare scale. If your budget is tight, matching accents offer excellent value.
10Make Fingertips the Accent

Fingertips draw attention quickly, so use them as accents instead of making them the entire design. On golden tan skin, expressive fingertip details can frame a palm flower with tiny dots, angled bands, or short leafy marks.
You’ll want to check each finger while your hand is relaxed. The skin folds change when you bend, and a design that looks centered when your fingers are straight may shift when you move. Your cone lines should follow the natural length of the finger rather than crossing every crease.
A simple palm center with richer fingertips feels daring and classic at the same time. I’d avoid filling all ten fingertips unless the occasion calls for a very ornate style. Heavy caps can hide the delicate details that make the rest of your hand feel polished.
Use a fresh tissue to clean the cone tip between fingers. That tiny habit keeps your lines sharp and prevents dried paste from dropping into a clean section. For lighter inspiration, compare these easy stylish mehndi designs for front hand and notice how the smallest marks control the overall rhythm.
11Finish With Stylish Contemporary Henna Accents
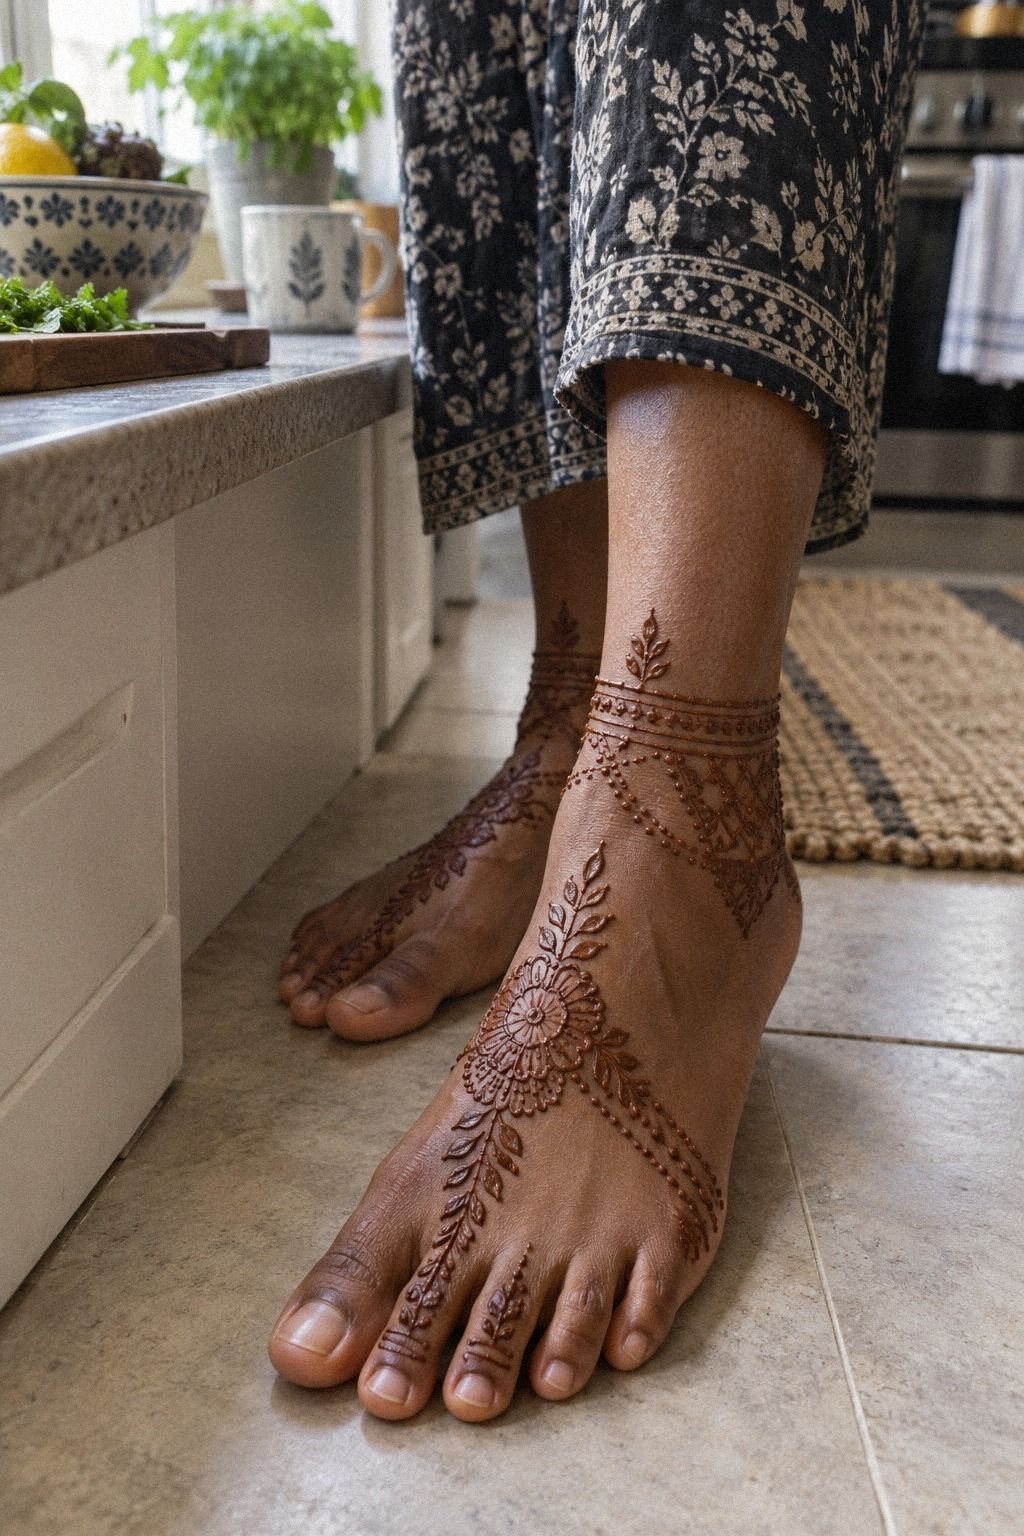
Finish only after the main pattern has dried enough to hold its shape. Slim bands, tiny diamonds, or a sleek cuff near the wrist can give your design a stylish contemporary finish.
You’ll want to remove the dried paste gently rather than washing it away immediately. Brush it off, then keep the stain dry for as long as your occasion allows. The color often looks lighter at first and deepens on the second day.
Let it deepen!
And don’t add a last-minute cluster just because one patch looks open! Open skin can be part of the composition. A sharp line at the wrist, one small dot group, or a refined leaf is usually enough to finish your hand without making it feel crowded.
Henna generally fades over 1 to 3 weeks, depending on skin, washing, placement, and daily wear. Avoid strong sun and swimming if you want the stain to stay clear longer. The simple latest simple mehndi designs page is useful when you want a final accent that stays vibrant rather than overly ornate.
Before You Begin: The Two-Day Color Rule
You don’t need much equipment for a clean front-hand mehndi application, but each item has a job. Keep your cone, tissues, a paper test sheet, and a comfortable support under your wrist.
If you’re using fresh natural henna paste, check its texture before it touches your skin. It should form a steady line without flooding the paper.
A small amount of lemon-sugar sealant can help protect raised paste after it starts drying. Dab, don’t drench. Your fingers should still feel comfortable, and the design shouldn’t shine with excess liquid.
If you’re sensitive to fragrance, skip eucalyptus oil and choose a plain paste instead.
You’ll also want a loose plan for your evening. Don’t apply paste five minutes before cooking, changing clothes, or washing dishes. Your design needs quiet drying time, and your hands need to stay still.
For a beginner-friendly layout, begin with the simple mehndi designs front hand easy collection and reduce the number of motifs before you increase detail.
The Front-Hand Balance Map
I’ve applied enough mehndi to know that the hardest decision usually happens before the cone touches skin. People choose a reference because one flower looks gorgeous, then try to force every vine, paisley, and fingertip detail into the same small area.
The result isn’t more expressive. It’s just crowded.
My rule is simple: choose one hero palm motif, one connecting path, and one quiet edge. Your hero might be a mandala or peacock.
Your path might be a diagonal Arabic vine. Your edge could be a few fingers or a slim wrist trail.
When those three parts agree, your hand looks intentional even if the drawing isn’t technically perfect.
I also think Eid mehndi should show some restraint. The paste is temporary, which makes it a wonderful place to try something bold, but temporary doesn’t mean careless. A meaningful symbol, a family-inspired paisley, or a flower that reminds you of a ceremony will stay more memorable than random filler.
And I’d rather see one confident palm flower than a full hand covered in nervous marks. You can always add a small accent later, but you can’t easily reclaim clean skin once the paste is down.
Give your first sketch a few minutes, turn your wrist in different directions, and ask whether the design still reads clearly. These simple latest simple mehndi designs offer useful layout comparisons.
The Two-Day Color Rule in Practice
The stain changes after you remove the paste, so don’t judge your work too quickly. On the first evening, the color may look orange or light reddish-brown.
By the second day, it commonly deepens into a richer brown. That shift is part of the process, not a sign that your design failed.
I learned to photograph the pattern at three points: while the paste is fresh, after removal, and on day two. Your eye catches different details each time.
Fresh paste shows the line quality. The removed pattern shows the spacing.
The deeper stain shows whether the overall shape still feels balanced.
For Eid, plan the application early enough that the color can develop before your main gathering. If you apply it the same morning, your hands may still look lighter than expected. That can be lovely, but it won’t match the deep result you imagined from reference photos.
Choose a personal finish rather than chasing a trend. A timeless floral symbol or a graceful wrist trail can feel elegant, while a copied motif may lose its appeal after the occasion. Your hands should tell a small story, even if the story is simply that you wanted something expressive for one evening.
Choose Your Budget Before Your Occasion
Your budget doesn’t have to dictate the character of your mehndi. A small palm motif can look fierce and polished, while a larger commission may add more time, detail, and coordination. Decide what matters most before you compare artists or cones.
These are planning ranges, not fixed prices. Location, event timing, artist experience, paste quality, and coverage can change the final cost. Ask what the quote includes before you agree, especially if both hands, fingertips, or wrist trails are involved.
If you’re deciding between intricate coverage and a smaller design, compare the value of each. A dainty palm with one iconic motif may photograph beautifully and take less time. A more ornate plan can be worthwhile when the occasion calls for something dramatic.
For a lower budget, start with easy stylish mehndi designs for front hand and choose one feature to emphasize. Your money goes further when every motif has a role.
When Is More Detail Worth It?
More detail is worth it when it strengthens your main idea. A sharp jaal border can make a floral center feel finished, while ten unrelated fillers may only make the result harder to read.
Ask yourself three questions before adding another shape: Does it support the hero motif? Does it improve the flow? Will it still look clear after the stain deepens?
If the answer is no, leave the skin open.
I’d spend on clean paste, careful application, and thoughtful placement before chasing maximum coverage. That usually gives better value than paying for density alone. These simple full hand mehndi designs can help you compare how detail changes the overall balance.
A daring design can still be understated. One expressive peacock, an intricate mandala, or a romantic flower may carry more personality than a fully packed palm. Your best choice is the one that still feels personal after the first excitement fades.
Eid Color and Placement Checks
Eid designs often look strongest when the motif suits the way you’ll use your hands. A vibrant palm centerpiece is easy to notice during greetings, while fingertip details give movement when you gesture.
Before applying paste, check whether your chosen placement will rub against fabric, water, or food preparation. Your wrist may need more protection than your palm. Your fingertips may fade sooner because they wash more often.
If you’re choosing between two ideas, look at simple mehndi designs front hand easy only if it is already part of your saved references. Otherwise, use the supplied simple mehndi designs collection and select the layout that matches your occasion.
A meaningful design doesn’t need to be enormous. A sacred symbol, a classic paisley, or a whimsical flower can make the stain feel special while keeping your application manageable.
The Questions I Get Asked Most
How long does latest stylish mehndi designs for front hand take to dry?
Most raised henna paste needs about 1 to 2 hours to dry before you remove it gently. Quiet drying time protects detail, so keep your hands still and avoid water, cooking, or tight sleeves during that window.
– Cone-ready paste – One to two hours of drying – Gentle paste removal – Darker color around day two
How much does latest stylish mehndi designs for front hand usually cost?
There isn’t one reliable US price for mehndi because the cost changes with the artist, event, location, size, and detail. A simple personal design usually takes less planning than bridal or full-hand coverage, so ask for a quote before booking.
– Independent mehndi artist – Event or home appointment – Palm-only or both hands – Simple or elaborate coverage
Are latest stylish mehndi designs for front hand suitable for a first application?
Yes, especially when you choose a small palm motif with open fingers. A limited layout is easier to monitor, easier to keep still while drying, and simpler to adjust if you’re applying paste at home.
– Minimal floral center – Open negative space – Short wrist trail – One test patch first
How do I choose a mehndi artist for latest stylish mehndi designs for front hand?
Look for clear photos of finished paste work and fully developed stains, then ask how the paste is made and stored. Clean cone handling and transparent ingredients matter most, especially if you have sensitive skin or want a natural brown stain.
– Recent portfolio examples – Natural paste details – Clean cone handling – Clear appointment timing
How long does latest stylish mehndi designs for front hand last?
A typical henna stain lasts about 1 to 3 weeks, with the deepest color often appearing on the second day. Less washing and less sun can extend clarity, while frequent scrubbing, swimming, and hand sanitizer may speed fading.
– One to three weeks – Darker second-day color – Gentle washing – Reduced sun exposure
What is the best placement for latest stylish mehndi designs for front hand?
The palm center, fingers, and wrist all work, but each gives a different visual result. A palm center with an open wrist is the easiest balanced choice for a first design and keeps the main motif visible.
– Palm mandala – Diagonal Arabic vine – Fingertip accents – Slim wrist trail
For another placement comparison, browse these simple stylish mehndi designs for front hand before you commit to a final layout.
Where I’d Start First
If I had to pick one step, I’d start with the palm center. A single bold floral anchor gives your hand direction, leaves room for delicate fingers, and still looks intentional when the stain deepens.
Pin the idea for Eid, sketch it once, and let the rest grow from that shape. That approach is worth it when you want a stylish result without an inflated budget.


4 responses to “How to Style Latest Mehndi for Front Hand for Eid – 11 Ideas”
[…] you’re comparing styles, start with these latest stylish mehndi designs for front hand. They show how one strong motif can guide the rest of the pattern without making every space […]
[…] you’re working from latest stylish mehndi designs for front hand, study the empty areas around the motifs. Those spaces are part of the composition. Your palm […]
[…] can also compare both palms with these latest stylish mehndi designs for front hand. That helps you decide whether your full coverage should feel powerful or more […]
[…] latest stylish mehndi design for front hand can help you compare botanical scale. Look for a paisley leaf cluster with one large shape and […]